Setting Up Your Raspberry Pi in 2026: From SD Card to First Boot
I recently published a guide on how to choose the right Raspberry Pi model based on your project. As a direct follow-up, this post focuses on the next logical step: installing an Operating System (OS). We will cover the options available, the installation process using the new Raspberry Pi Imager 2.0, and the first boot.
Foreword
I assume you already have the hardware required for your project, including the Raspberry Pi itself. Yes, I know, that sounds logical! Consequently, I won’t discuss the hardware side in this post.
I will treat most Raspberry Pi versions effectively the same. However, note that I am primarily focusing on the Raspberry Pi 4, Pi 5, and Pi Zero 2W. Older models have specific constraints, such as incompatibility with 64-bit versions of the OS. Additionally, while you can technically install a graphical desktop environment on a Pi Zero 2W, I strongly advise against it due to the modest performance of the device. It is much better suited for headless (command-line) use.
Which OS Should You Choose?
Raspberry Pi Imager 2.0
The Raspberry Pi Imager is the official utility for installing operating systems on Raspberry Pi cards. Developed by the Raspberry Pi Foundation, it was originally launched in 2020. You can download it for Windows, Mac, and Linux here.
Version 2.0 was released in late 2024, introducing significant changes compared to the 1.X versions. These updates might surprise long-time users! Instead of the classic single screen with three buttons (Device, OS, Storage), you are now greeted by a step-by-step installation wizard.
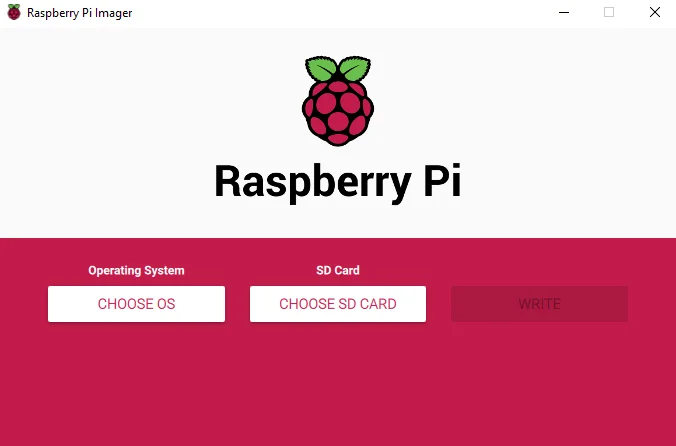 The legacy 1.X main screen
Step 1: Choose Your Device
The first step asks you to select your specific Raspberry Pi model. This is crucial because it filters the list of available operating systems in the next step. For example, selecting a “Raspberry Pi 2” will hide 64-bit OS options, whereas selecting a “Raspberry Pi 5” will unlock everything.
Step 2: Select the Operating System
For the majority of use cases, I recommend Raspberry Pi OS (64-bit). This is the official OS based on Debian—the same robust Linux distribution that Ubuntu is built upon.
If you scroll down, you will find other options tailored to specific needs:
-
Raspberry Pi OS (other): Includes “Lite” versions (headless, no desktop interface) and legacy versions.
-
Other General-Purpose OS: Includes alternatives like Ubuntu.
-
Media Player & Emulation OS: Specialized systems for retro-gaming or media centers (like LibreELEC or Recalbox).
My Personal Choice: I almost always choose Raspberry Pi OS, often in its Lite version. It is perfectly tailored for the hardware, comes with essential tools like raspi-config, and offers a blank canvas to build exactly what I need (whether it’s a Jellyfin media server or a Pi-hole DNS blocker).
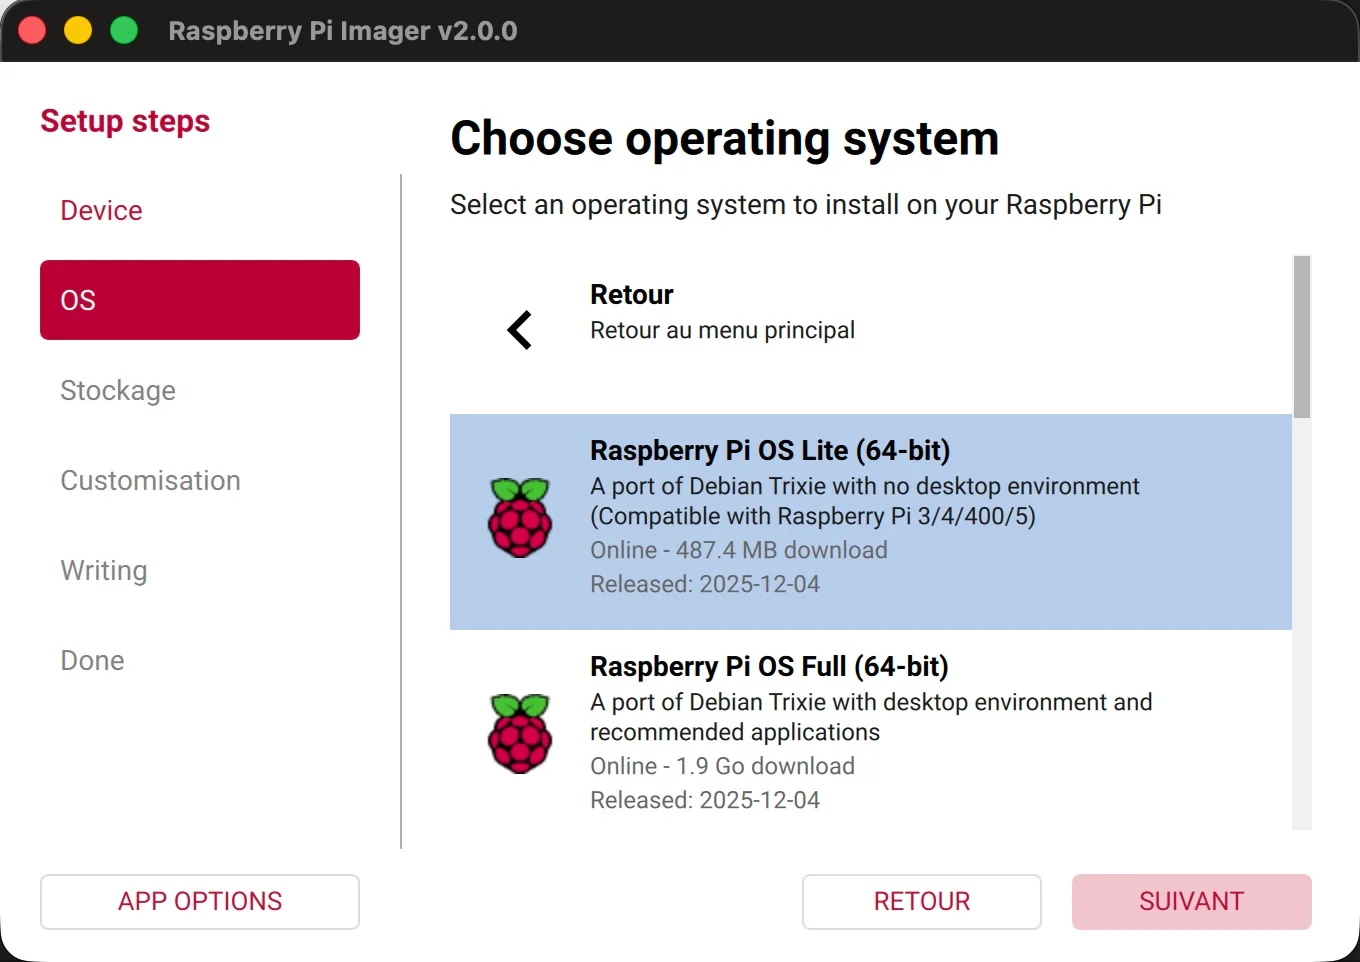
The choice of Raspberry Pi OS Lite (64-bit), aka “Raspbian”
Step 3: Storage and Configuration
Next, select your storage device (your SD card). You will then be prompted to customize the OS settings—a feature previously hidden in a specialized menu in older versions.
You can set:
-
Hostname: The name of your device on the network. This allows you to connect via
hostname.local(thanks to mDNS/Avahi). -
User Credentials: Set your username and password immediately (the default “pi/raspberry” login no longer exists for security reasons).
-
Wi-Fi Configuration: Enter your SSID and password so the Pi connects automatically on first boot.
Note for Pi Zero 2W Users: Remember that this board only supports Wi-Fi 4 (2.4 GHz) and not the faster Wi-Fi 5. Ensure your router allows 2.4 GHz connections. given the slower speeds, you might want to consider an Ethernet adapter for stability (see my previous post on accessories).
Step 4: SSH and Remote Access
If you plan to use your Pi without a monitor (headless), enable SSH here.
-
Password Authentication: Easier to set up.
-
Public Key Authentication: Highly recommended for security. Generating a password-protected SSH key pair prevents brute-force attacks.
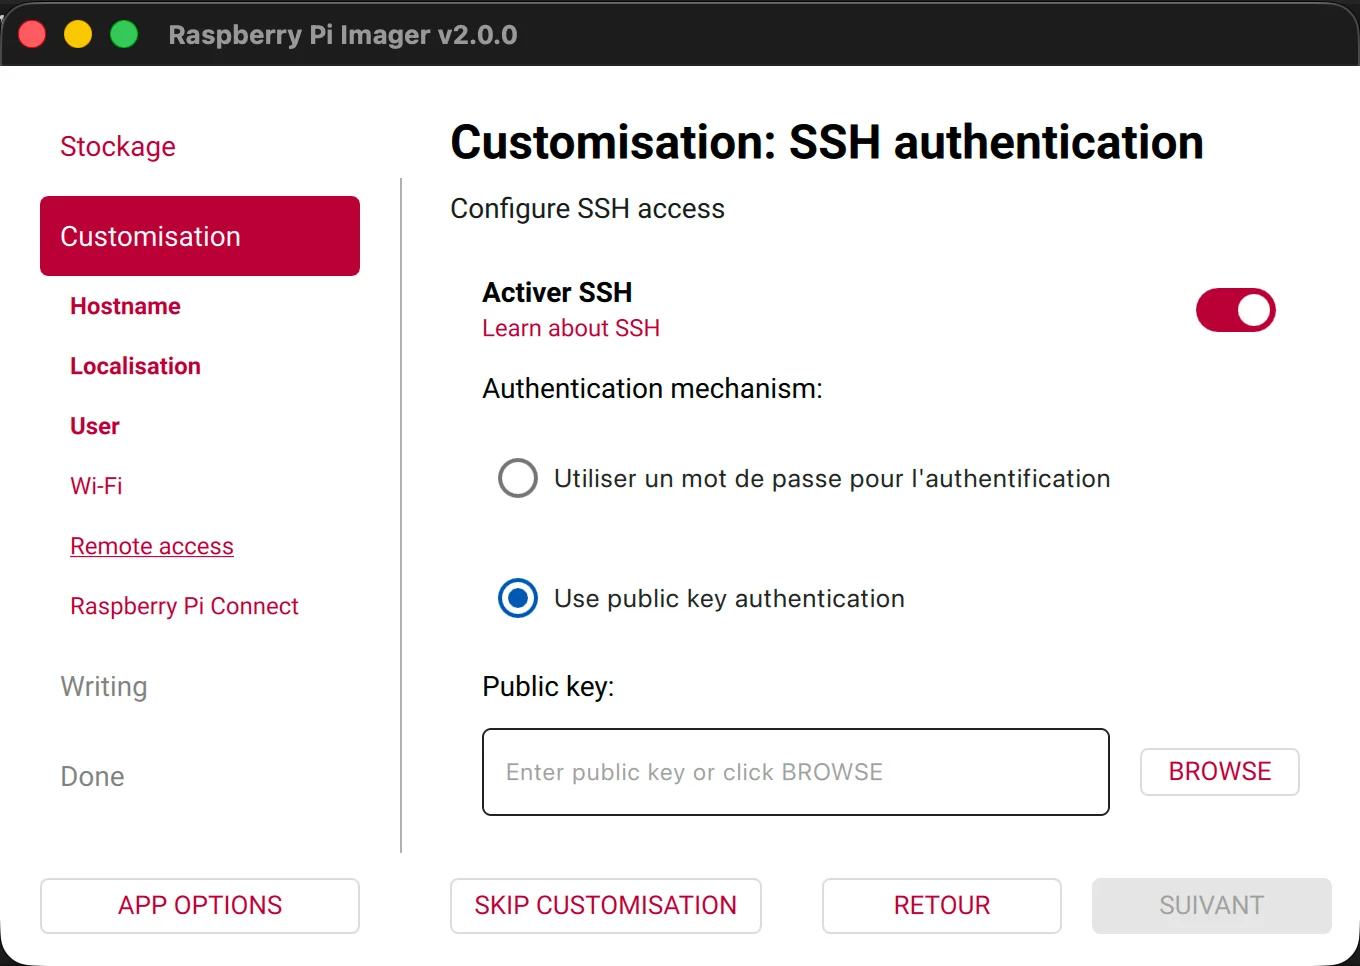
The SSH configuration screen
You can also set up Raspberry Pi Connect, a newer service that allows browser-based remote access from anywhere without port forwarding.
Security Tip: Only enable what you use. If you don’t need remote access, keep SSH and Connect disabled.
Step 5: Finalize and Write
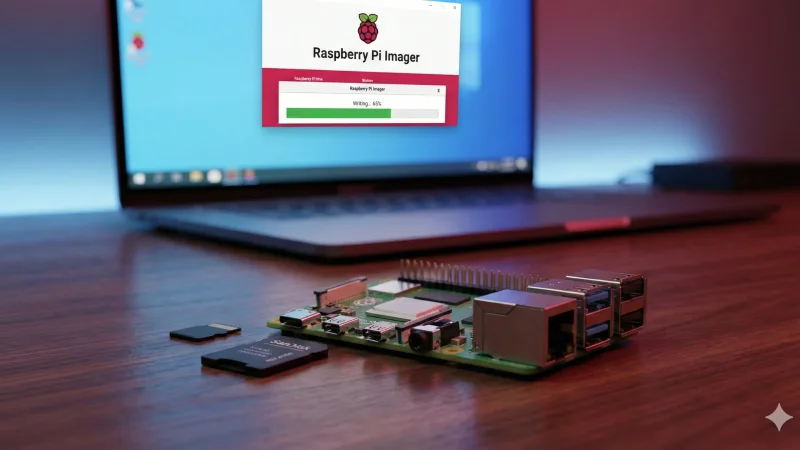
The wizard allows a few final tweaks (telemetry, sound settings) before showing a summary. Click “Next” to write the OS to the SD card. Once the verification bar completes, remove the SD card and insert it into your Raspberry Pi.
The First Boot
The next steps depend entirely on how you intend to use your Raspberry Pi. Here are the common scenarios:
Scenario A: Desktop Use (With Monitor)
This is the straightforward method. Plug in the SD card, keyboard, mouse, and HDMI cable before plugging in the power supply.
You should see a rainbow splash screen, followed by scrolling text (logs), and finally, the desktop interface.
Troubleshooting: If the screen remains black, check your HDMI connection. If the LEDs are flashing in a specific pattern, consult the official LED warning code documentation.
Scenario B: Remote Use via SSH
If you enabled SSH in the Imager, the connection process depends on the authentication method you chose during the setup (Password or Public Key).
-
Power on the Pi and wait about 2 minutes for it to complete the first boot and connect to Wi-Fi.
-
Open a terminal (Linux/macOS) or PowerShell (Windows).
-
Type the connection command:
Bash
ssh username@hostname.local(Replace
usernameandhostnamewith the values you defined in the Imager). -
Authentication Step:
-
If you chose Password Authentication: The terminal will ask for your password. Type the password you created in the Imager wizard (note that nothing will appear on screen while typing) and press Enter.
-
If you chose Public Key Authentication:
-
Standard Case: If your private key is stored in the default location (
~/.ssh/id_rsa), the connection should happen automatically without a password. -
Specific Key File: If you generated a specific key pair for this device or if your private key is stored elsewhere, you must specify the path to your private key file using the
-iflag:
Bash
ssh -i /path/to/your/private_key_file username@hostname.local(Note: Ensure your private key file has the correct permissions by running
chmod 600 /path/to/your/keyon Linux/Mac before connecting). -
-
-
On the very first connection, you will be asked to confirm the “authenticity of host”. Type
yesto proceed. You are now connected!
Scenario C: Remote Desktop via VNC
The setup wizard does not enable VNC by default. If you need a graphical interface remotely:
-
Connect via SSH first.
-
Run
sudo raspi-config. -
Navigate to Interface Options > VNC and enable it.
-
Download a VNC Viewer on your computer and connect using the Pi’s IP address.
Scenario D: Raspberry Pi Connect
If you configured this in the Imager, simply log in to the Raspberry Pi Connect dashboard via your web browser. You should see your device listed there, ready to be controlled remotely.
Conclusion
Installing an OS on a Raspberry Pi has never been easier thanks to the updates in Imager 2.0. Whether you are building a complex home server or a simple retro console, the key is getting this initial setup right. Now that your system is running, don’t forget the golden rule of Linux: run sudo apt update && sudo apt upgrade to make sure your system is up to date!