
Deploying Plausible with Docker: A Lightweight Matomo Alternative
My Personal Need for Web Analytics
Web analytics involves gathering, measuring, and analyzing user behavior data on a website. For companies building consumer products, measuring this data is crucial. It allows them to monitor product popularity, track usage peaks, and measure the impact of new features—specifics that vary heavily depending on the audience and product type.
That is not my situation. I run a blog, and I simply want to keep an eye on visit counts. My goal is to get a rough idea of my blog’s popularity, identify trending articles, and gain basic insights into visitor demographics and browser usage.
When looking for analytics solutions, the undisputed leader is Google Analytics. However, as noted in this article, its market share is declining, largely due to fundamental incompatibilities with modern data protection regulations. Google Analytics (UA/GA4) has faced bans in several jurisdictions for failing to comply with GDPR standards set by authorities like the CNIL between 2020 and 2023. Consequently, privacy-focused, GDPR-compliant solutions are gaining traction. One of the most prominent is Matomo, a comprehensive alternative to Google Analytics.
I won’t dive too deep into Matomo, as I am not an expert and my use case is extremely basic: tracking visitor numbers. I initially adopted it for two main reasons:
-
GDPR Compliance: It’s one of the few solutions that doesn’t legally require a cookie banner.
-
Self-Hosting: Beyond my passion for self-hosting, owning the infrastructure guarantees total control over how visitor data is used.
In this article, I will detail how to install Matomo. Then, I will explain why I eventually sought an alternative and why I switched to Plausible. Finally, I’ll provide a guide on how to deploy Plausible on your own infrastructure.
Part 1: Matomo
According to its creators, Matomo is the “Google Analytics alternative that protects your data and your customers’ privacy.” Used by over a million websites, it is recognized as GDPR-compliant by the CNIL, the French administrative body dedicated to data privacy.
Matomo offers both a SaaS solution and an on-premise self-hosted version. I chose the latter. It can be deployed via a web server script, a WordPress plugin, or Docker. I will focus on the Docker implementation using Docker Compose and MariaDB, deployed on a Raspberry Pi 5 (Raspbian OS Lite 64-bit).
Installation
Here is the docker-compose.yml:
networks:
  matomo_default:

services:
  matomo-db:
    container_name: "matomo-db"
    environment:
      - "MARIADB_AUTO_UPGRADE=1"
      - "MARIADB_DISABLE_UPGRADE_BACKUP=1"
      - "MYSQL_ROOT_PASSWORD=${MYSQL_ROOT_PASSWORD}"
      - "LANG=C.UTF-8"
    expose:
      - "3306/tcp"
    image: "mariadb:latest"
    networks:
      - "matomo_default"
    restart: "always"
    volumes:
      - "matomo-db:/var/lib/mysql"

  matomo-app:
    container_name: "matomo-app"
    image: "matomo:latest"
    networks:
      - "matomo_default"
    environment:
      - "MATOMO_DATABASE_HOST=matomo-db"
    ports:
      - "8080:80/tcp"
    restart: "always"
    volumes:
      - "matomo-data:/var/www/html"

volumes:
    matomo-db:
    matomo-data:
You must create a .env file containing a strong root password for MariaDB:
MYSQL_ROOT_PASSWORD=a_super_strong_and_secret_passwordNote: If you prefer binding volumes to local host folders, ensure you assign the correct ownership. For a folder named matomo-data:
sudo chown -R www-data:www-data matomo-dataLaunch the stack:
docker compose up -dNext, configure your DNS to point your domain to port 8080 of your host (via reverse proxy). If you are unfamiliar with this, check out my previous guide on DNS and routing.
Tip: Perform the setup wizard through your public domain URL. This saves you from manually editing PHP config files later to whitelist your domain.
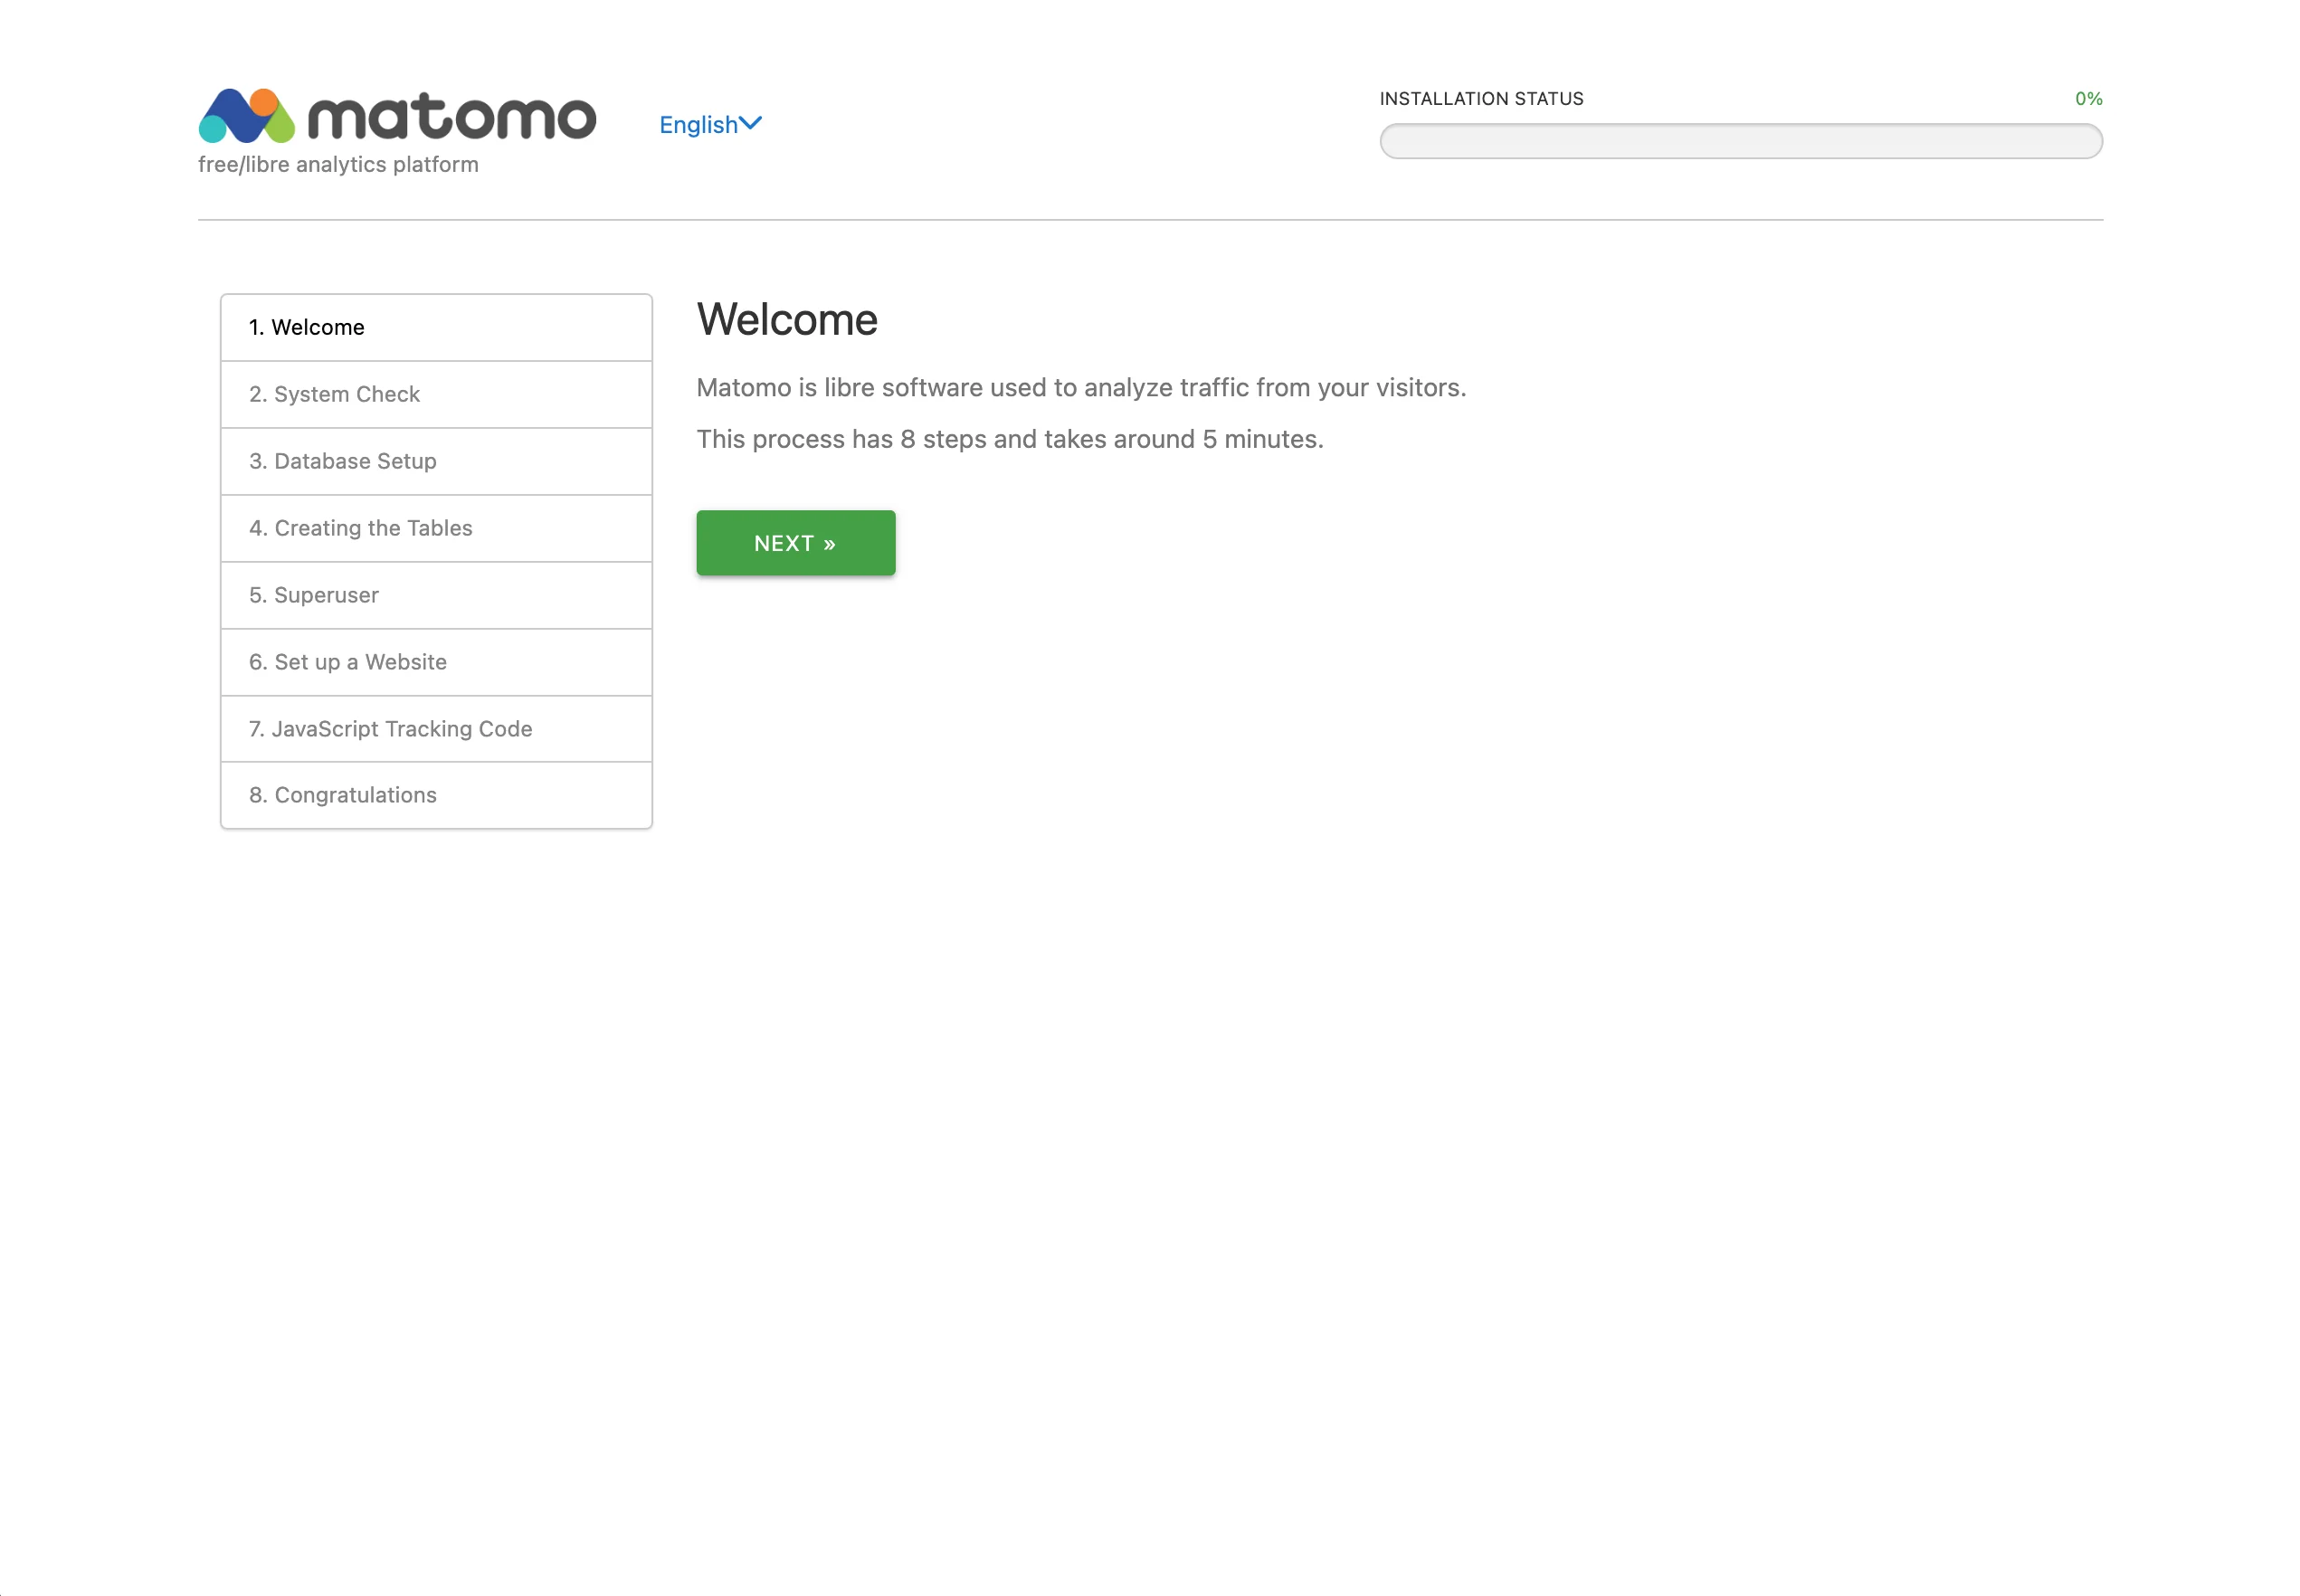 First step of the Matomo setup
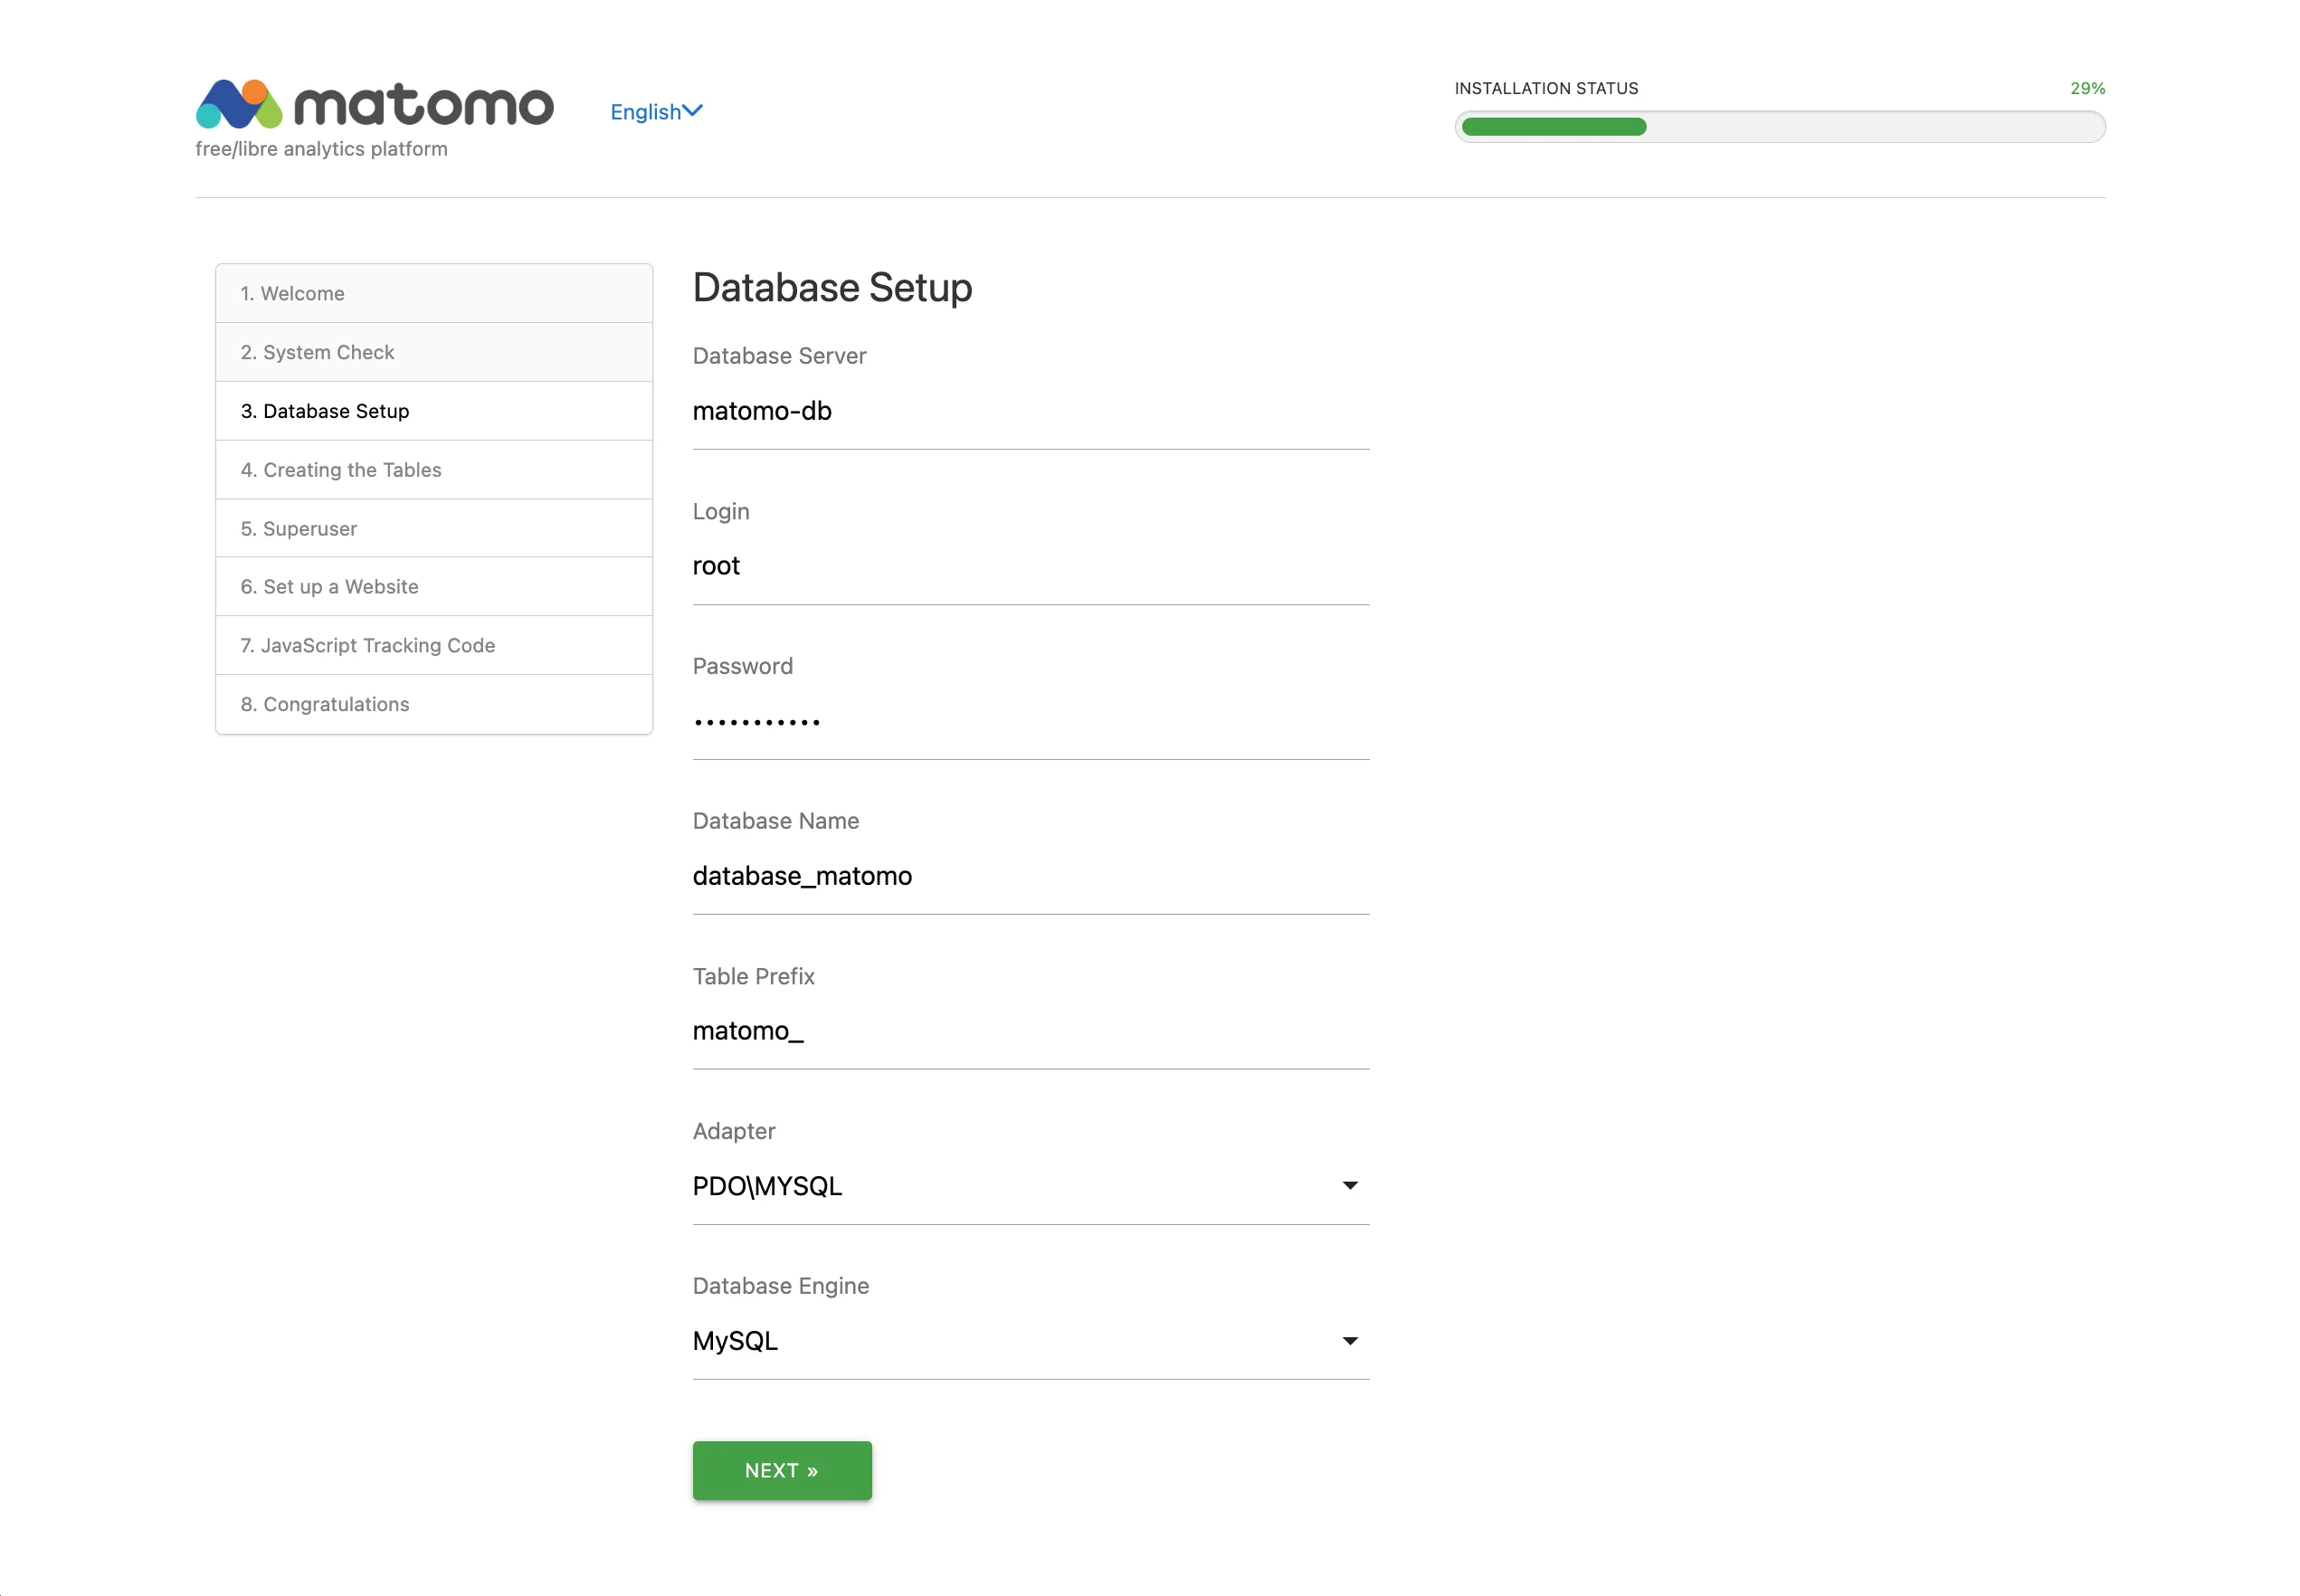
Follow the wizard:
-
Database Server:
matomo-db -
Login:
root -
Password: (from your
.envfile) -
Database Name:
matomo -
Adapter:
PDO/MYSQL
 Second step of the Matomo setup
Create your admin credentials, define your website URL, and copy the provided tracking code.
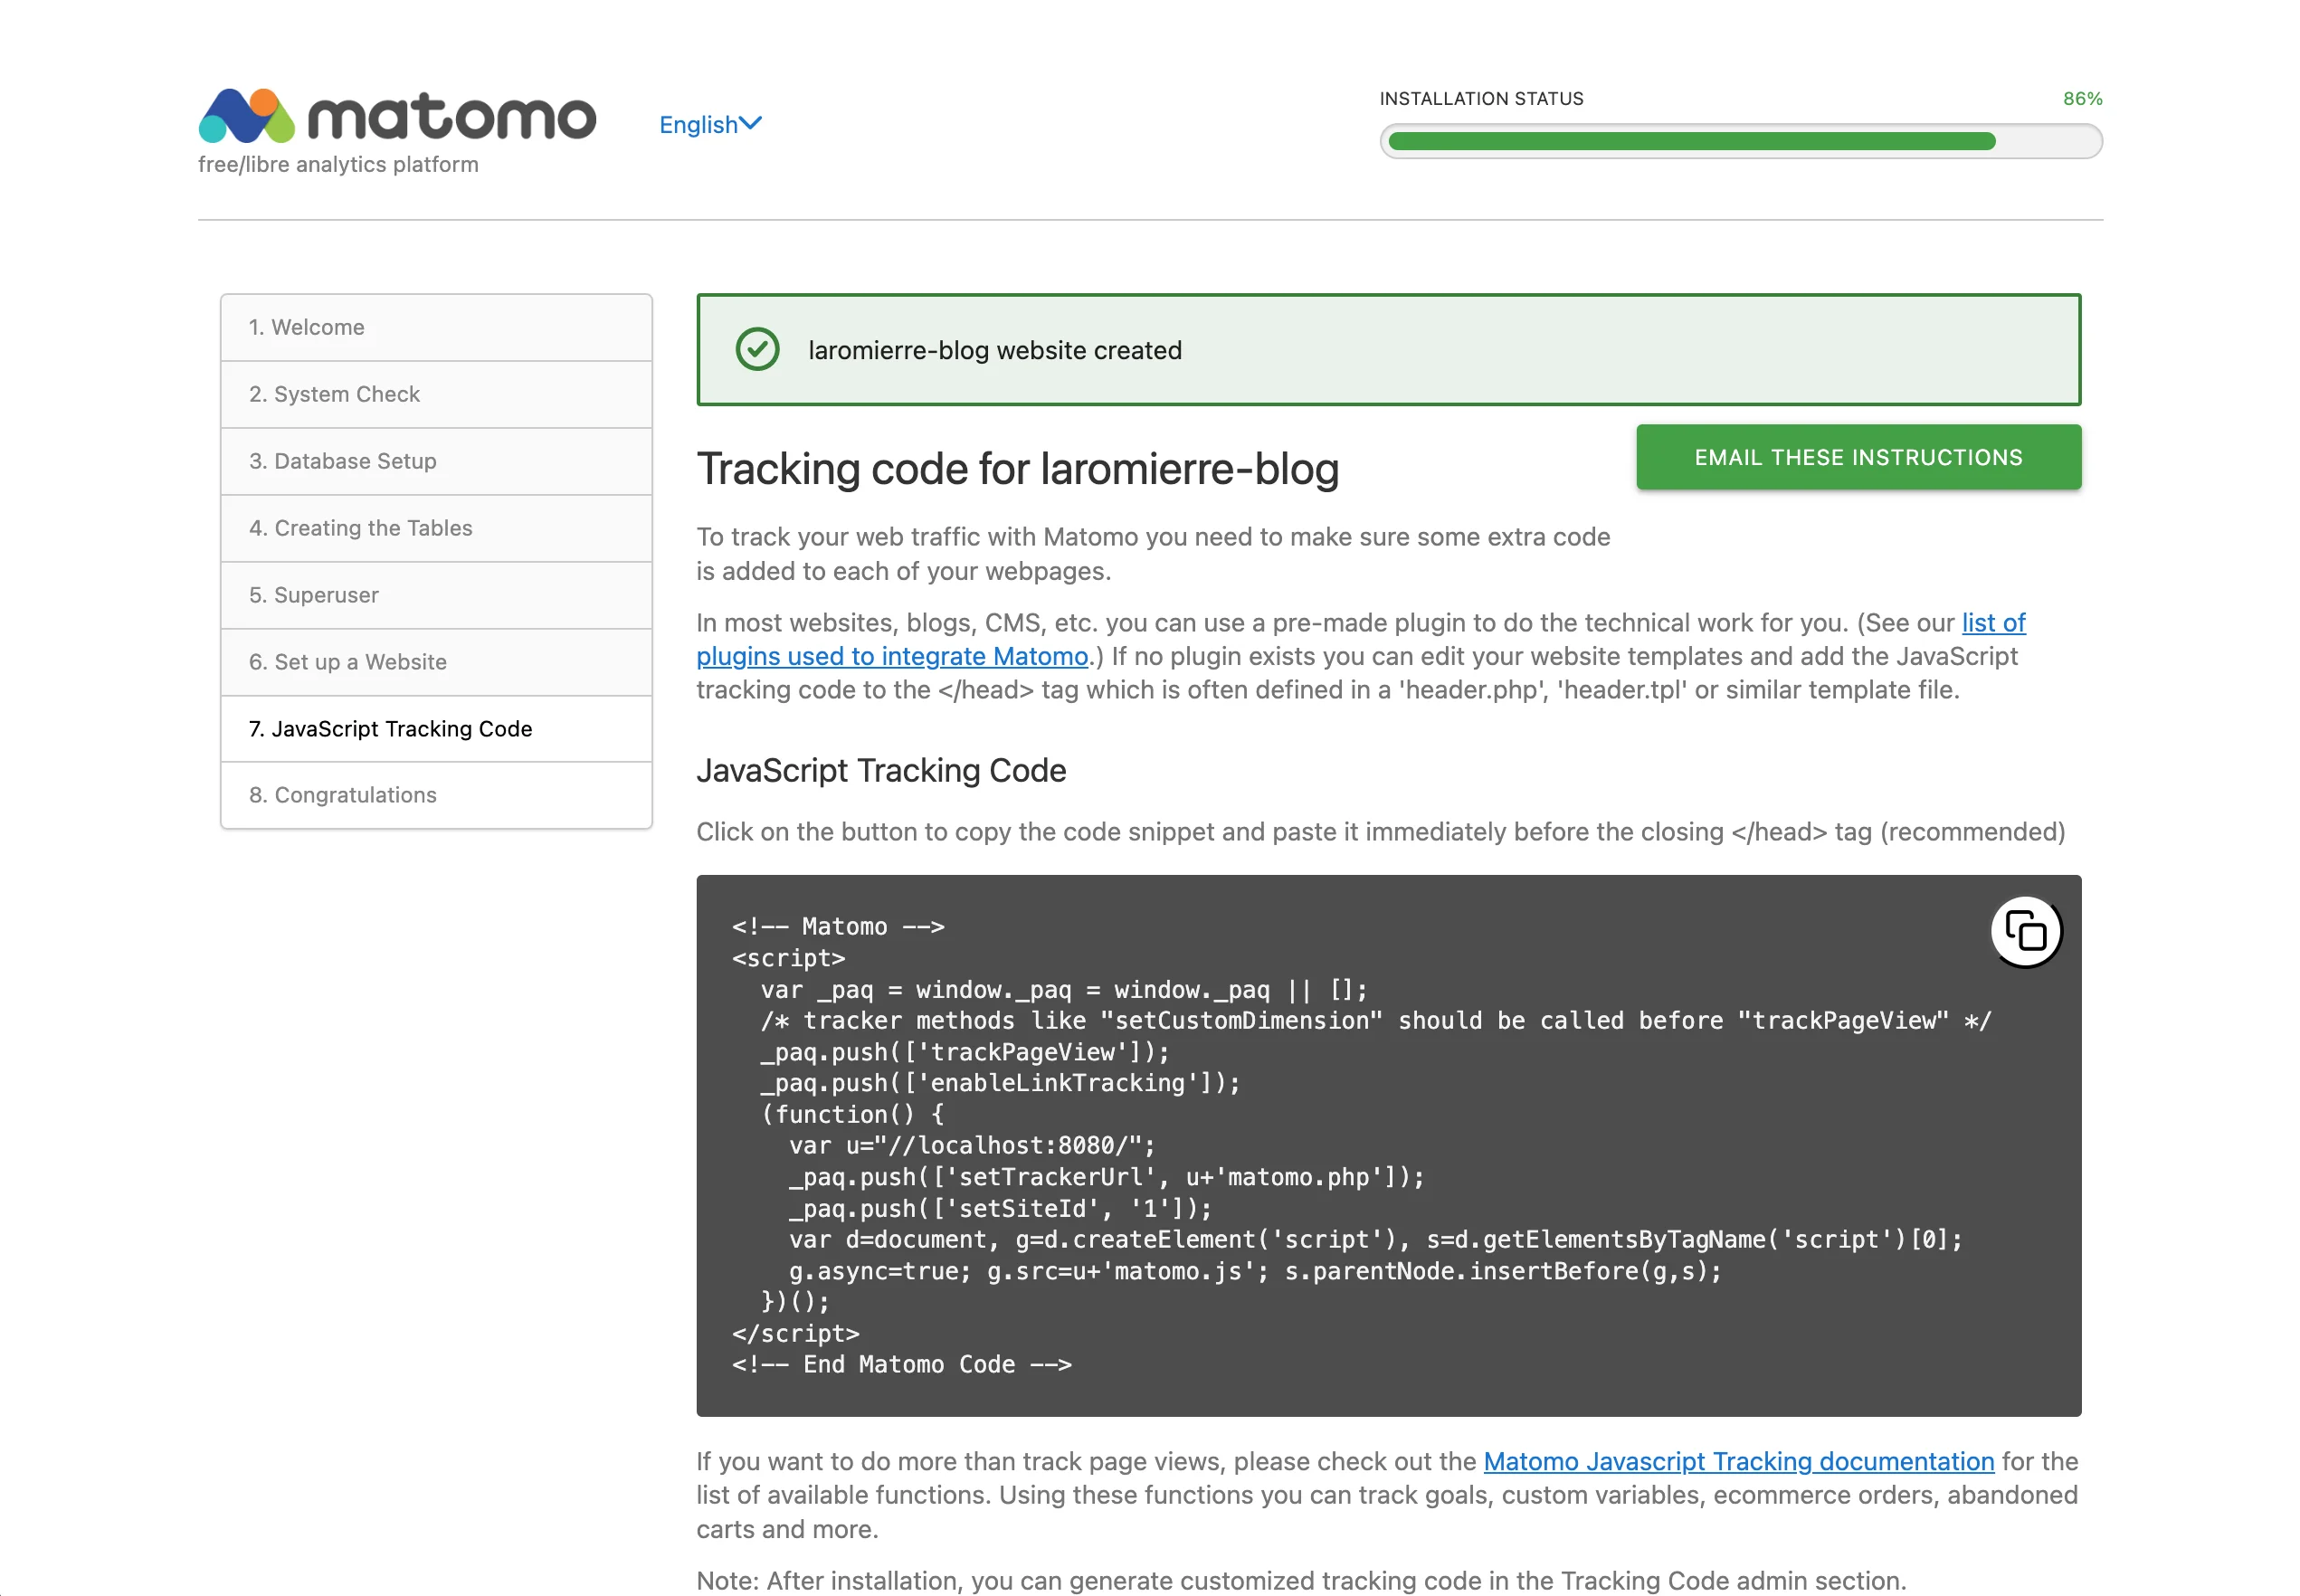 Last step of the Matomo setup
Insert this snippet into your website’s <head>. If you use Content Security Policy (CSP) headers, you must whitelist Matomo:
script-src-elem
    ...
    https://matomo.laromierre.com/matomo.js
    https://matomo.laromierre.com/index.php

connect-src
    ...
    https://matomo.laromierre.com/
For more on CSPs, see my article on Hugo security headers.
Addendum: Privacy Policy
Even with privacy-friendly tools, transparency is key. I recommend drafting a privacy policy inspired by Matomo’s own policy and including an opt-out iframe:
<div id="matomo-opt-out"></div>
<script src="https://my-matomo-site.org/index.php?module=CoreAdminHome&action=optOutJS&div=matomo-opt-out"></script>
Moving from Matomo to Plausible
Matomo is reliable and robust, but I found it overkill. My needs are minimal: page views and visitor counts. I don’t need complex funnels or heatmaps.
I wanted something lightweight, Docker-friendly, and dead simple to configure. My research led me to Plausible.
Why Plausible?
Plausible positions itself as an “easy to use and privacy-friendly Google Analytics alternative.” It is:
-
Open Source: Available on GitHub.
-
Self-Hostable: Fits my infrastructure.
-
Lightweight: The script is < 1 KB (vs Matomo’s heavier payload).
-
Cookie-less: It goes further than Matomo by not using cookies at all.
Matomo vs Plausible: At a Glance
Before installing, here is a quick breakdown of why Plausible suited my needs better:
| Feature | Matomo (On-Premise) | Plausible (Self-Hosted) |
|---|---|---|
| Complexity | High (Many features) | Low (Essential metrics only) |
| Script Size | ~22 KB | < 1 KB |
| Cookies | Yes (Can be disabled) | No (Cookie-less by design) |
| Database | MariaDB/MySQL | ClickHouse + PostgreSQL |
| UI/UX | Dense, Enterprise-like | Clean, Minimalist |
| Resource Usage | Moderate to High | Very Low |
For a detailed comparison (albeit biased), check out Plausible vs Matomo.
Installation and Configuration
Back-end (Docker Compose)
Start by cloning the Plausible Community Edition.
I recommend renaming compose.yml to docker-compose.yml and modifying it directly instead of using override files for simplicity. I strongly recommend using a reverse proxy like Traefik.
Here is a streamlined docker-compose.yml:
services:
  plausible_db:
    image: postgres:16-alpine
    restart: always
    volumes:
      - db-data:/var/lib/postgresql/data
    environment:
      - POSTGRES_PASSWORD=postgres
    healthcheck:
      test: ["CMD-SHELL", "pg_isready -U postgres"]
      start_period: 1m

  plausible_events_db:
    image: clickhouse/clickhouse-server:24.3.3.102-alpine
    restart: always
    volumes:
      - event-data:/var/lib/clickhouse
      - event-logs:/var/log/clickhouse-server
      - ./clickhouse/logs.xml:/etc/clickhouse-server/config.d/logs.xml:ro
      - ./clickhouse/ipv4-only.xml:/etc/clickhouse-server/config.d/ipv4-only.xml:ro
      - ./clickhouse/low-resources.xml:/etc/clickhouse-server/config.d/low-resources.xml:ro
    ulimits:
      nofile:
        soft: 262144
        hard: 262144
    healthcheck:
      test: ["CMD-SHELL", "wget --no-verbose --tries=1 -O - http://127.0.0.1:8123/ping || exit 1"]
      start_period: 1m

  plausible:
    image: ghcr.io/plausible/community-edition:v2.1.5
    restart: always
    ports:
      - "80:80"
    command: sh -c "/entrypoint.sh db createdb && /entrypoint.sh db migrate && /entrypoint.sh run"
    depends_on:
      plausible_db:
        condition: service_healthy
      plausible_events_db:
        condition: service_healthy
    volumes:
      - plausible-data:/var/lib/plausible
    ulimits:
      nofile:
        soft: 65535
        hard: 65535
    environment:
      - TMPDIR=/var/lib/plausible/tmp
      - BASE_URL=${BASE_URL}
      - SECRET_KEY_BASE=${SECRET_KEY_BASE}
      - HTTP_PORT=80

volumes:
  db-data:
  event-data:
  event-logs:
  plausible-data:
Run the stack:
docker compose up -dAccess the dashboard at http://<host-ip> (or your configured domain) to create your account.
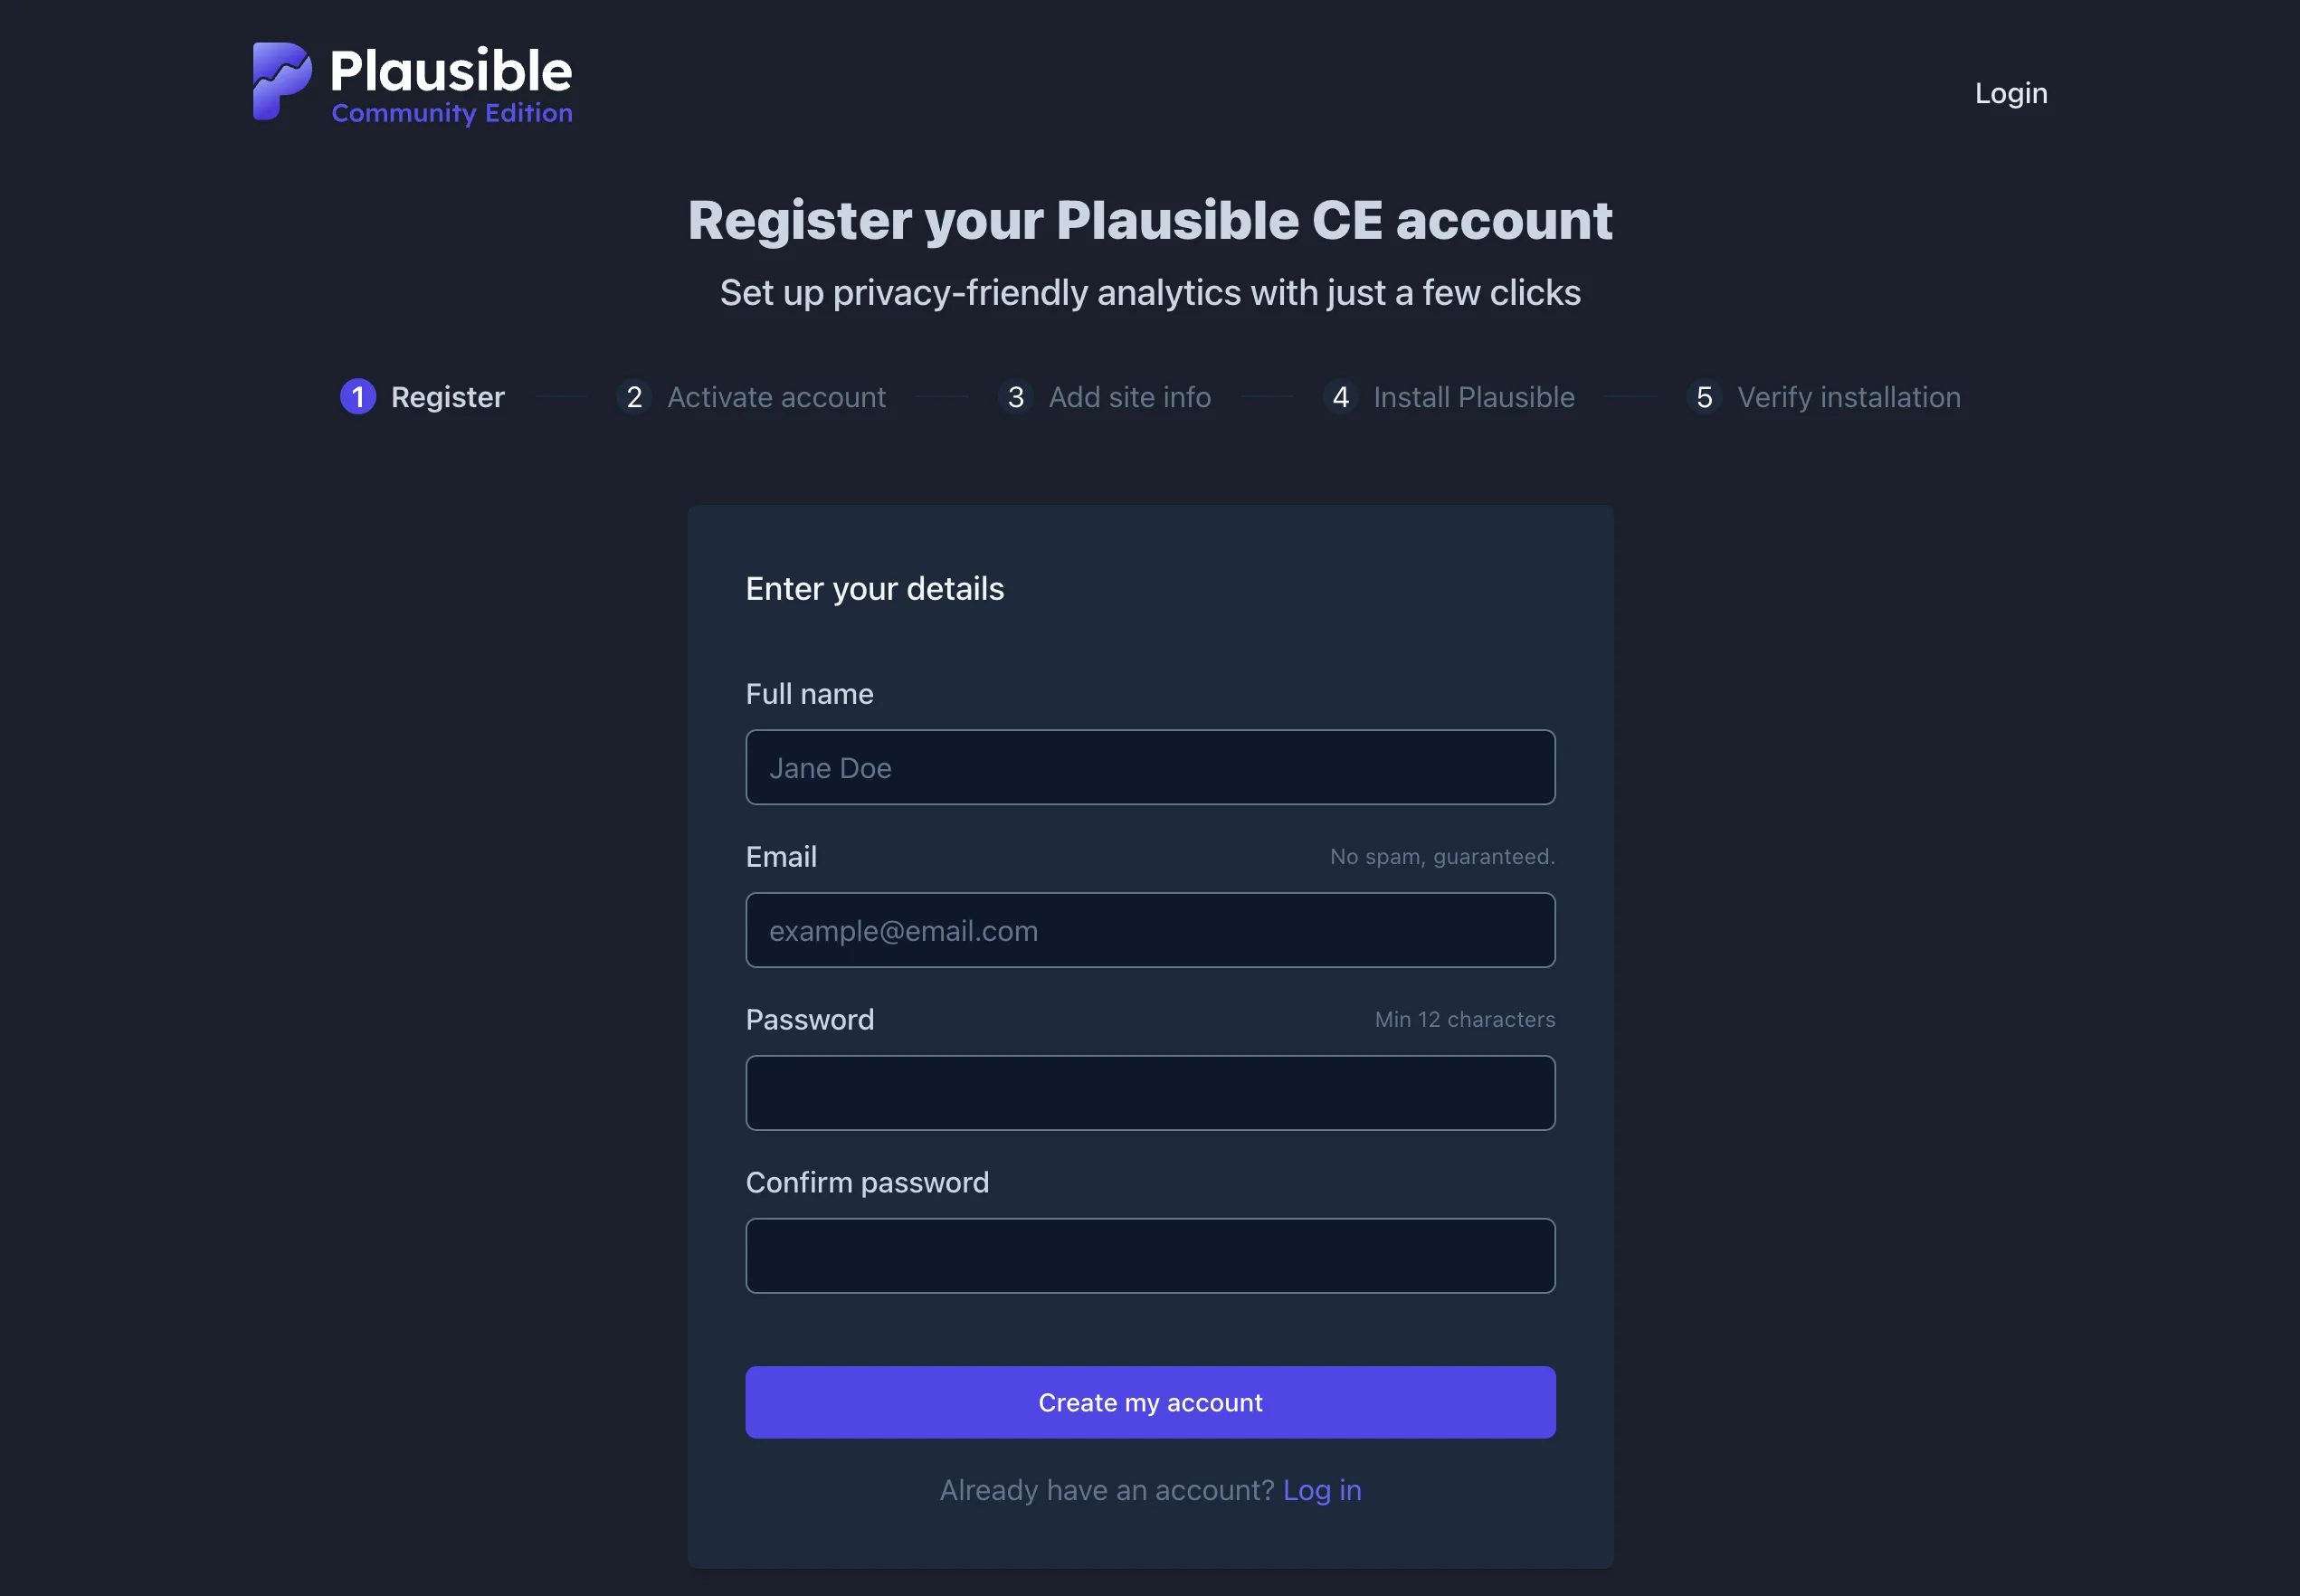 Plausible setup screen
(For advanced configurations like External PostgreSQL or Docker Swarm, please refer to the snippets in the original code blocks above).
Front-end Configuration
After setting up your account and defining your domain, Plausible provides a snippet:
<script defer data-domain="${label}" src="${plausible_domain}/js/script.js"></script>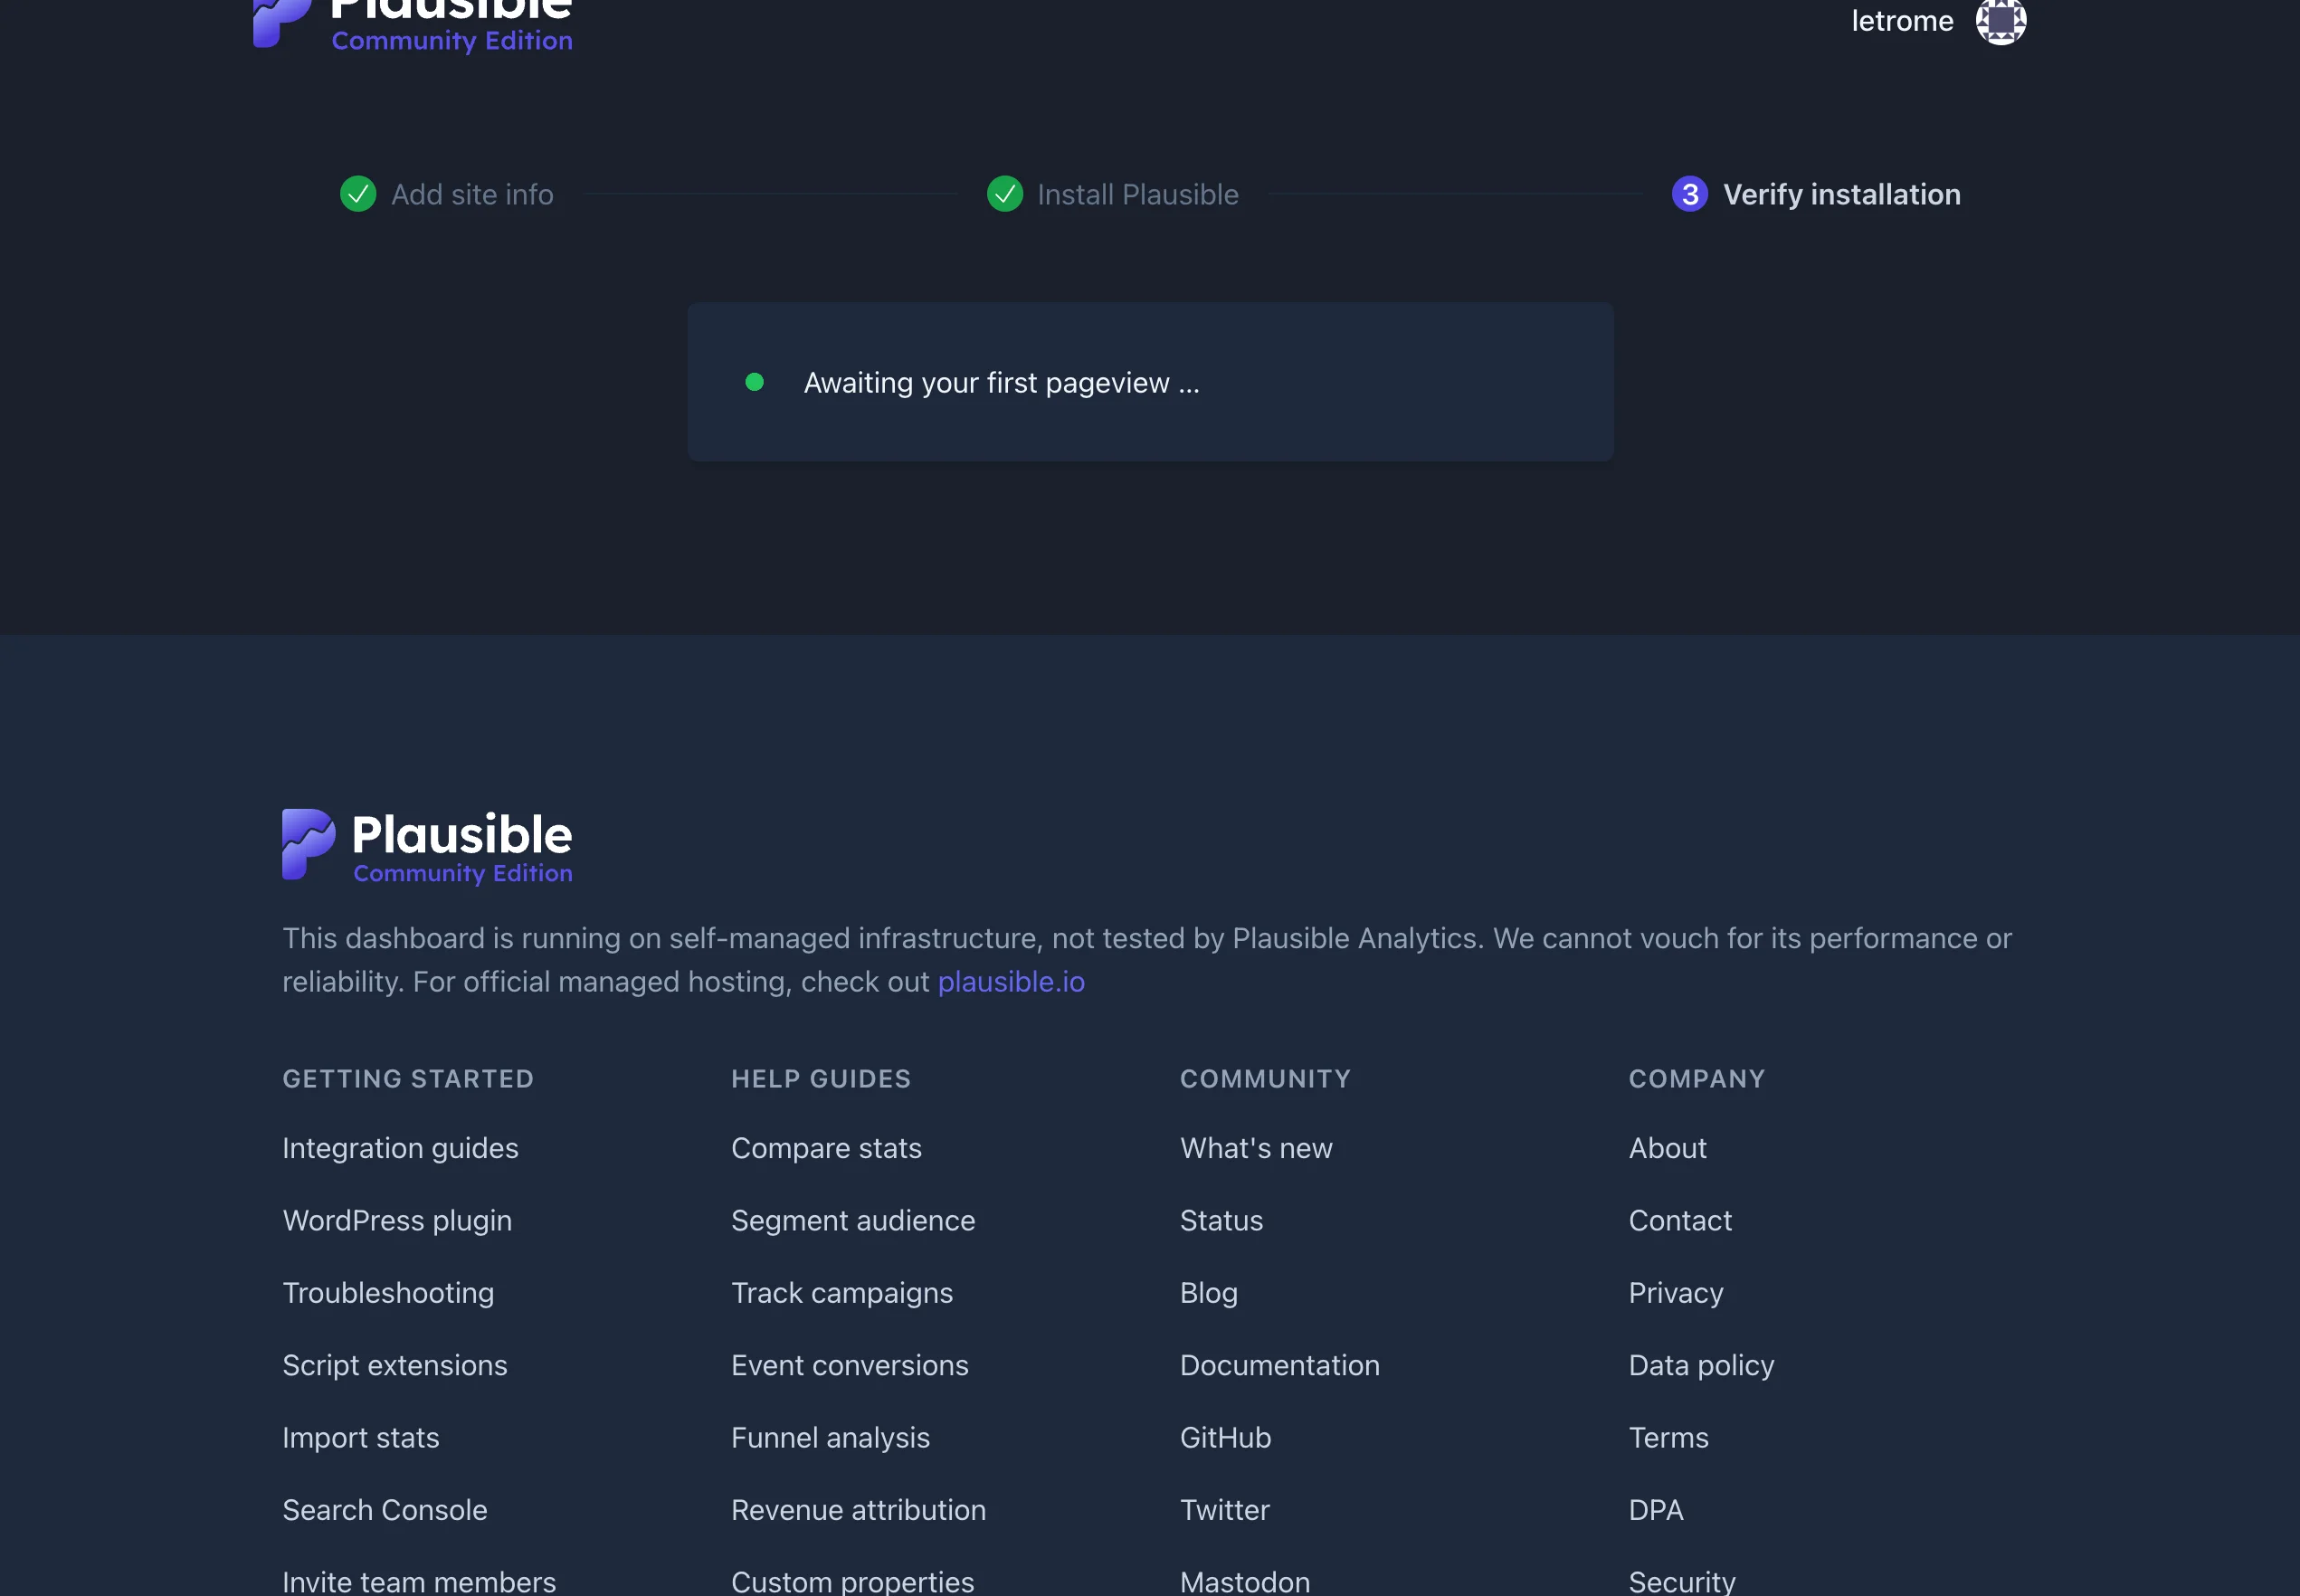
Awaiting first pageview
Integration with Hugo
For my Hugo blog, I used the plausible-hugo module, which simplifies the process:
-
Add the module to
config.toml:[module] [[module.imports]] path = "github.com/divinerites/plausible-hugo" -
Configure settings:
[plausible] enable = true selfhosted_domain = "myplausible.example.com" domain = "my-domain-id" -
Initialize:
hugo mod init github.com/divinerites/plausible-hugo hugo mod get -u -
Inject the partial in your
<head>:{{ partial "plausible_head.html" . }}
If you are hosting on Netlify with CSP headers, you’ll need to proxy the scripts to avoid ad-blockers. Add this to netlify.toml:
[[redirects]]
  from = "/misc/js/script.js"
  to = "https://plausible.io/js/script.js"
  status = 200
  force = true

[[redirects]]
  from = "/misc/api/event"
  to = "https://plausible.io/api/event"
  status = 200
  force = true
And update your CSP:
script-src-elem https://plausible.laromierre.com/js/script.file-downloads
connect-src https://plausible.laromierre.com
Once deployed, visit your site, and your Plausible dashboard should light up!
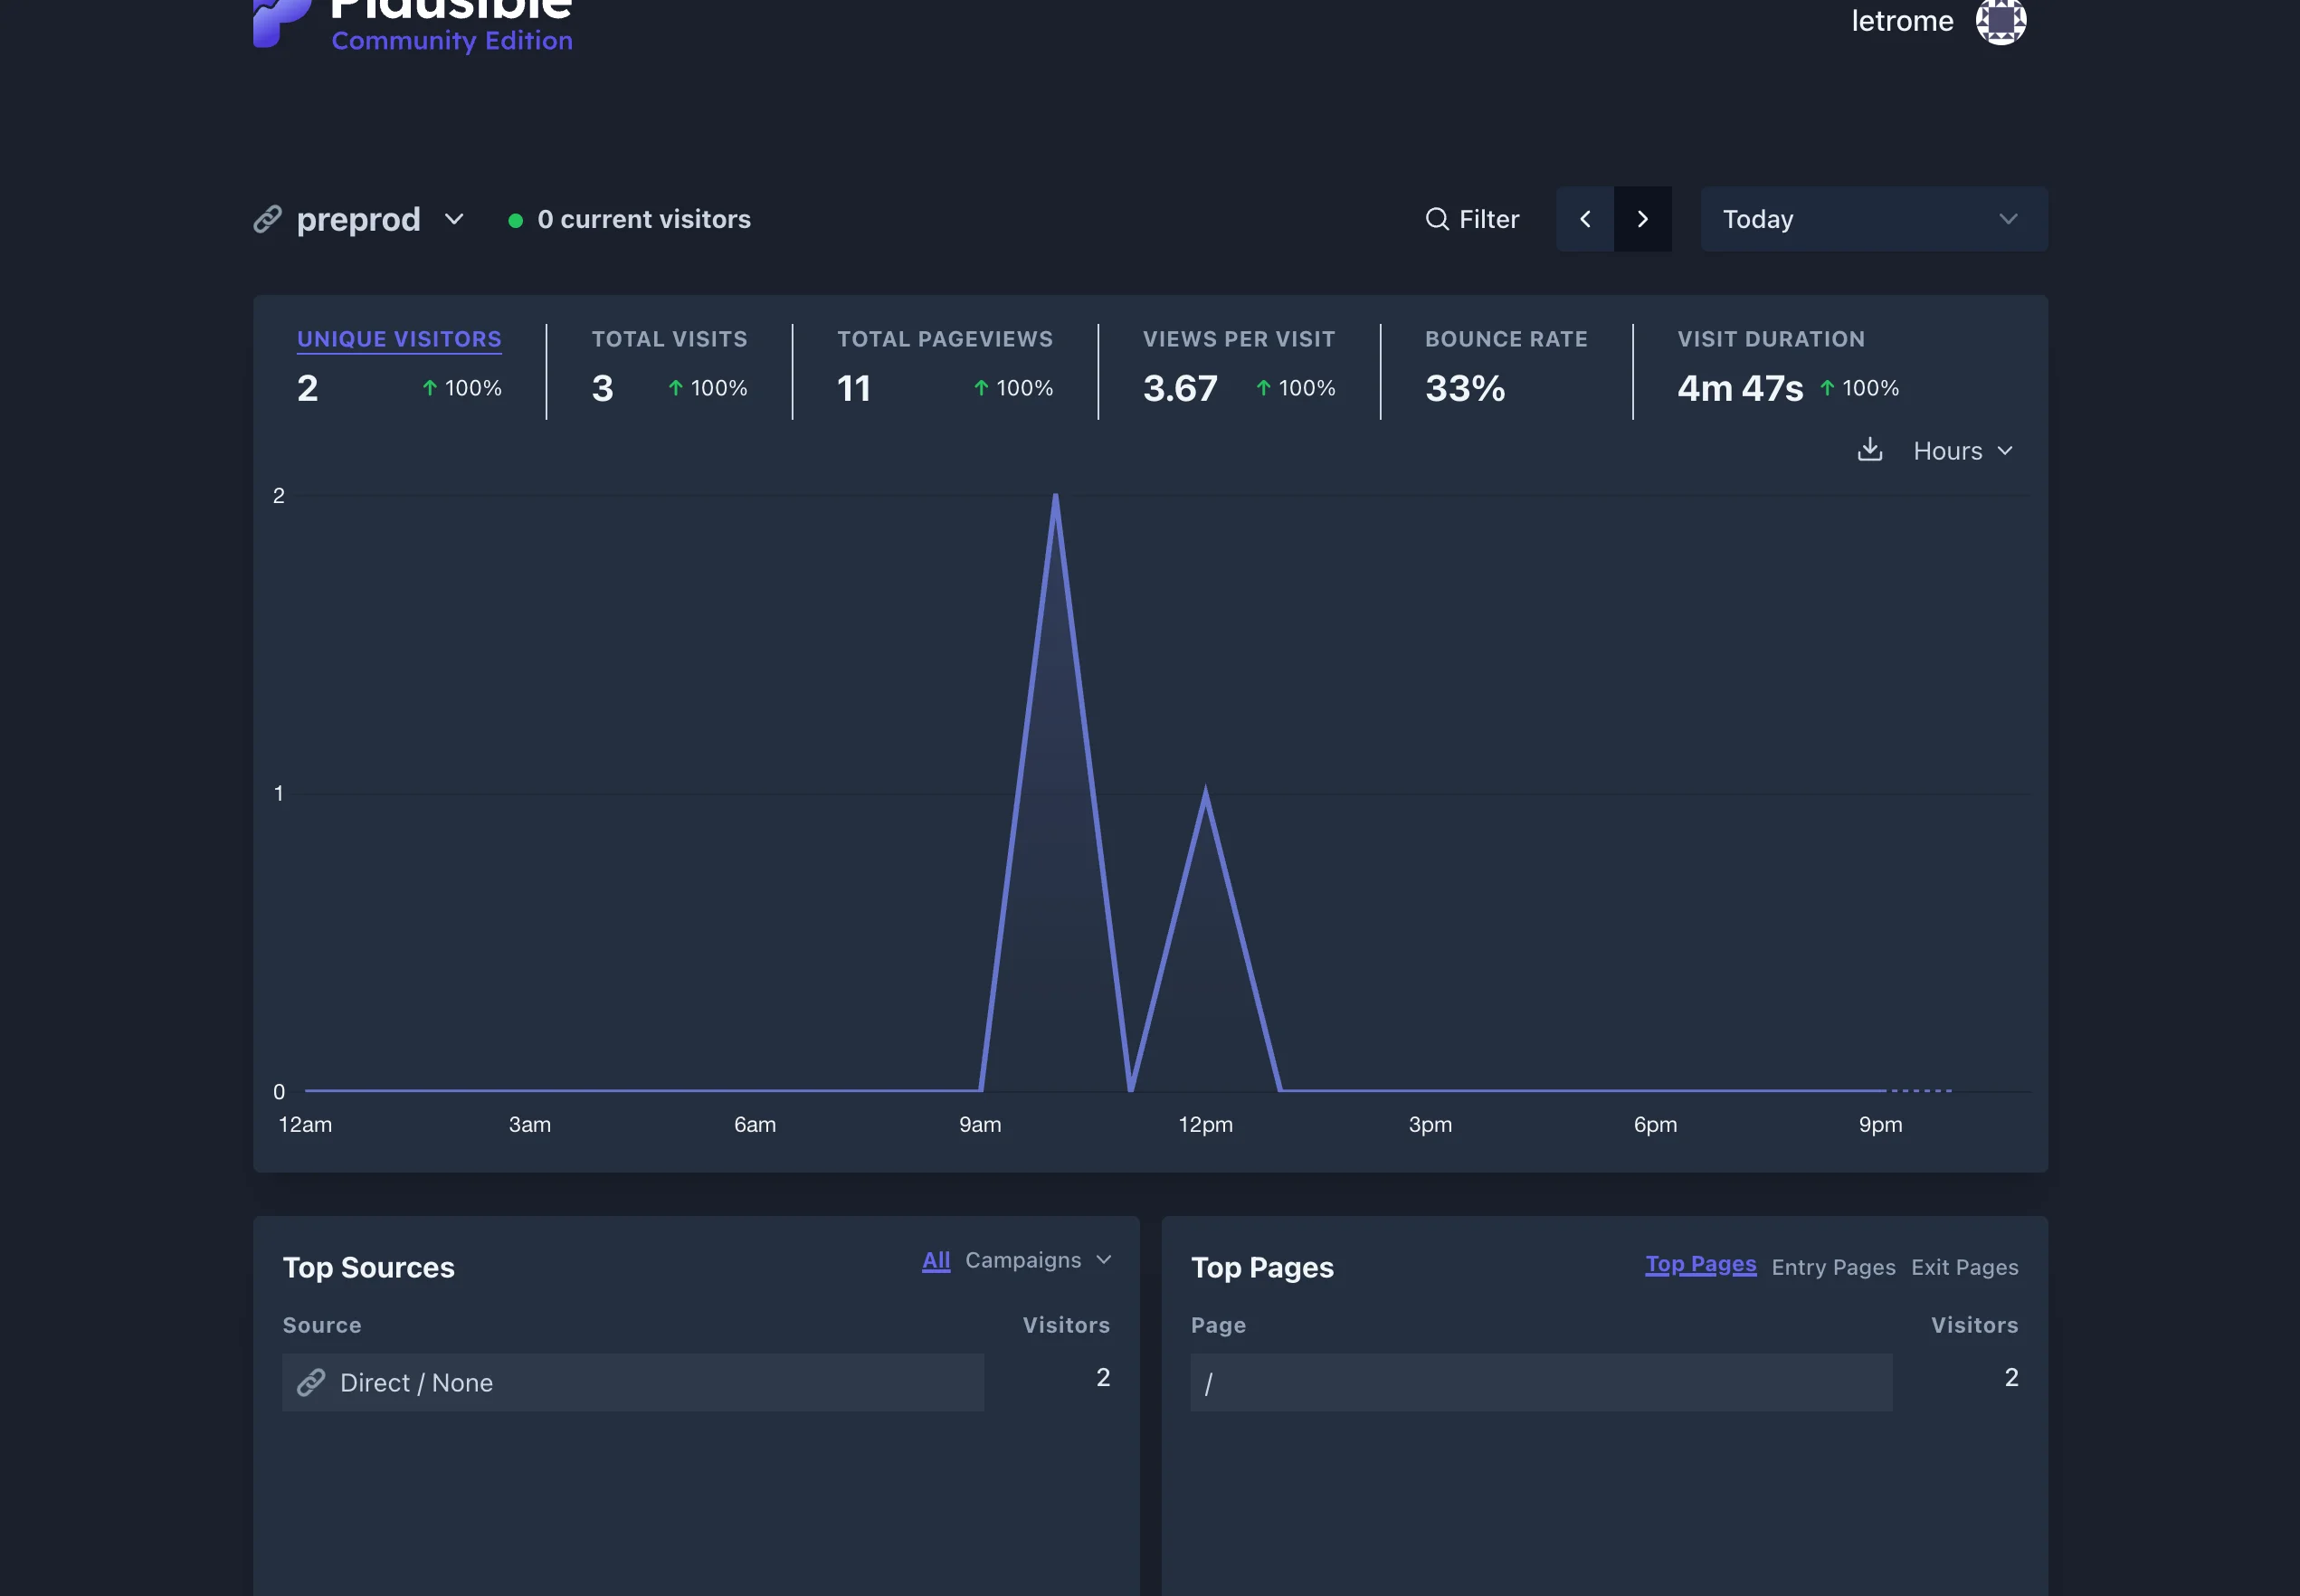 Plausible dashboard with data
Conclusion
My journey from Matomo to Plausible highlights the importance of choosing the right tool for the job. Both are excellent, GDPR-compliant alternatives to Google Analytics. However, for a personal blog or a small project, Plausible’s lightweight, privacy-first, and “set-and-forget” approach makes it the superior choice.
It respects your resources (RAM/CPU) and your users’ data equally. If you want analytics that just work without the bloat, I highly recommend making the switch.