
How to Mount ext4 on macOS: The Free & Easy Way
Have you ever needed to mount an ext4 volume on a Mac to recover data from an old Linux hard drive? Or perhaps you need to rescue files from a Raspberry Pi SD card after a failed upgrade rendered the system unbootable?
I have been there more often than I’d like to admit. Unfortunately, the process usually demands an unreasonable amount of effort, time, and patience. My past attempts often left my system cluttered with the remnants of hazardous software installations that failed to deliver.
I wrote this guide to share the solutions that actually work.
My Top Choice: anylinuxfs
While desperately searching for a decent solution to mount an SD card from a defunct Raspberry Pi, I stumbled upon anylinuxfs. I tested it, and frankly, I was surprised by how seamlessly it worked.
This is currently the best option if you need to mount an ext4 partition on macOS without a headache.
How it works: Under the hood, anylinuxfs runs a lightweight Linux virtual machine with physical disk access and exposes the mounted filesystem to the host. This approach bypasses the lack of native kernel support for ext4 in macOS.
Installation
You can install it easily via Homebrew:
Bash
brew tap nohajc/anylinuxfs
brew install anylinuxfsSinceanylinuxfs relies on a micro-VM, file transfer speeds might be slower than native drivers like Paragon. It is perfect for copying configuration files or small backups, but might be sluggish for transferring terabytes of data.
Usage
To mount your partition, run the following command:
Bash
sudo anylinuxfs /dev/disk6s2 # Mounts the partition in FinderTo find your specific drive identifier:
-
Open Disk Utility.
-
Ensure “Show All Devices” is selected in the “View” menu.
-
Select the volume containing the partition you want to mount.
-
Locate the “Device” name (e.g.,
diskXcY) in the details pane.
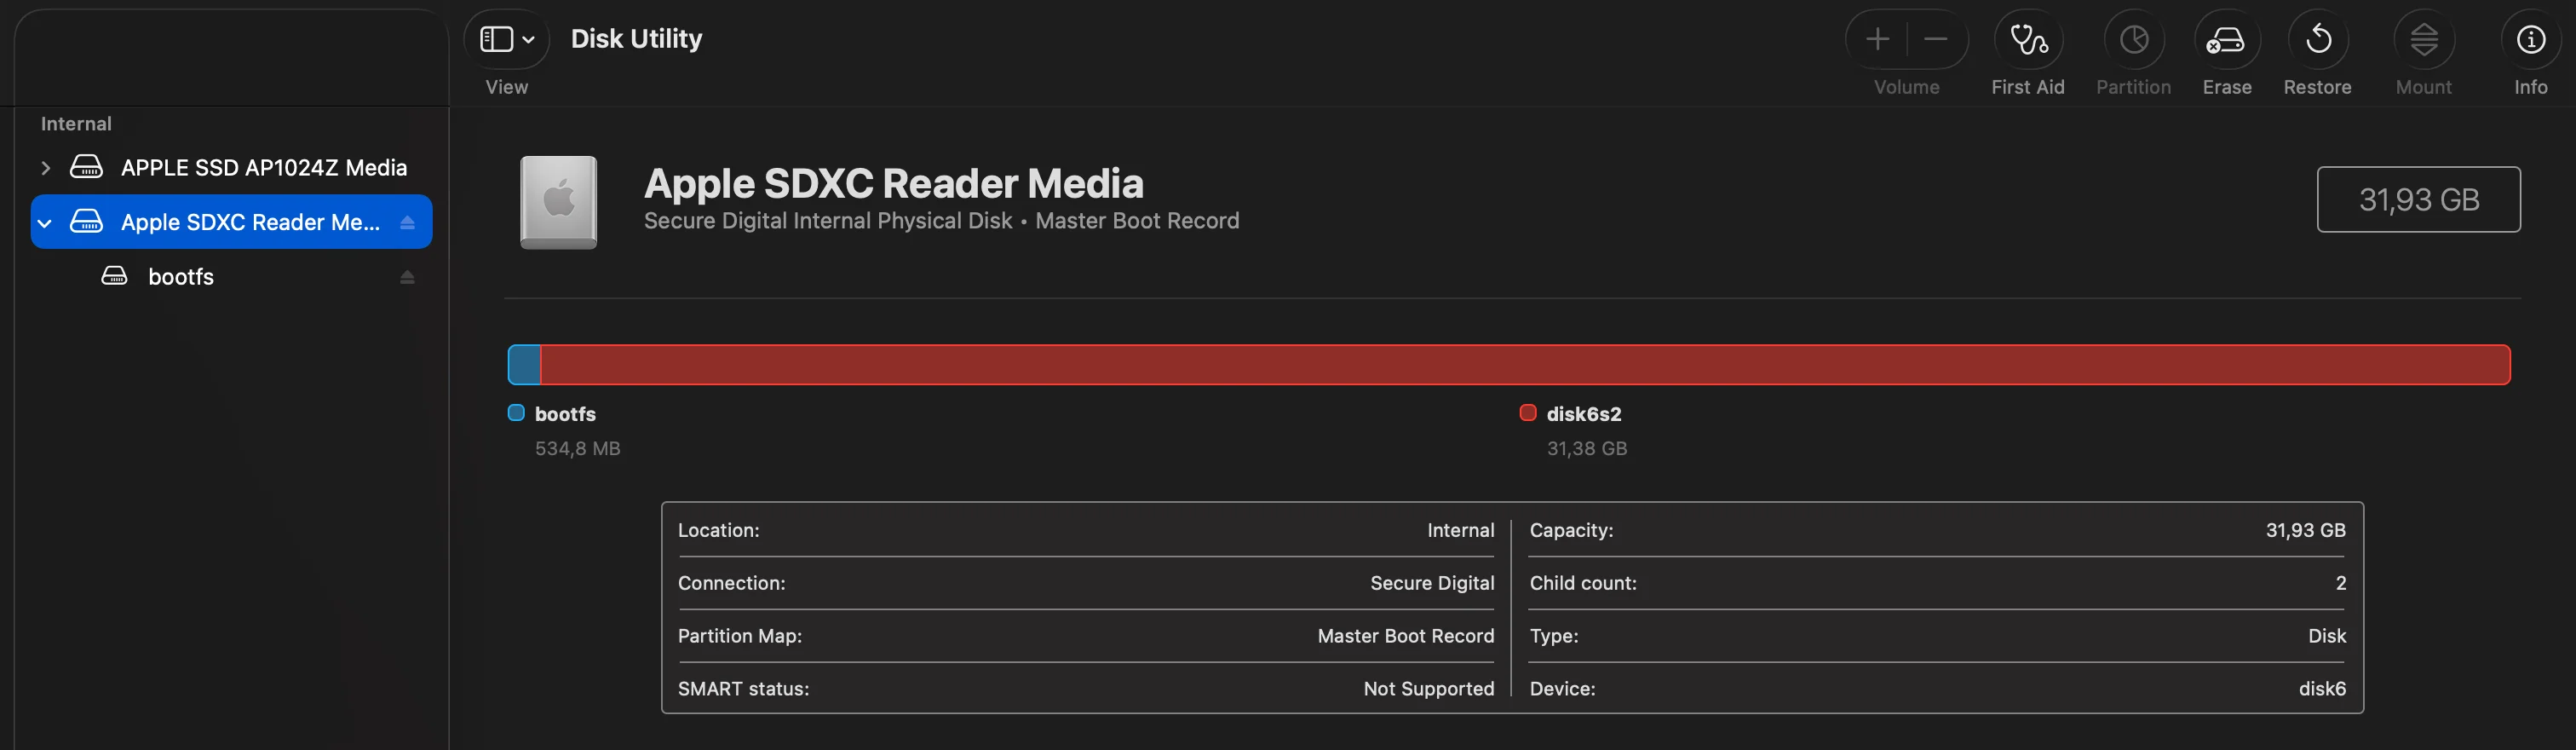 Disk utility screen
Alternatively, you can find your disk identifier via the terminal by running:
diskutil listLook for the partition formatted as Linux Filesystem.
Once the command runs, the partition will mount in Finder like any standard volume. You can explore it via the GUI (it appears in “localhost” or “Locations”) or via the terminal (mounted under /Volumes).
By default, checking the read/write permissions is crucial. If you are only recovering data, I strongly recommend treating the mount as read-only to avoid corrupting your Linux filesystem structure, especially if the drive was not unmounted cleanly previously.
Alternative 1: macFUSE
Another viable option is macFUSE. While it operates similarly, the installation process is significantly more intrusive.
Current macOS security policies require you to restart your machine in Recovery Mode to modify kernel extension security settings to allow macFUSE to run. This is much heavier than the anylinuxfs approach. I recommend this route only if the former option fails.
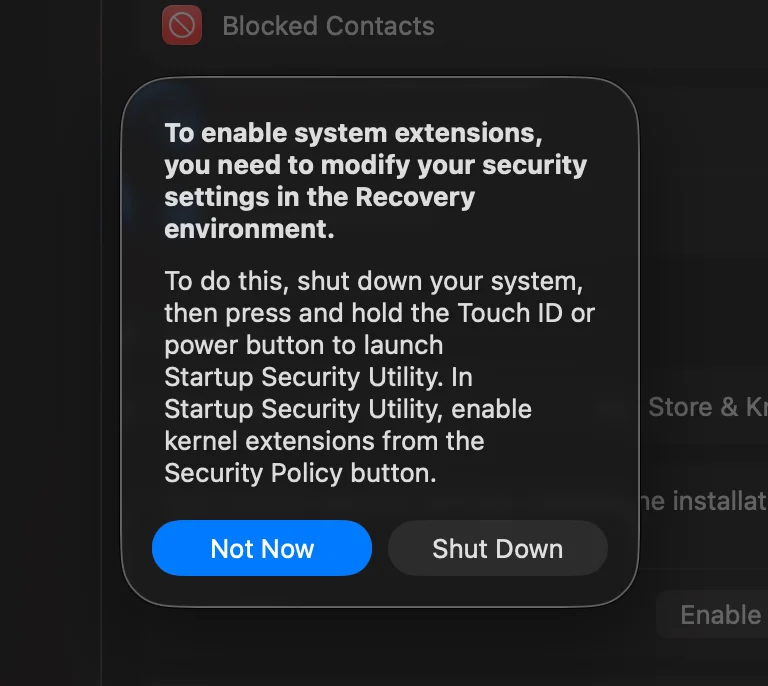 Popup asking to restart in recovery mode to update security settings, required after installing
Alternative 2: Paragon extFS
If you prefer a graphical interface and don’t mind proprietary software, extFS for Mac by Paragon Software is the industry-standard driver.
They offer a 10-day free trial, which is perfectly adequate for a one-time rescue mission. I have used it successfully in the past. However, be warned: uninstalling it cleanly can be difficult. It tends to leave menu entries or background processes lingering in the OS even after removal.
The Pragmatic Alternatives (Workarounds)
It may sound obvious, but the best way to read an ext4 filesystem is to use a system that supports it natively.
1. Backup before the crash If the system you want to backup is still running, use that opportunity to transfer the data immediately. Plug in a USB drive, or copy data to a network location or cloud storage. It is safer and requires zero drivers.
2. Use SSH If the machine fails to boot the GUI but SSH is still active, simply copy the data over the network to your Mac:
Bash
# Example: Copy /etc/prometheus from the Pi to your Mac
scp -r pi@192.168.1.XX:/etc/prometheus ./backup_prometheus
3. Use a Linux Machine If you have another laptop or server running Linux, use it. Since ext4 is the native Linux filesystem, any Linux machine will read your card instantly without extra software. Just plug in the SD card, and it will mount automatically.