
Hugo Theme Management: Forks, Mirrors, and Modules Explained
In this guide, I will show you how to properly set up a new Hugo website. From choosing a theme to creating and configuring your GitHub repositories, this article aims to give you all the keys to launch your site under the best possible conditions.
Prerequisites
This guide assumes you are comfortable with Git and use GitHub to host your code.
First, you need to install Hugo locally. Since the installation method depends on your operating system, check out the official documentation. To keep it short, here are the quick commands:
macOS (via Homebrew):
brew install hugoLinux (via Snap):
sudo snap install hugoWindows (via Winget):
winget install Hugo.Hugo.ExtendedChoosing and Configuring Your Theme
A Hugo website requires a theme to function. Among the hundreds available on the Hugo Themes site, I selected Stack. It is simple, elegant, modern, and features a dark mode. It is also regularly updated by its author, Jimmy Cai, has an active community, and boasts many GitHub stars.
You can check out the demo website here.
I will assume you are using the Stack theme for the rest of this guide. If you choose a different one, simply adapt the following steps to your choice.
Strategy: Public vs. Private Repository
Referencing the theme author’s repository directly is convenient for getting started. However, you will likely want to customize the theme eventually. While you can override components locally, it is often cleaner to edit the theme directly.
I recommend investing a little extra time now to create a personal copy of the theme. You can either fork it (creating a public repository) or use a mirroring method to create a private repository. Both methods allow you to pull updates from the original author later.
If you prefer to use the author’s theme directly without modification, you can skip this section.
Option A: Public Repository (Forking)
This is the easiest method. Go to the theme’s GitHub repository and click Fork. Choose the name for your copy:
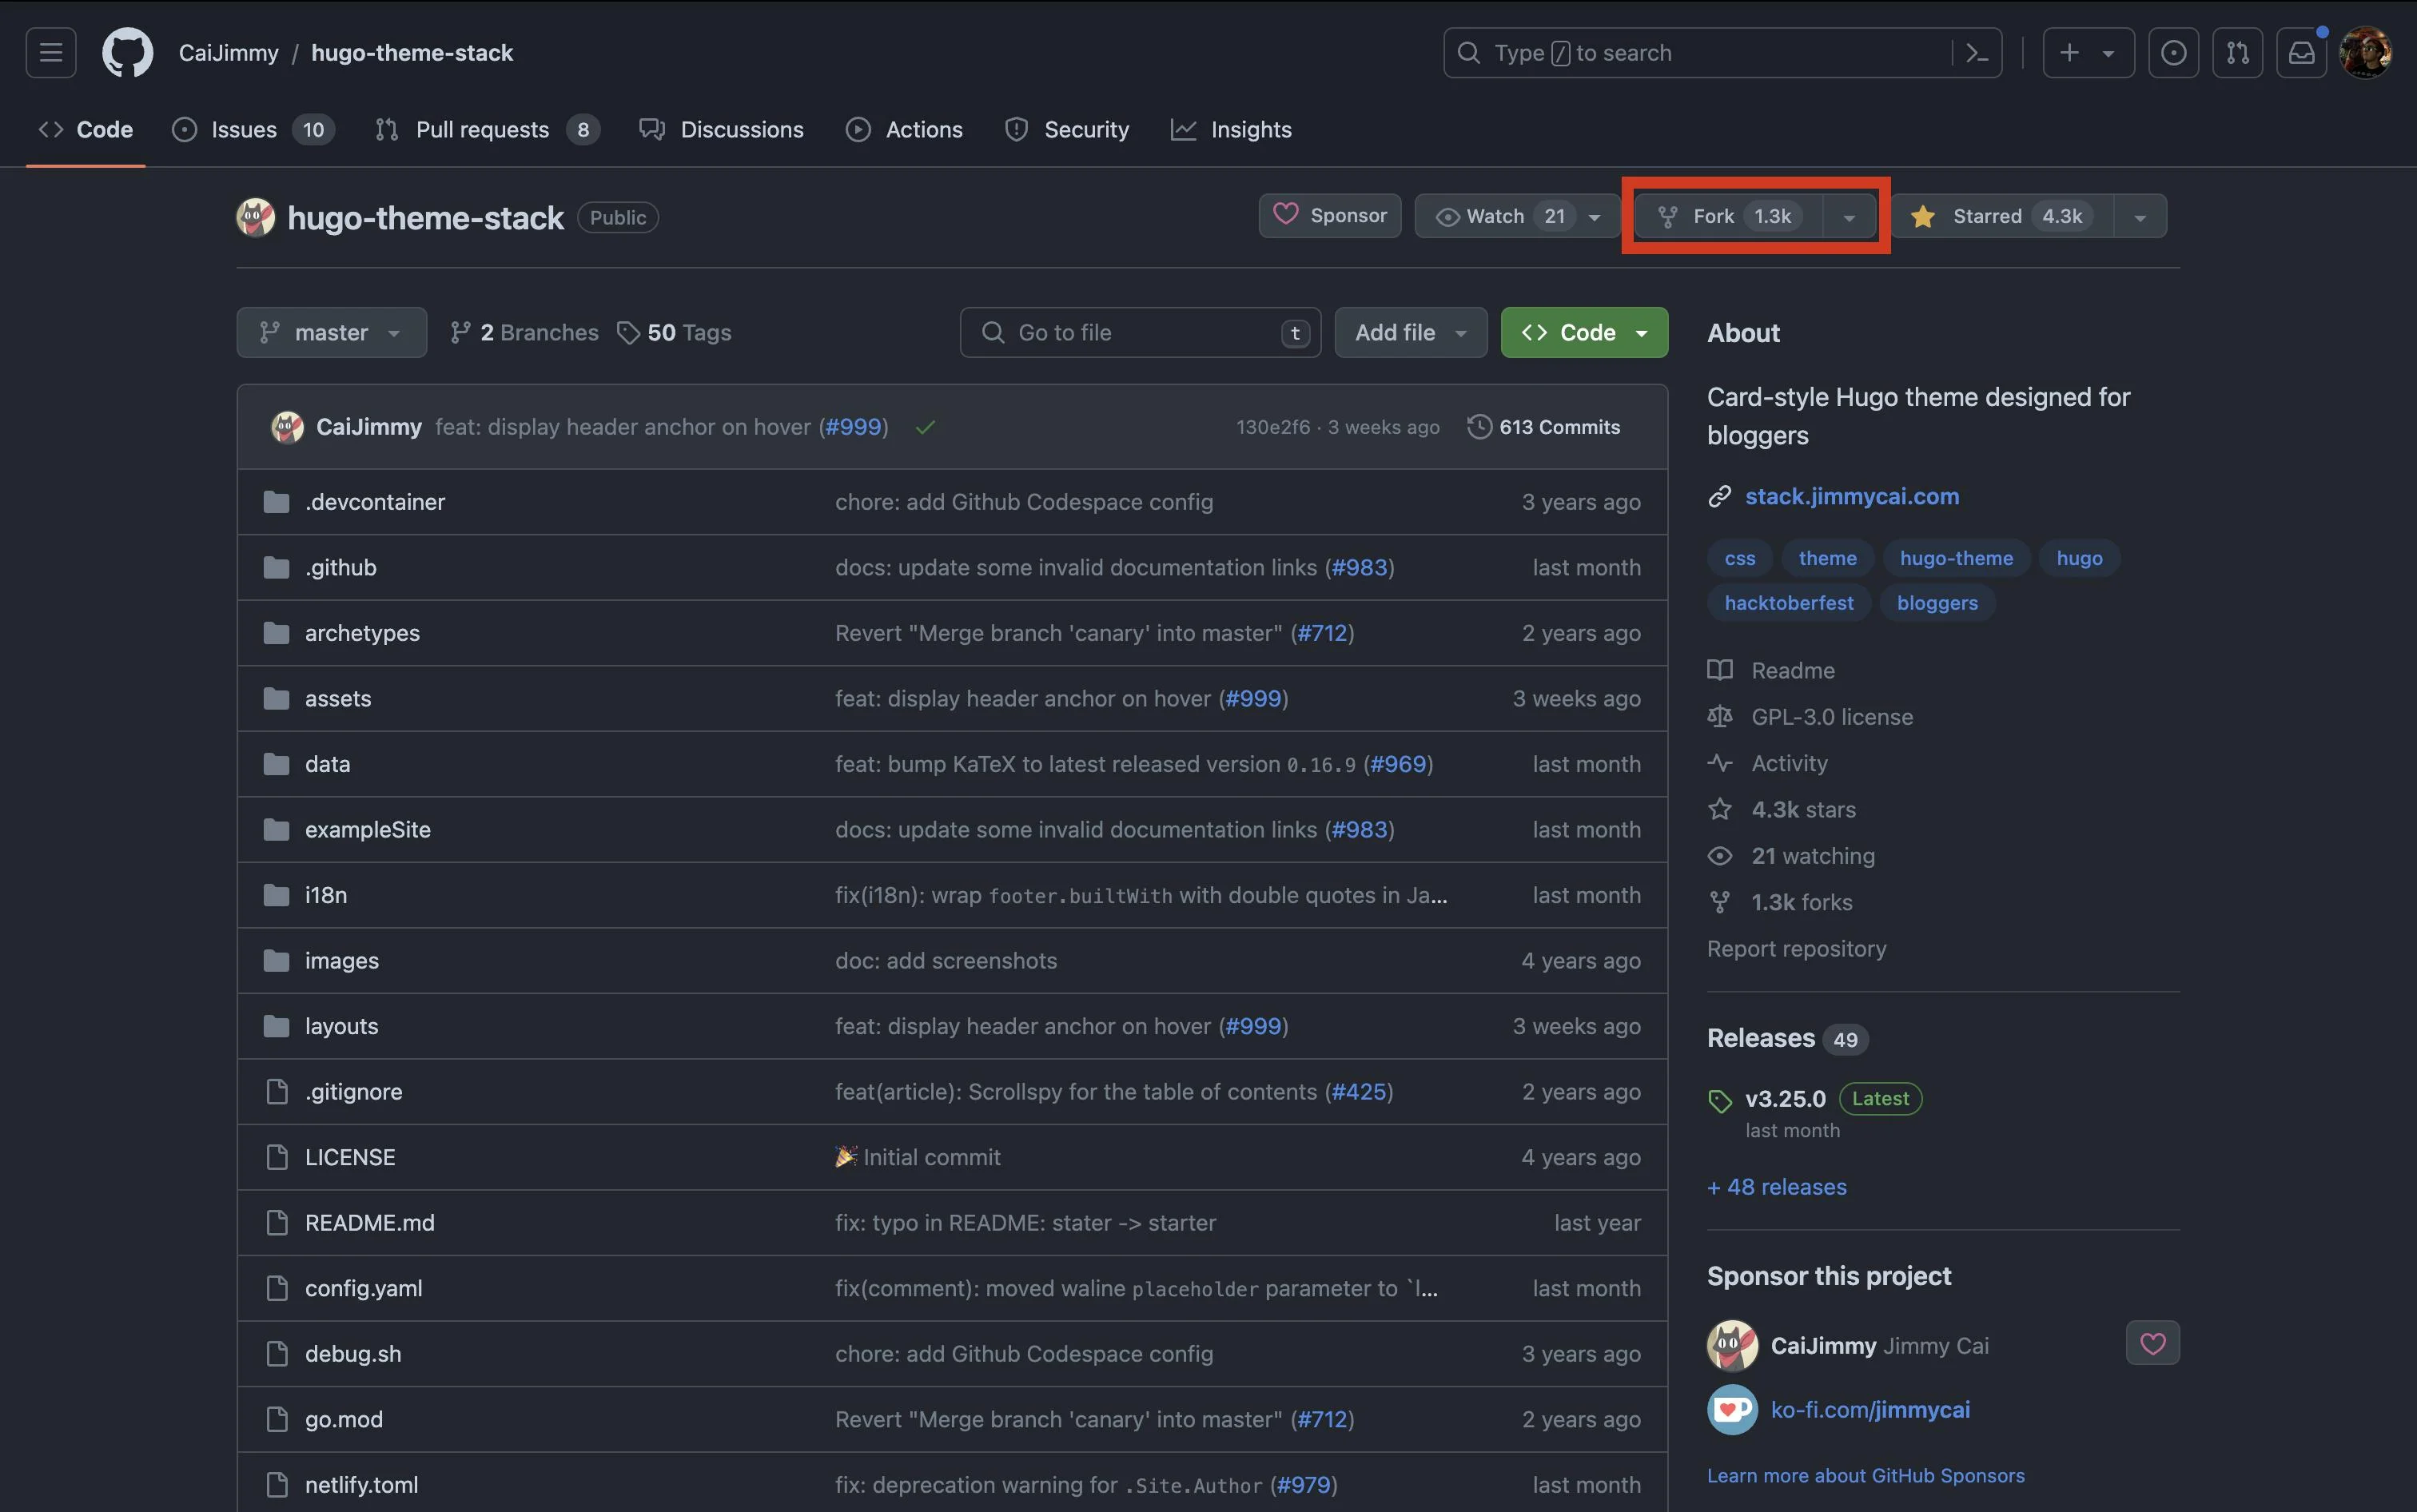 button “fork” on the hugo-theme-stack GitHub repository
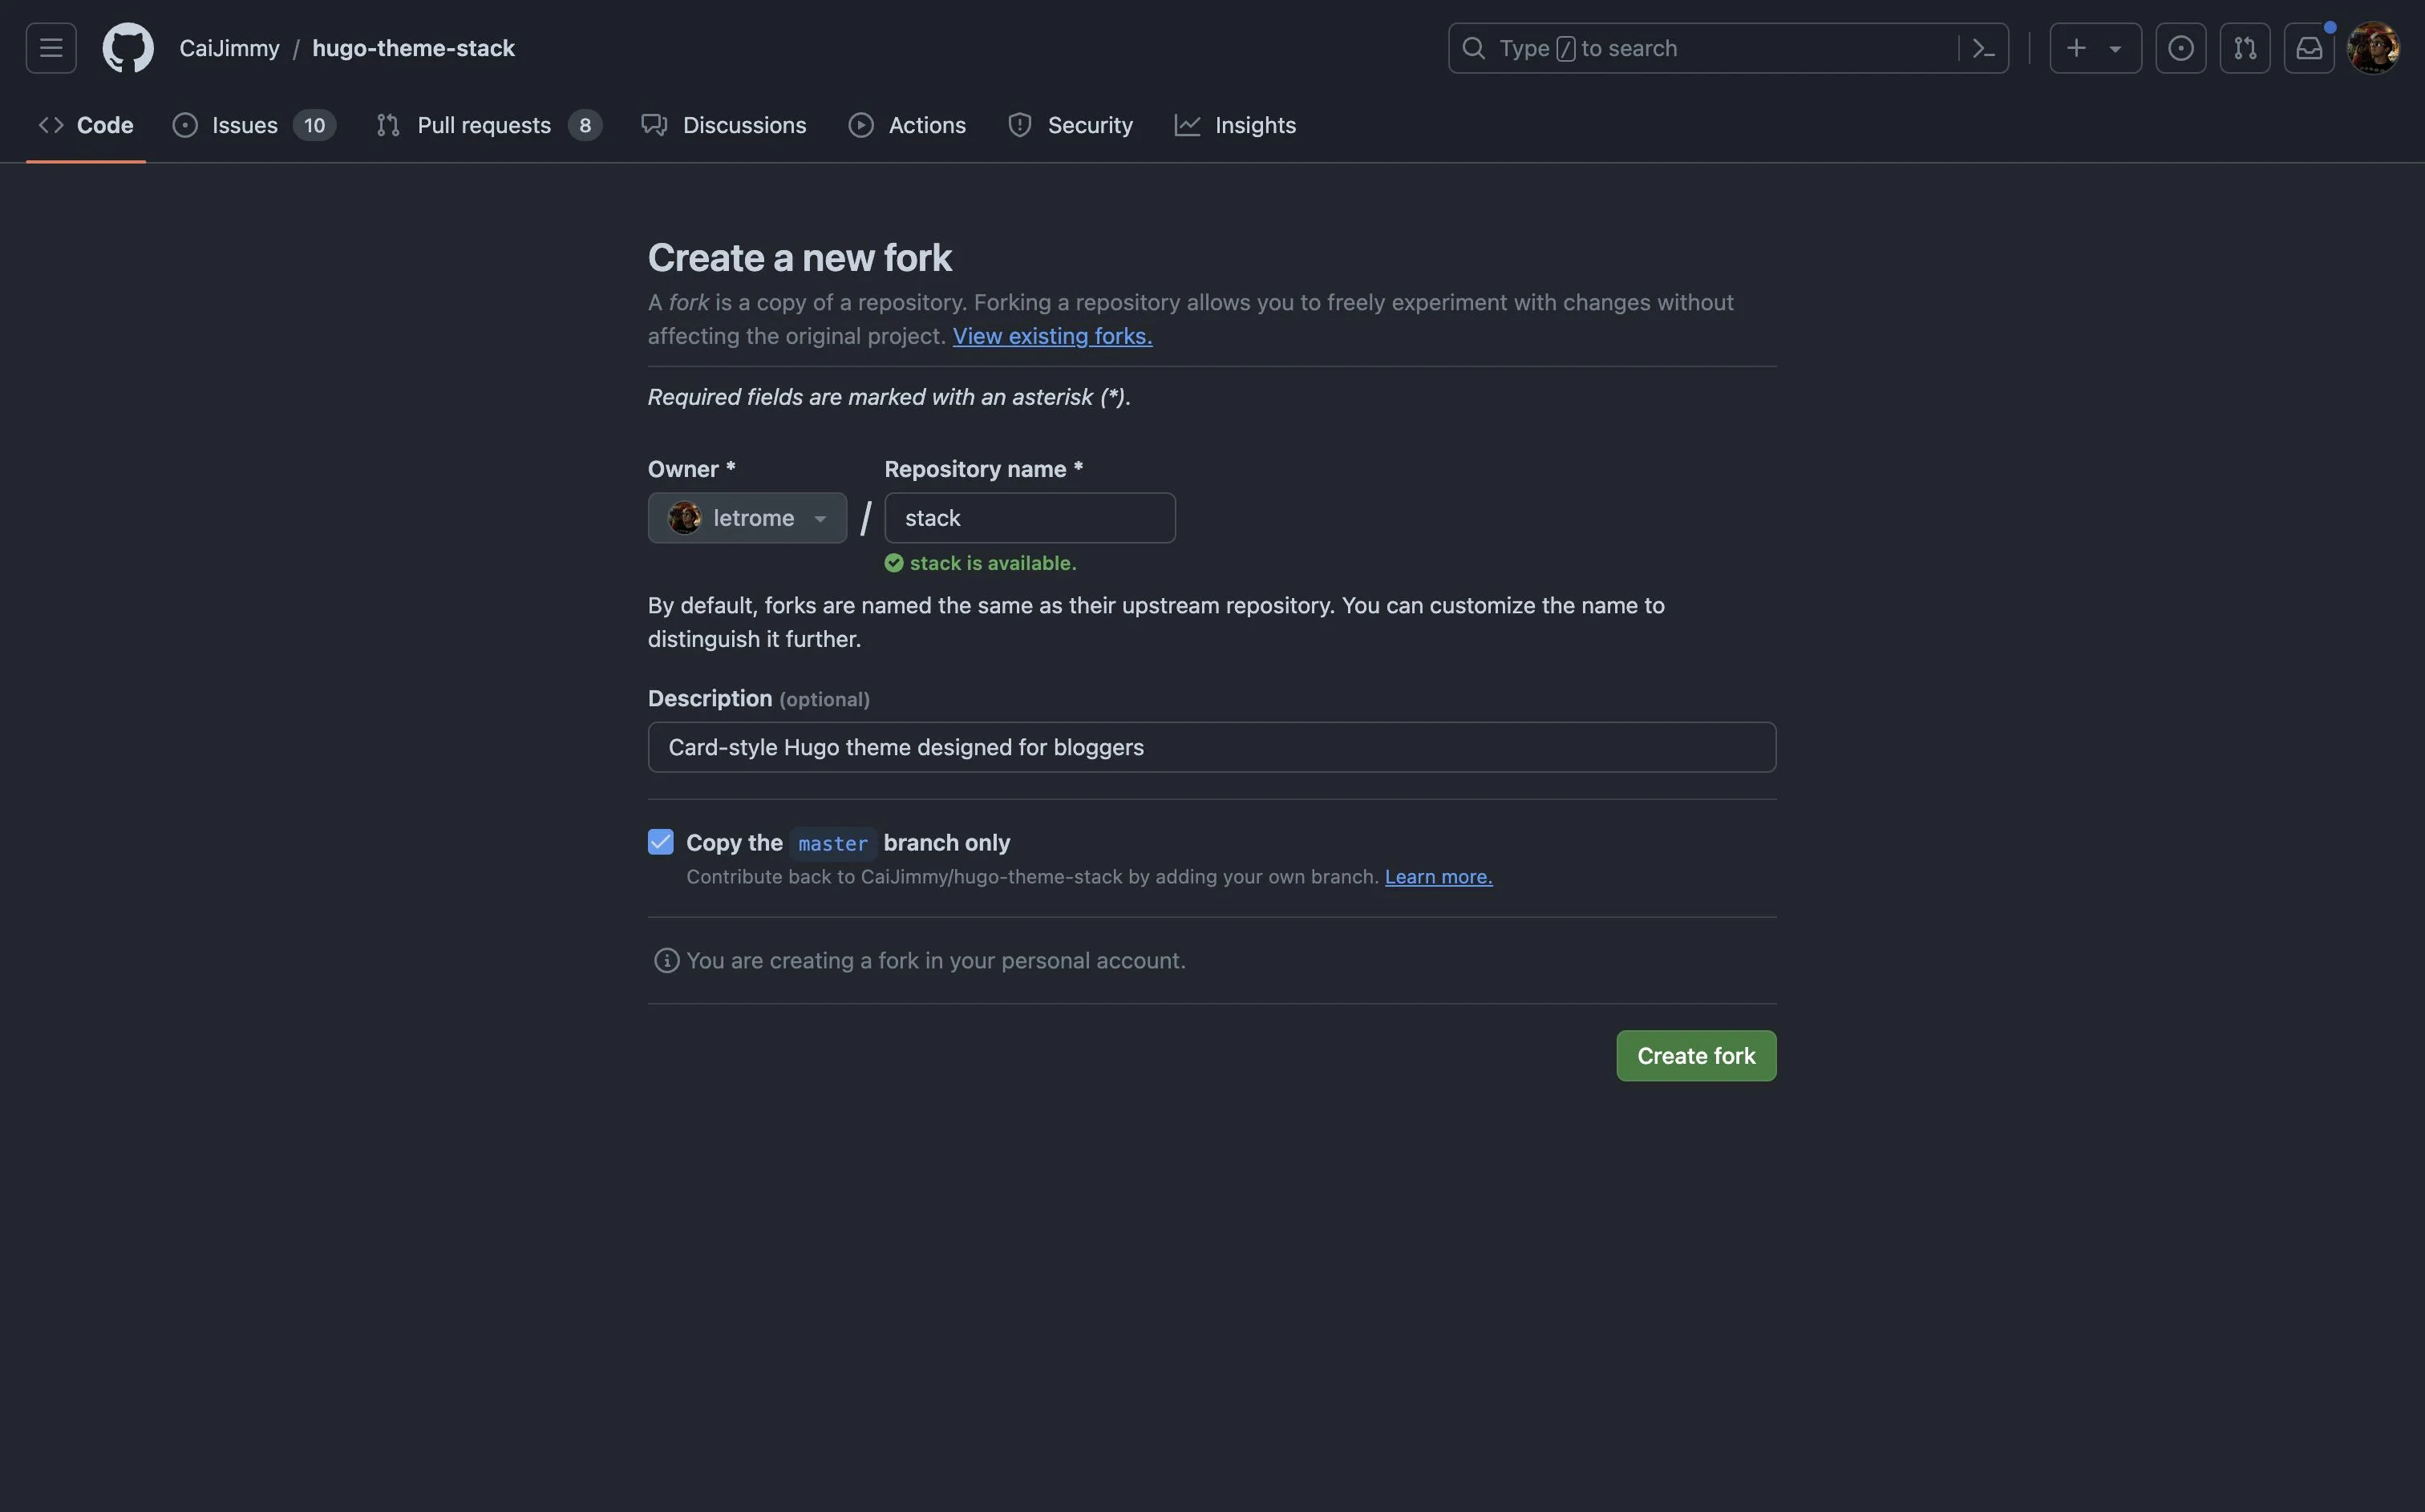 the screen displayed after a click on the button
Once forked, clone it locally:
git clone git@github.com:<your_username>/stack.gitConfiguring Upstream for Future Updates
Unless the theme is abandoned (in which case, pick another one!), you will need to apply updates from the original author occasionally.
From the GitHub Web UI: Simply click the “Sync fork” button on your repository page.
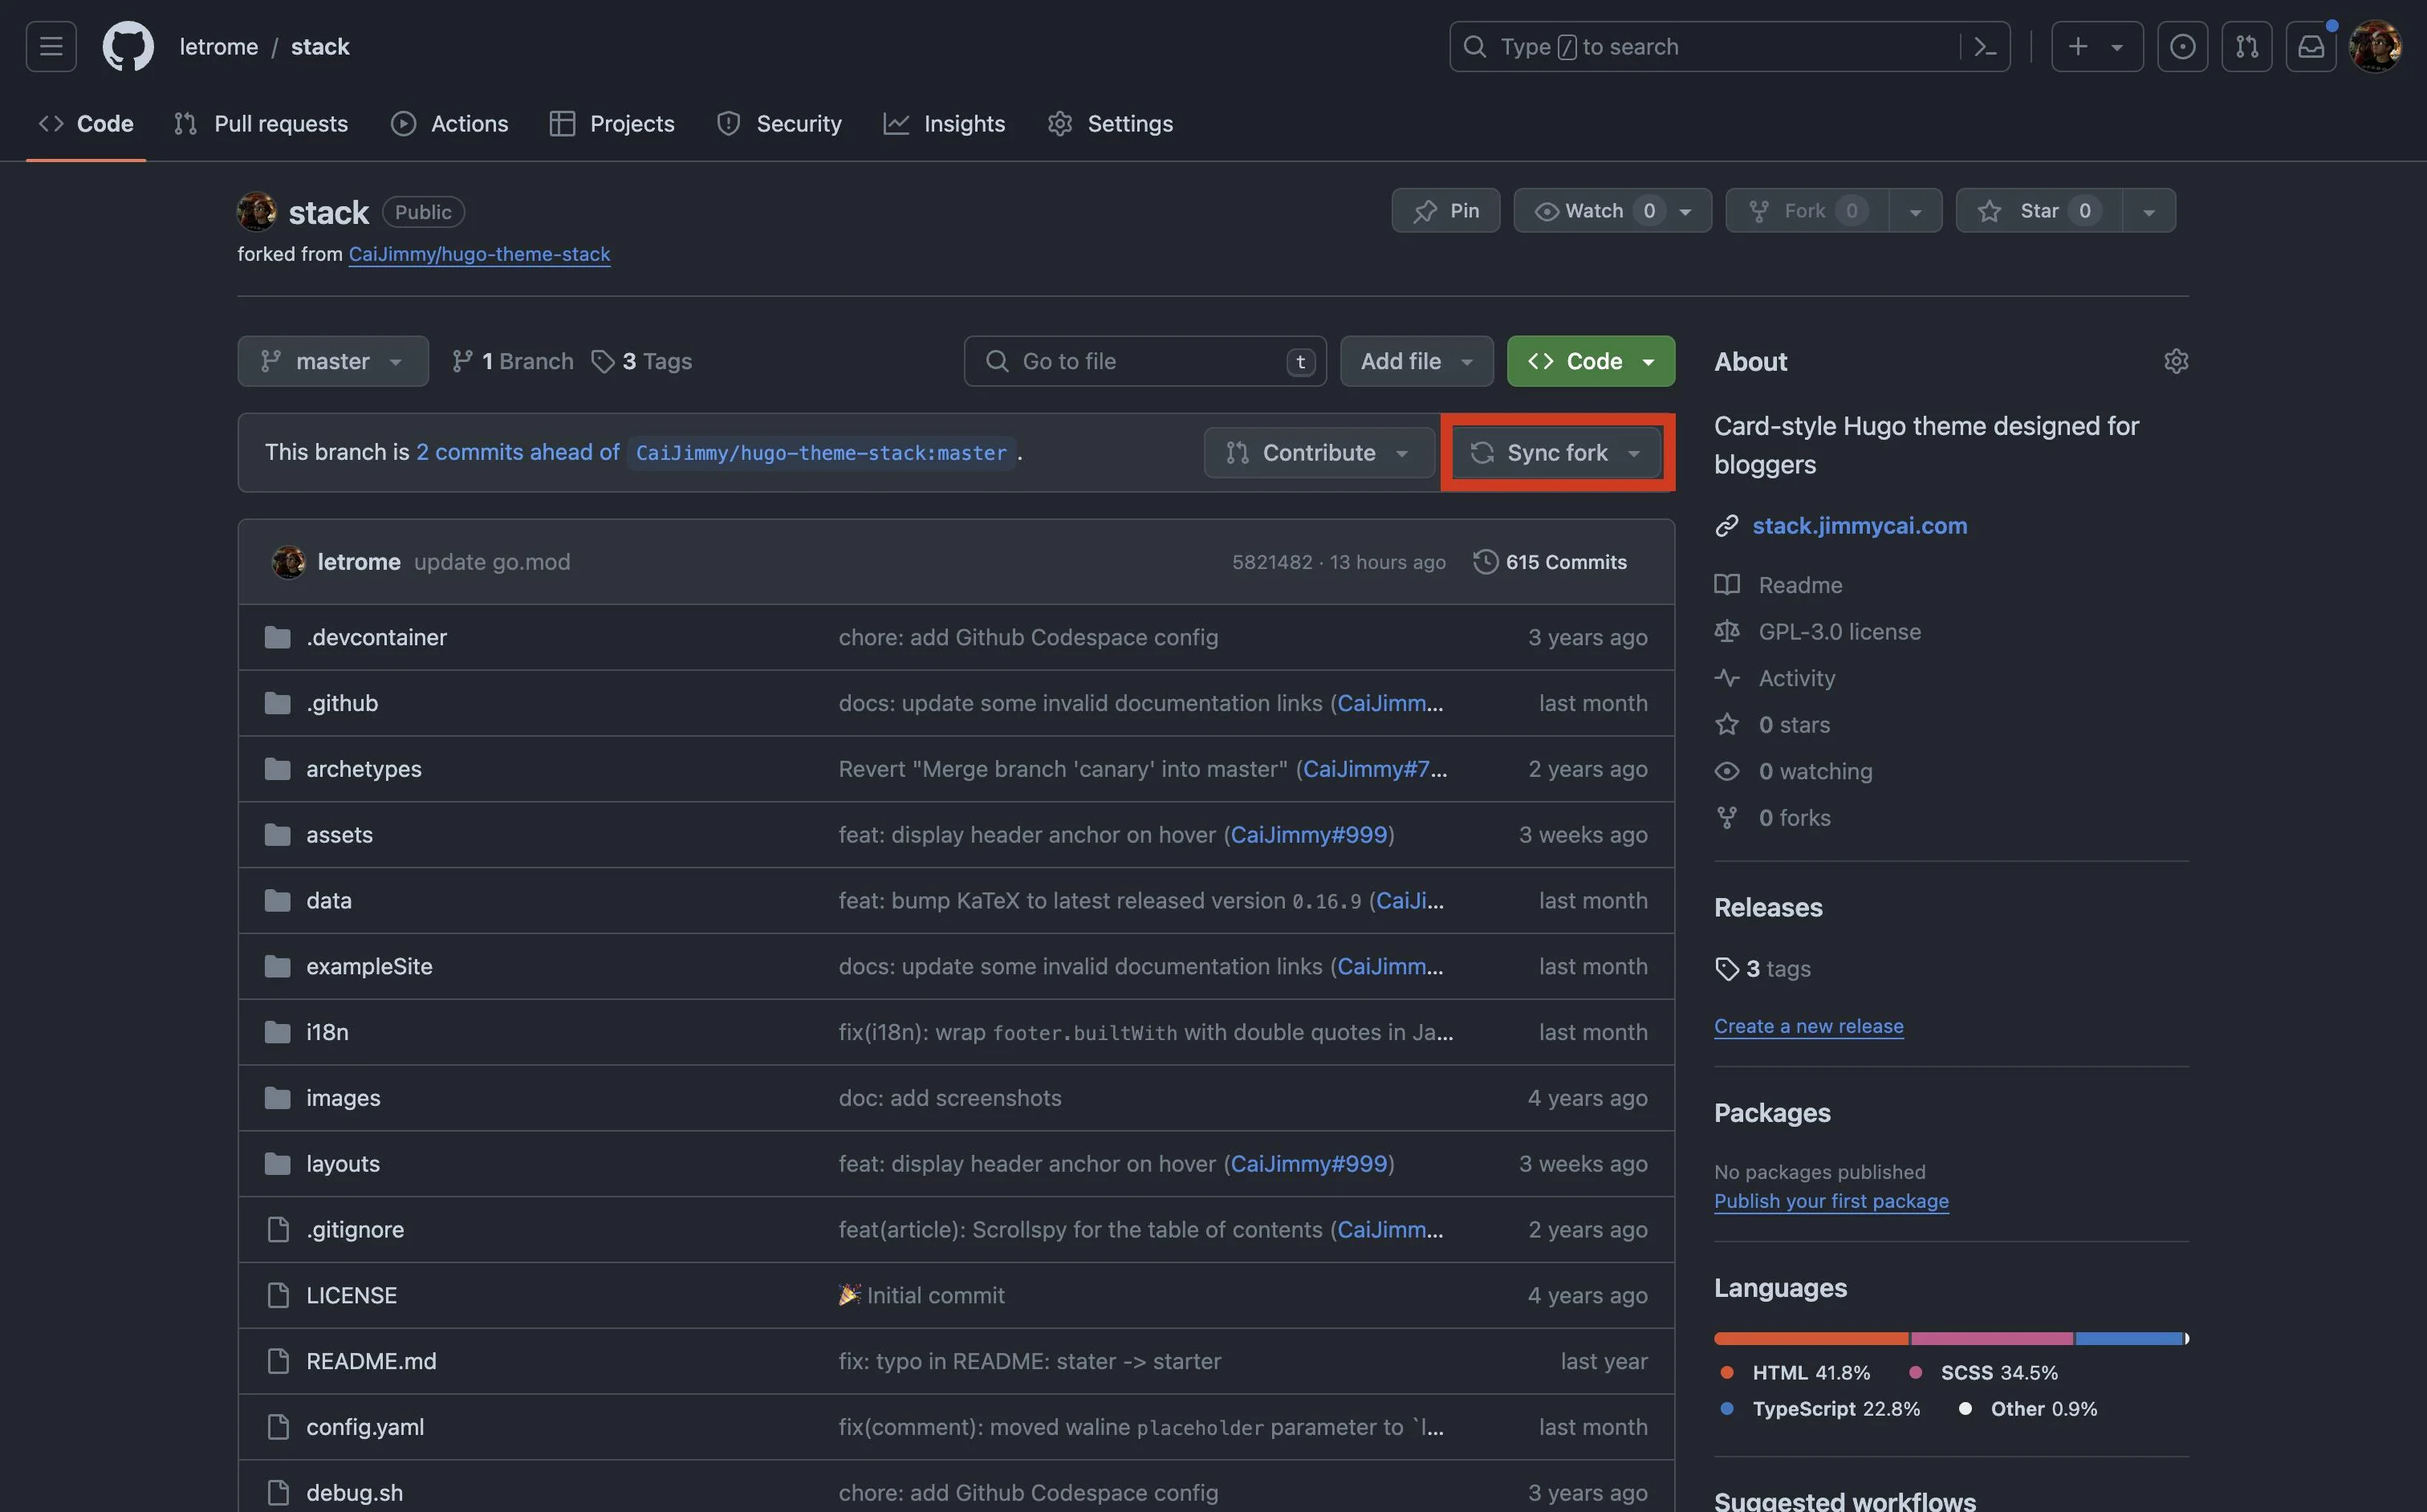 sync fork from the web UI
From the Command Line:
-
Fetch branches from the original (upstream) repository:
git fetch upstream -
Checkout your default branch (usually
main):git checkout main -
Merge changes from upstream:
git merge upstream/main -
Resolve conflicts if necessary, then push to your remote:
git push origin main
Option B: Private Repository (Mirroring)
GitHub forks are public by default. If you need a private repository but still want to track the original theme, follow this method (based on this excellent guide).
-
Clone the original repository using the
--bareoption:git clone --bare git@github.com:CaiJimmy/hugo-theme-stack.git -
Create a new private repository on GitHub (e.g., named “stack”).
-
Mirror-push the cloned data to your new private repo:
cd hugo-theme-stack.git git push --mirror git@github.com:<your_username>/stack.git -
Delete the bare local directory; you no longer need it.
-
Clone your new private repository normally:
git clone git@github.com:<your_username>/stack.git -
To receive future updates, add the original repo as a remote named
upstream:git remote add upstream git@github.com:CaiJimmy/hugo-theme-stack.git git remote set-url --push upstream DISABLE
Updating is now done via git fetch upstream and git rebase (or merge), just like a public fork.
The Website Repository
Now, let’s set up the repository that will hold your content and configuration.
Public or Private?
-
Public: You can use GitHub Pages for free, instant deployment. However, your entire codebase is visible to everyone.
-
Private: You keep your source code hidden. For deployment, I strongly recommend Netlify. It offers a generous free tier for personal use and connects easily to private GitHub repos.
Initialization
Option 1: Starting from Scratch (Recommended for Learning)
This method helps you understand how Hugo works.
- Create a new repository on GitHub (check “Add a README” and “Add .gitignore”).
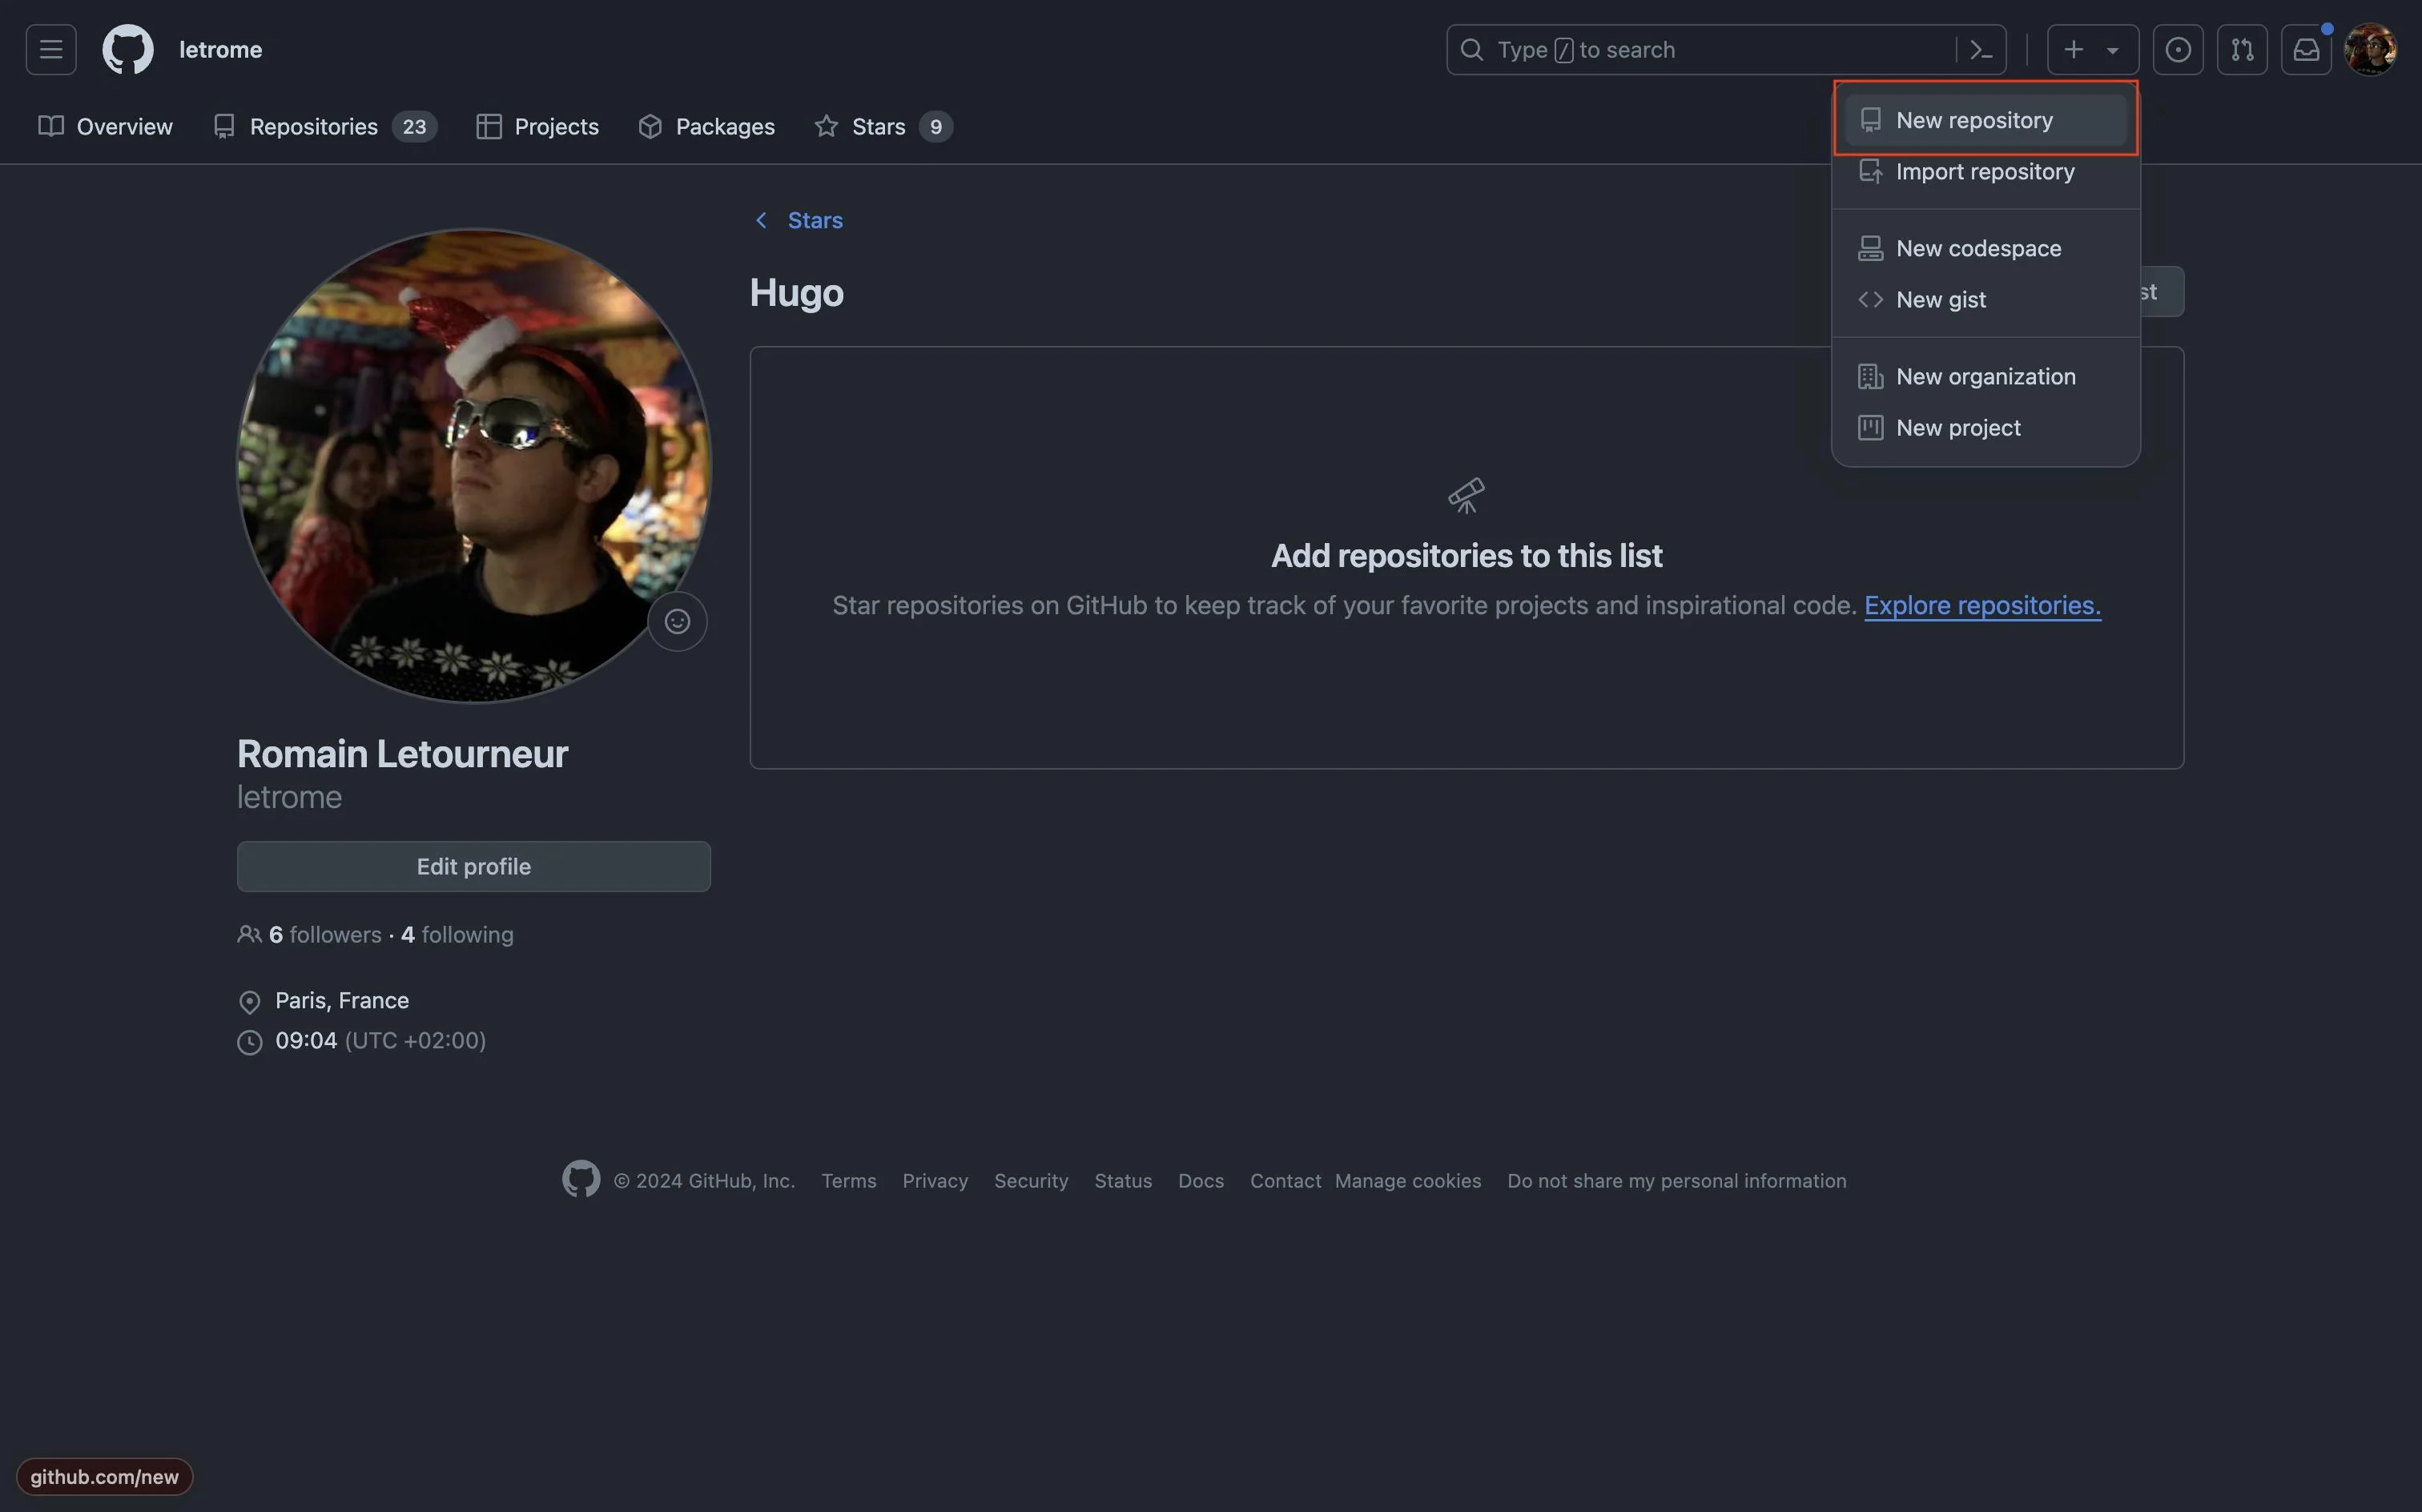 new repository” button on the GitHub web UI
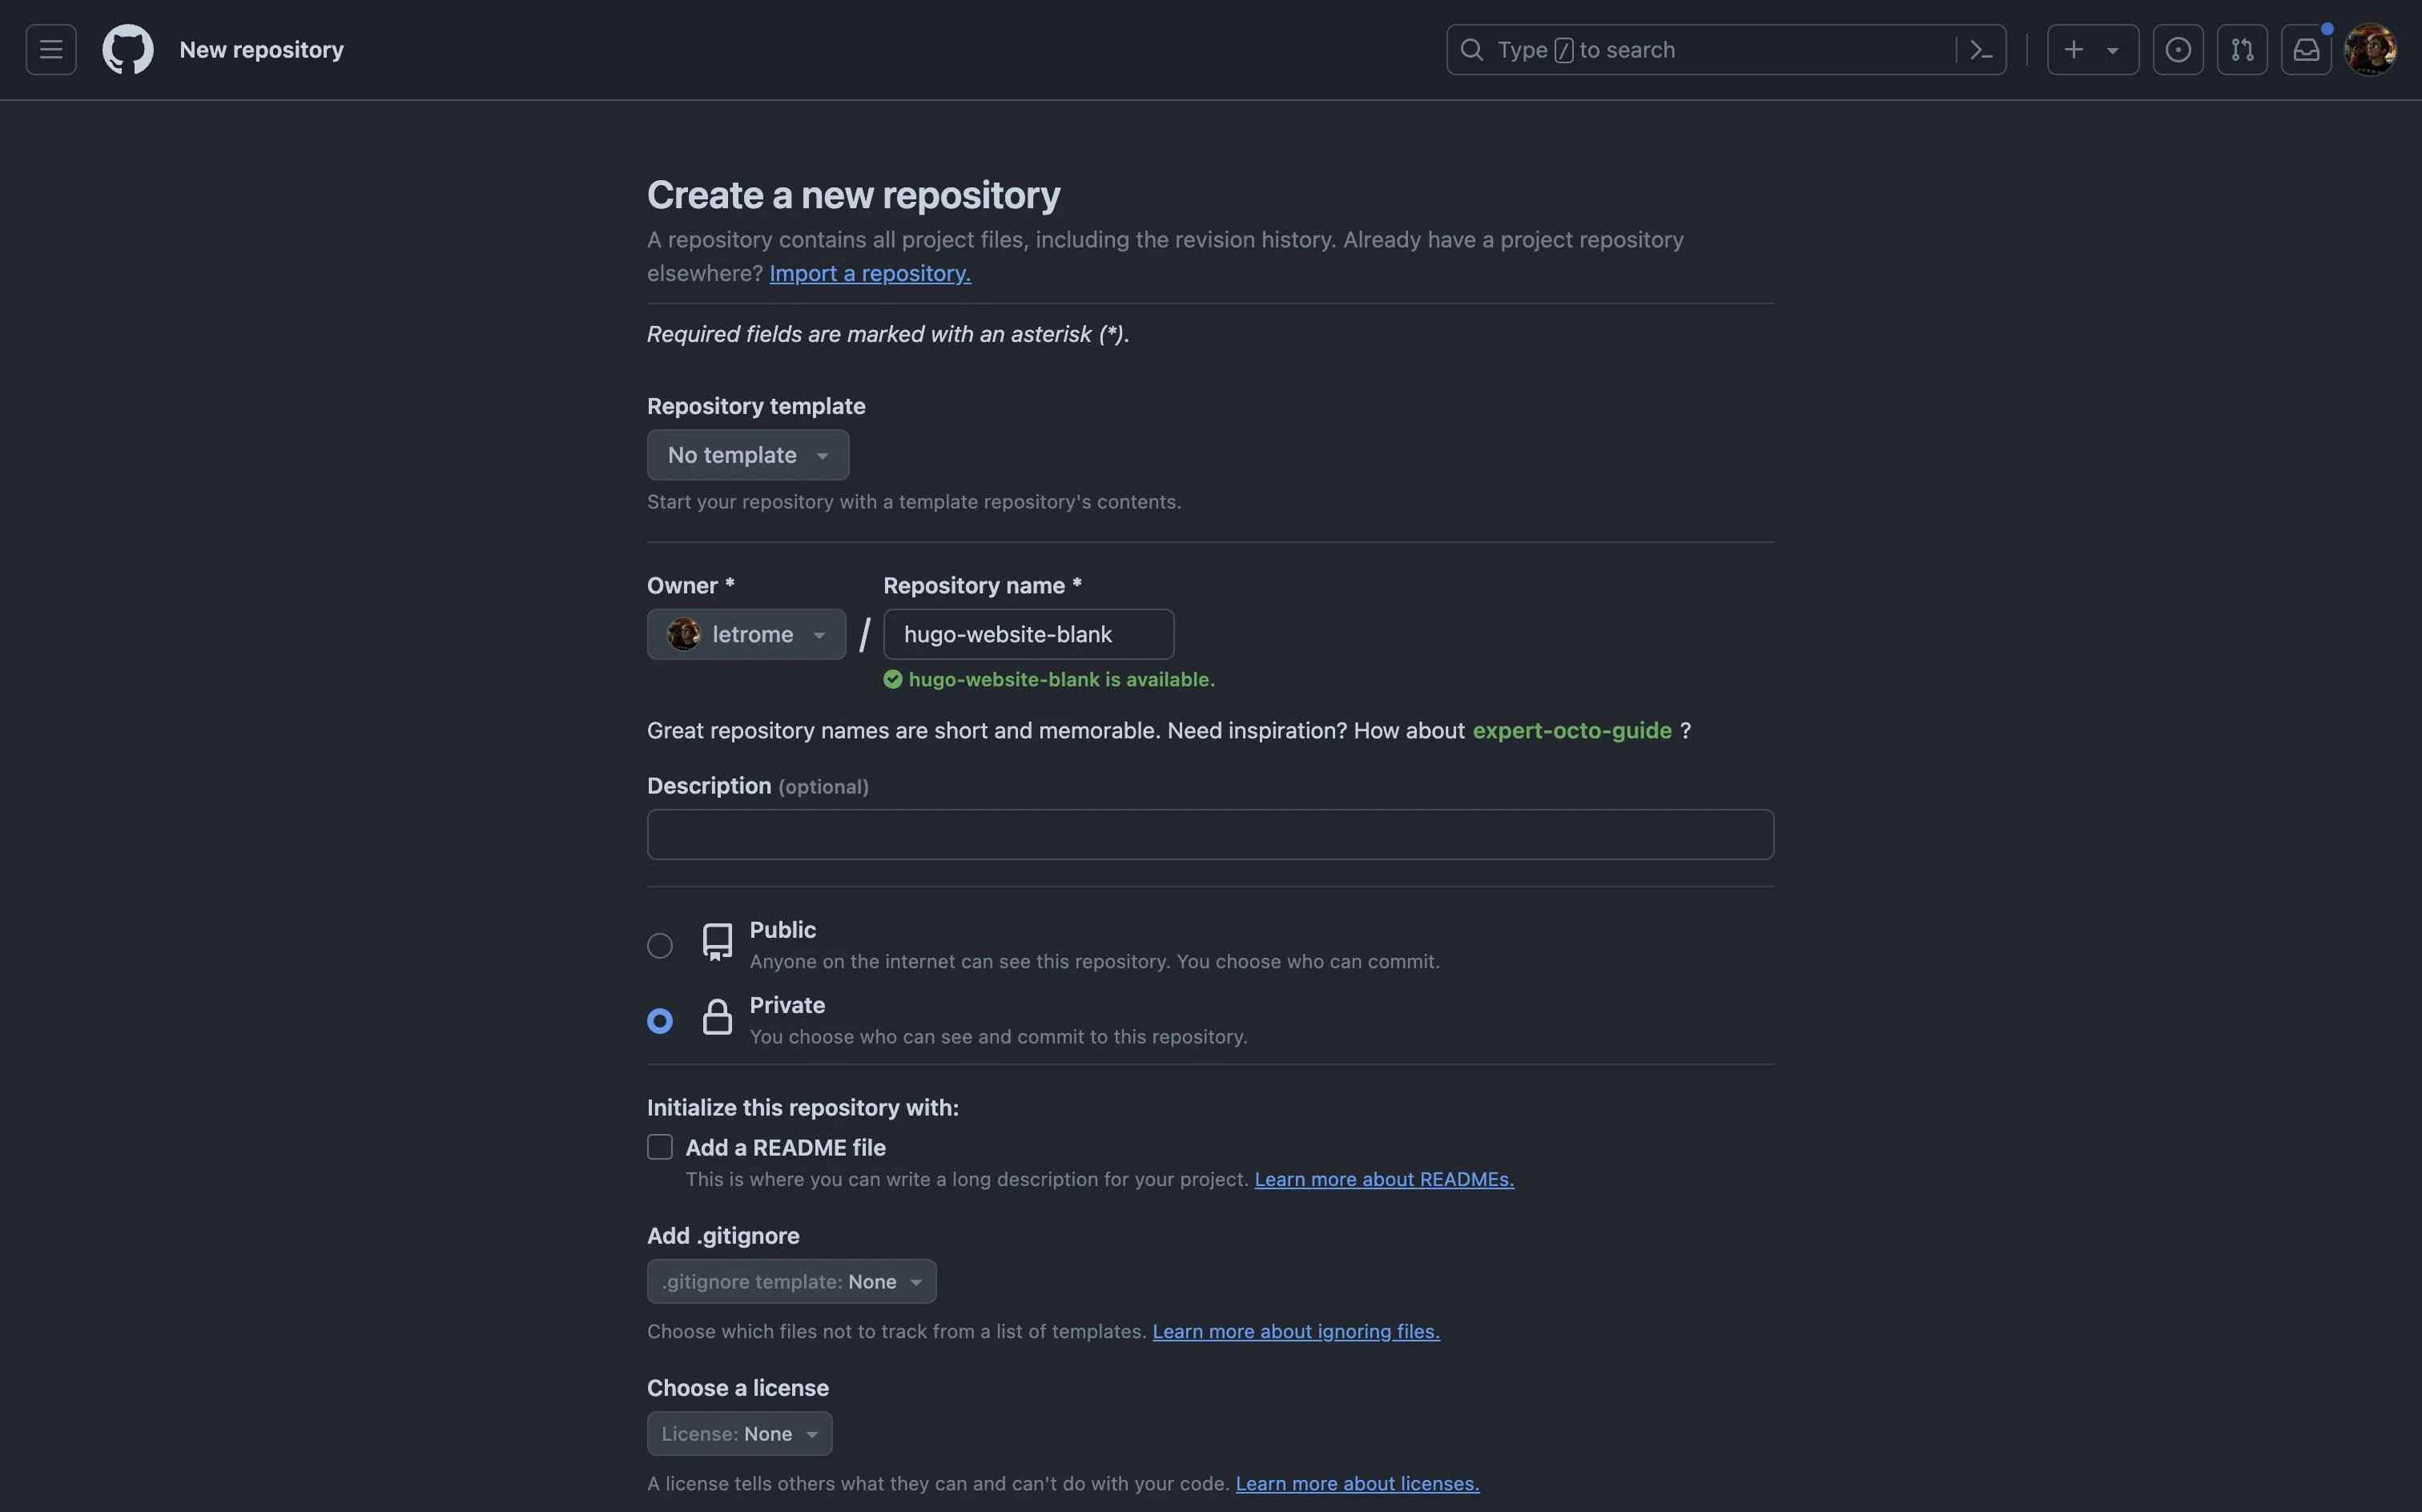 the screen to configure the new repository
-
Clone it locally and run the following commands to initialize Hugo and add your theme (as a submodule):
hugo new site . --force # If you haven't initialized git yet: git init git submodule add git@github.com:<your_username>/stack.git themes/stack echo "theme = 'stack'" >> hugo.toml -
Run the server:
hugo serverVisit
http://localhost:1313.
 what a Hugo stack website started from scratch looks like
It looks empty because there is no content. I recommend copying the contents of the exampleSite folder from the theme’s repository into your project root to get started.
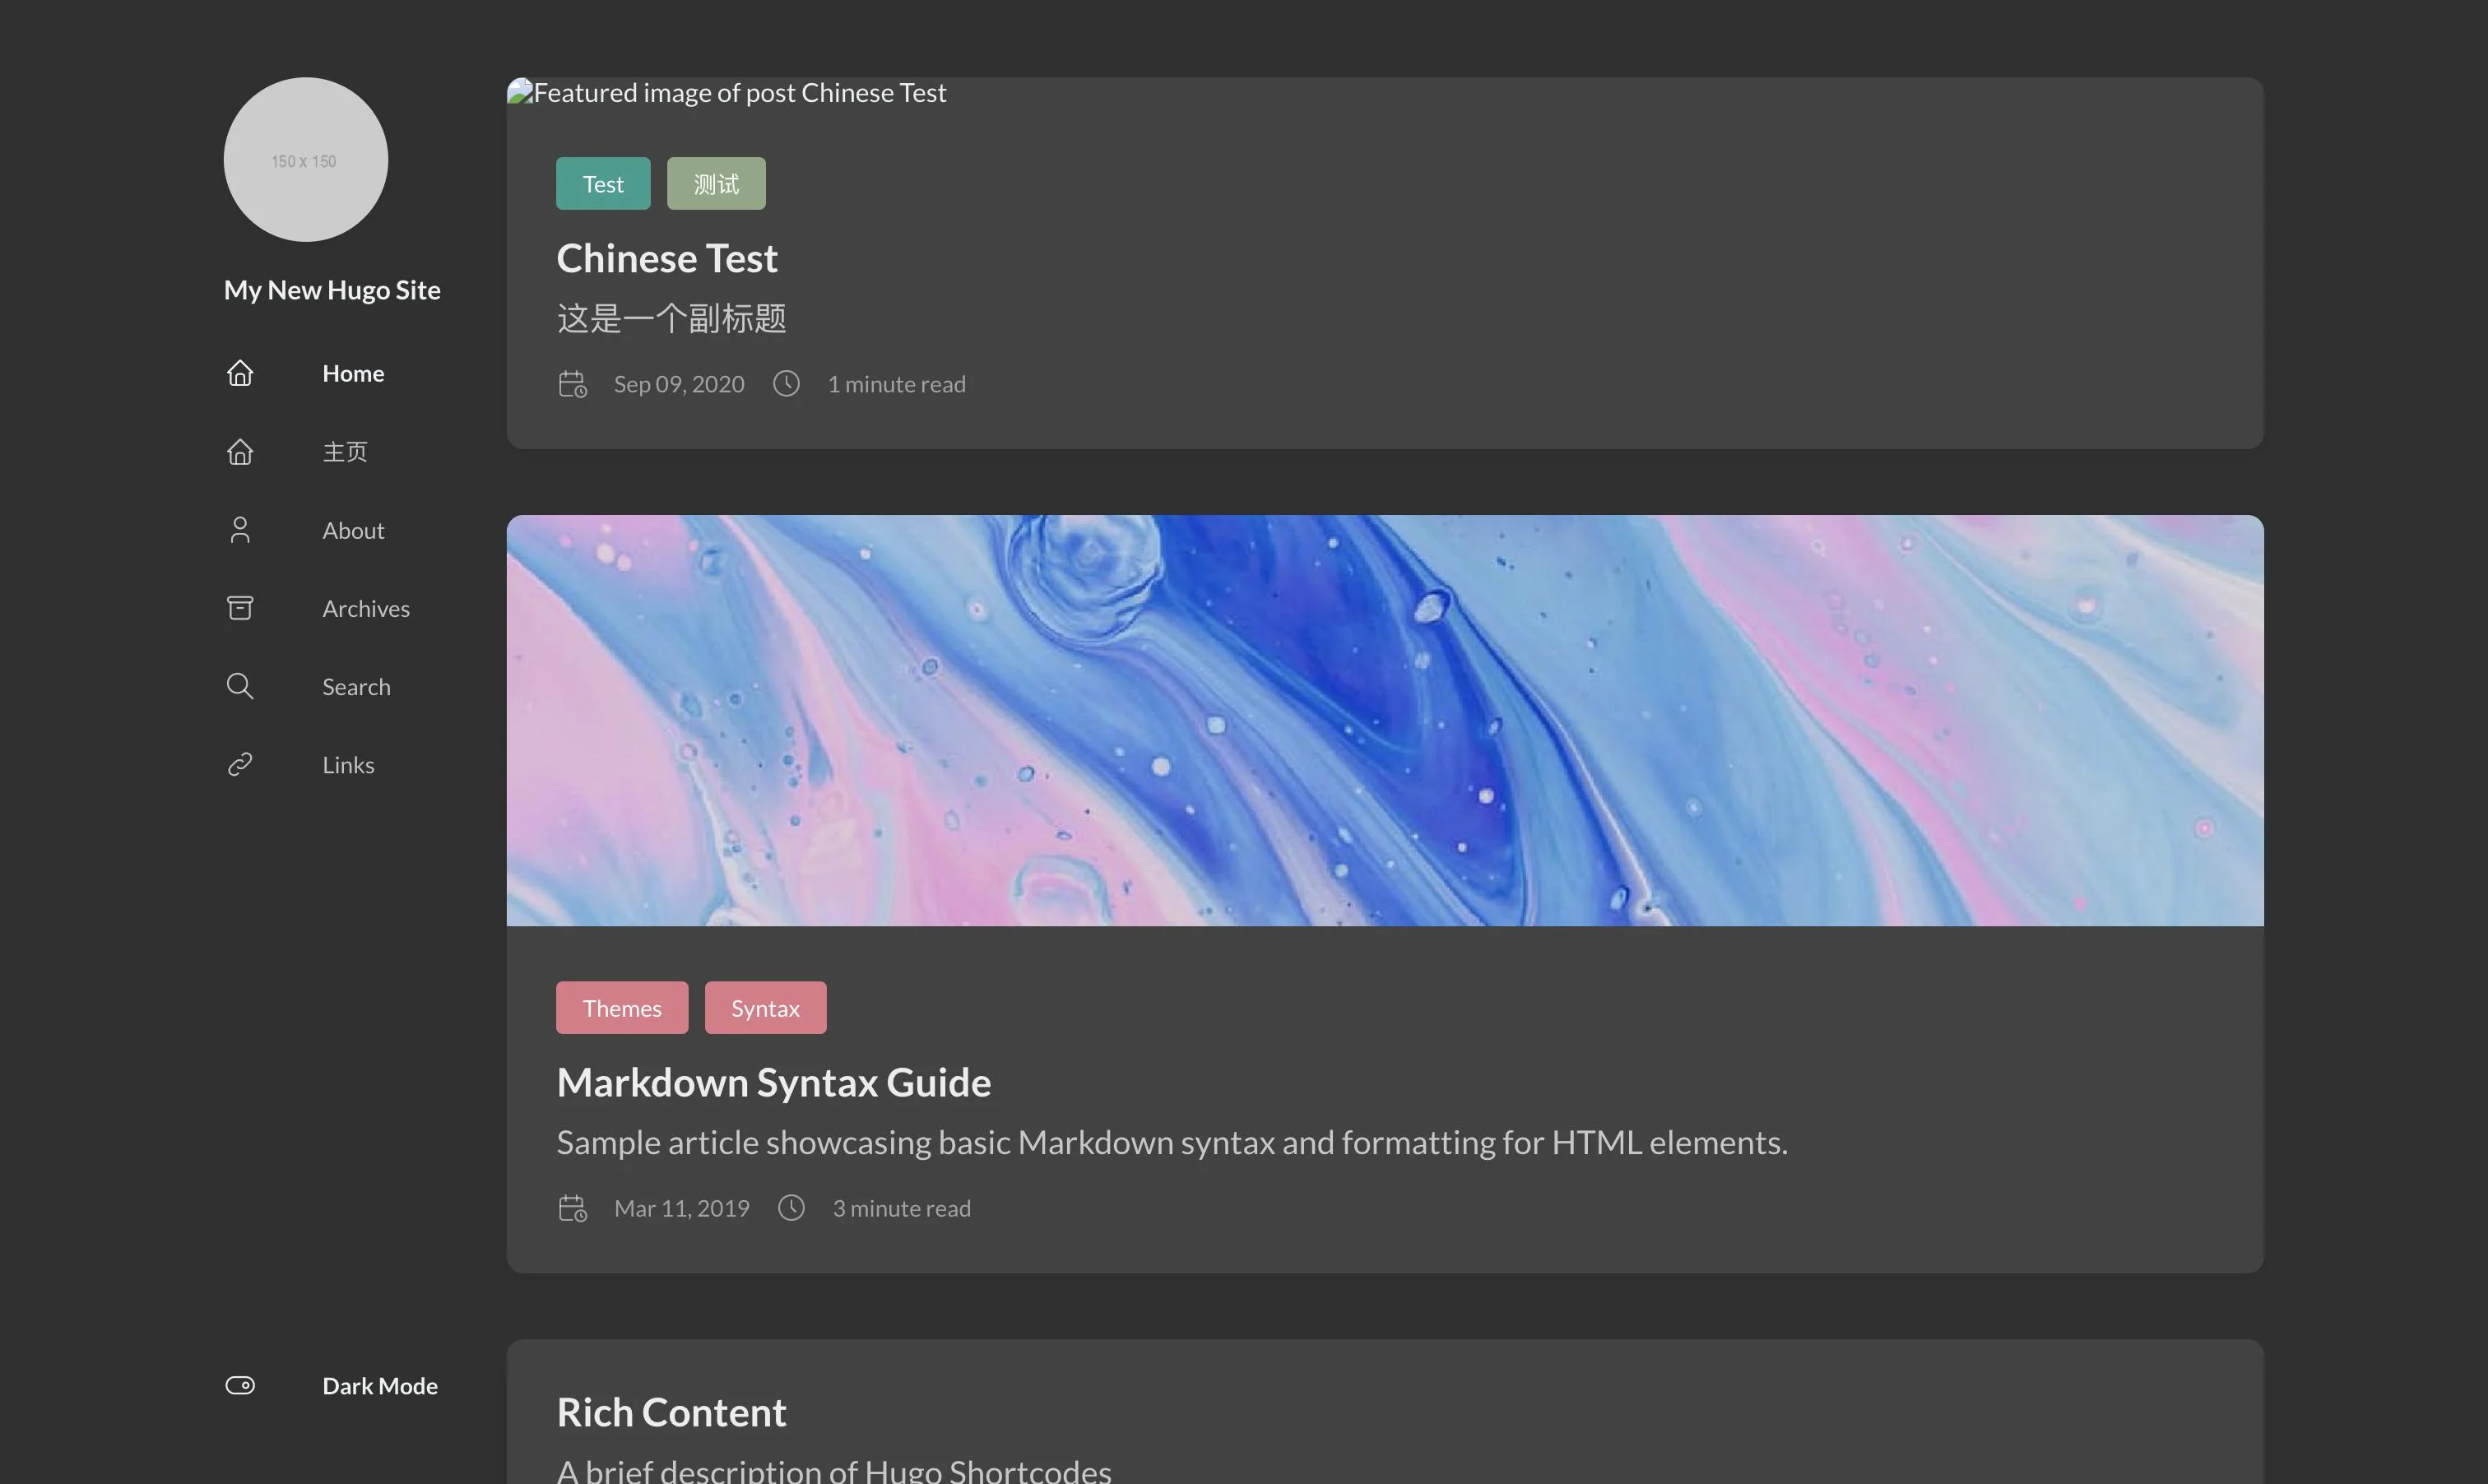 the same website, after having copied the content of the “exampleSite”
Option 2: Using a Theme Starter
If the theme provides a template (Stack does: hugo-theme-stack-starter), you can simply click “Use this template” on GitHub.
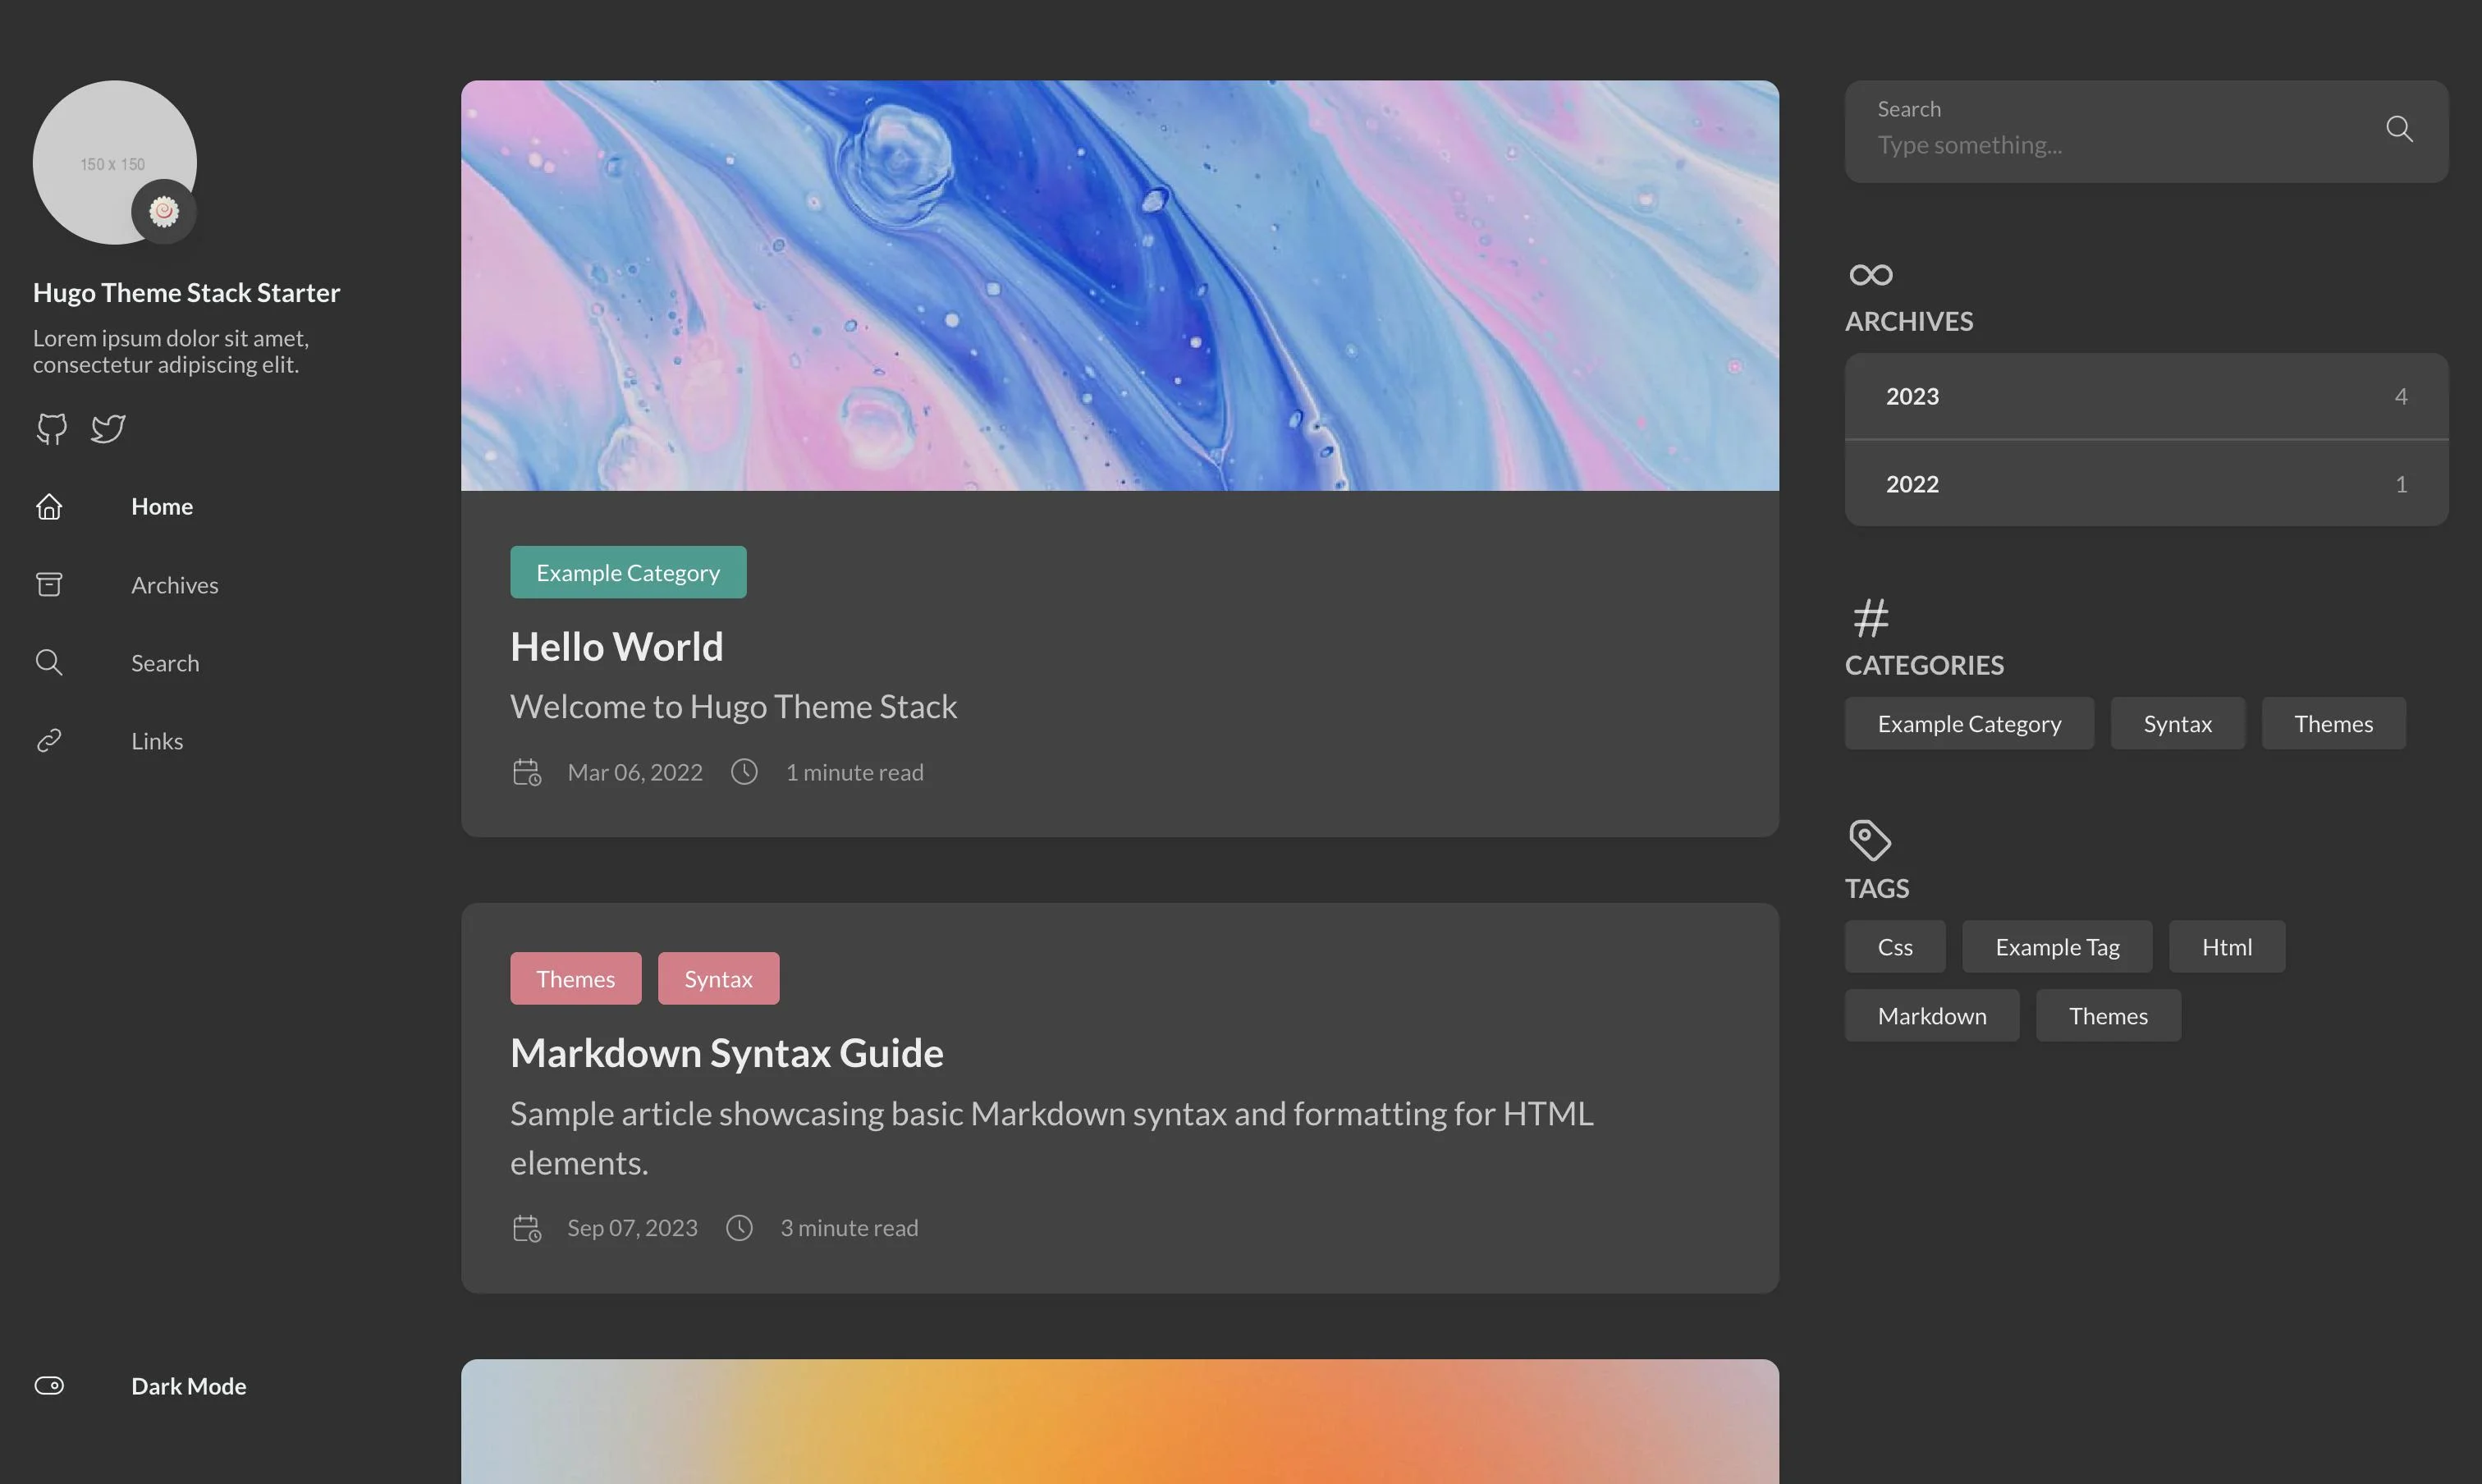 what a website created from hugo-theme-stack-starter looks like
If you use the starter, you are using the author’s theme by default. If you want to switch to your custom fork (created earlier), you need to decide how to link it: Git Submodules or Hugo Modules.
Cleanup First
Remove go.mod, go.sum, and config/_default/module.toml if they exist to start fresh.
Method A: Git Submodules (Simpler)
This is easiest to configure and allows you to modify the theme and site content simultaneously.
git submodule add git@github.com:<your_username>/stack.git themes/stack
echo "theme = 'stack'" >> hugo.toml
Method B: Hugo Modules (Advanced)
Since Hugo is built on Go, using Go Modules keeps you in the ecosystem and allows for precise version tagging.
hugo mod init github.com/<your_username>/hugo-theme-stack-starter
go get -u github.com/<your_username>/stack
Then add this to your config (toml):
[[imports]]
path = "github.com/<your_username>/stack"
Conclusion
You have now successfully set up a Hugo website with a customizable theme architecture. Whether you chose a public fork for open collaboration or a private mirror for control, you have a solid foundation.
Your next steps? Start writing content and deploy your site to a host like Netlify, Vercel, or GitHub Pages.
References
...official [[Hugo Themes]]). If you are just starting, I recommend reading [[my previous guide on jumpstarting a Hugo website]] before continuing. Note: This tutorial is...
...'ll cover this part briefly since I've already written a detailed article on this topic, accessible [[here]]. For this tutorial, I...
...vrirai cette partie brièvement puisque j'ai déjà écrit un article détaillé sur ce sujet, accessible [[ici]]. Pour ce tutoriel, j'ai...