
From Note-Taking to Publishing: The Ultimate Obsidian & Astro Workflow
Building my new blog with Astro, Obsidian & Cloudflare
I recently decided to modernize my personal website. This article serves a dual purpose: explaining how to get such a blog up and running (and sharing how fast and easy it was), and acting as the very first post on this new platform. It’s a chance for me to test the new framework and ecosystem I’ve chosen—which, at this stage, seems truly amazing, far surpassing everything I’ve tested before!
This guide covers setting up a blog using Astro with the Astro-modular theme, Obsidian as the editor, GitHub for hosting the codebase, and Cloudflare to deploy and host the pages.
A few words on the technology stack
What is Astro?
Astro (see the official website)
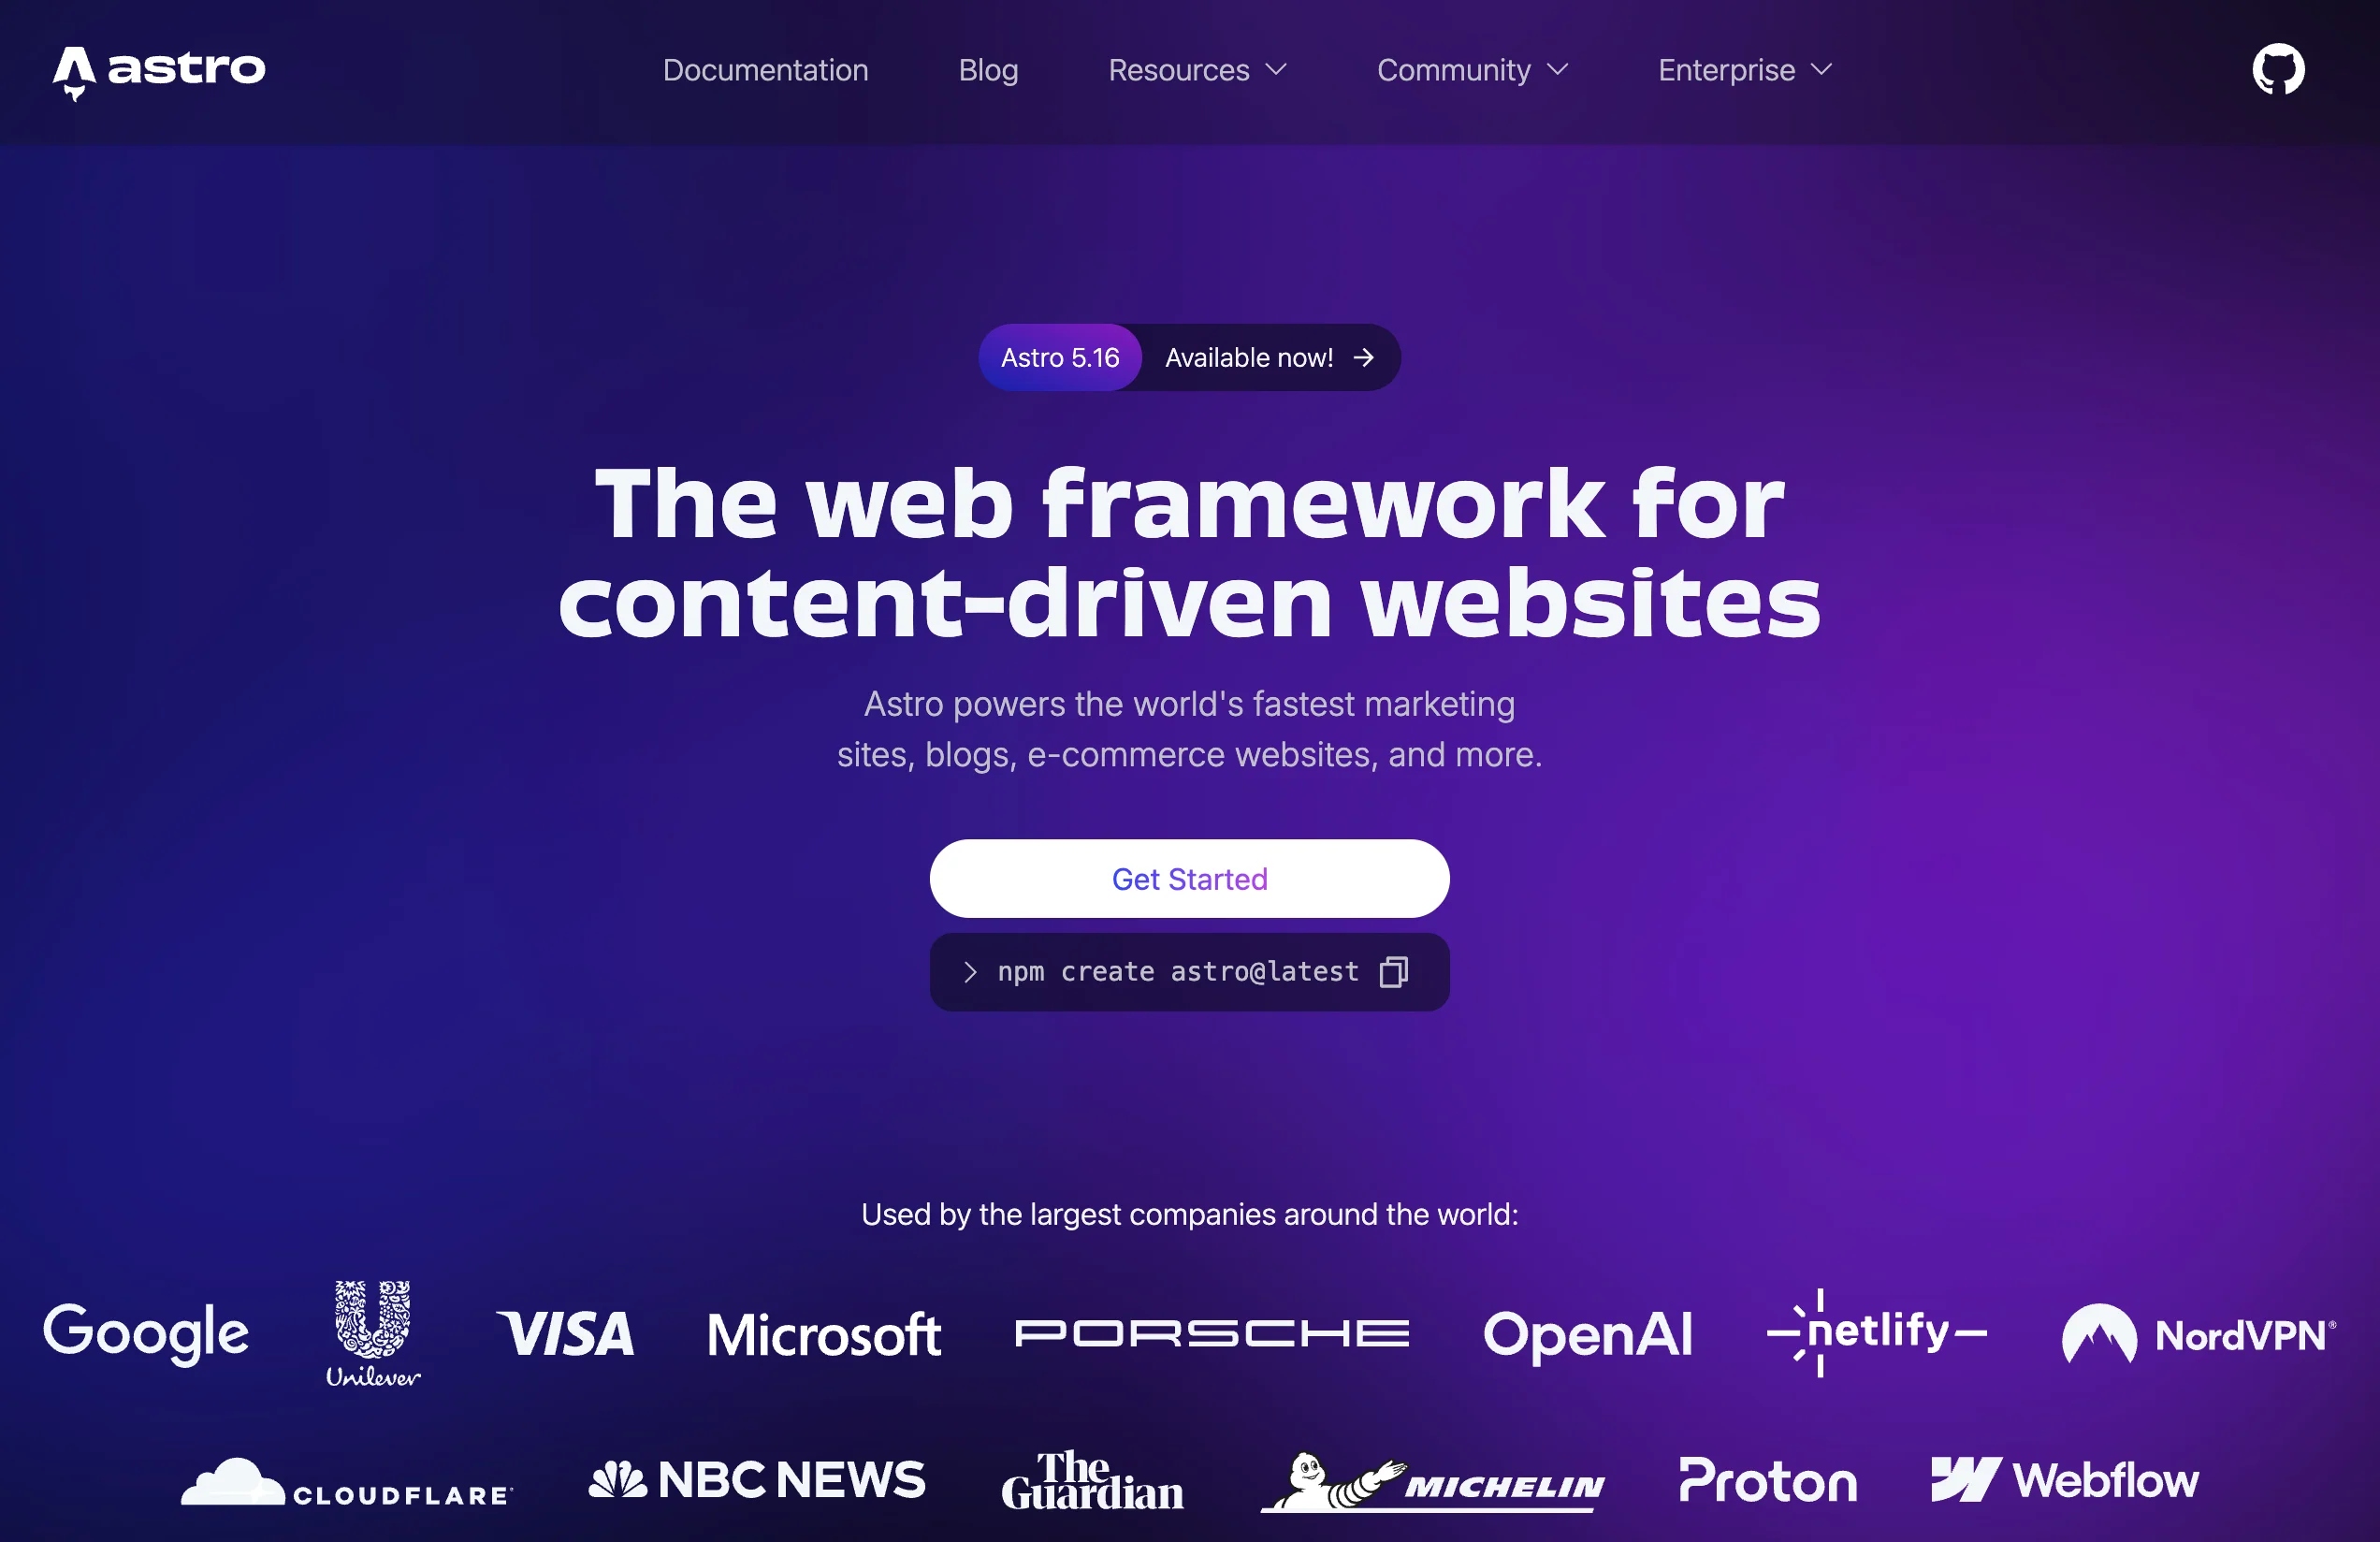
Astro website
I discovered Astro recently while looking for alternatives to Hugo for my blog. It is a web framework that allows you to build content-driven websites like blogs, e-commerce stores, and documentation sites. I was pleased to learn that many major players are effectively using Astro to build their own websites (Cloudflare, Porsche, Netlify, etc.). You can see the list of examples in their showcase.
Astro is a solution that I discovered recently while looking for alternatives for my blog to Hugo. This is a framework that allow you to build websites like blogs, e-commerce, documentations, … I was pleased to learn, during the writing of this article, that many popular actors are effectively using Astro to build their own website (Cloudflare, Porsche, Netlify, … see here the list of example websites build upon Astro!
Astro sticks to the philosophy I was looking for: it is a content-driven solution. To put it simply, you write your article in Markdown. Then, during the build & deploy phase, Astro transforms your Markdown into a web page.
Astro builds pages on the server side. This means pages don’t have to be rendered in the browser afterwards, guaranteeing high performance for your website. For advanced use cases, it also supports the majority of modern popular web frameworks (React, Vue, Svelte, etc.).
Finally, there are plenty of themes available for Astro, both free and paid, which generally offer some guarantees regarding availability and maintenance.
What is Cloudflare?
You likely know Cloudflare, perhaps the most famous name in this article. They are a pillar of modern internet infrastructure—so massive that a recent issue led to a significant part of the web going down (see this article).
Cloudflare is mostly known for its DNS solution, being the largest CDN, and its anti-DDoS protection, but this is only a fraction of what they provide.
I am interested here in another feature: Workers and Pages. This allows you to deploy web components with a generous free tier. I previously shared an article on how to use Workers to map Grafana alerts to Ntfy. Here, we will use the Pages feature to deploy our website.
Obsidian
Obsidian is a comprehensive Markdown-based personal knowledge management and note-taking application. While not open source, it is free for personal use.
It exists on almost every platform: macOS, Windows, Linux, Android, and iOS.
Honestly, when I was searching for a cross-platform note-taking solution, I tested many options (Joplin, Memos, Standard Notes, Notesbook, Blinko…). I initially discarded Obsidian because data is stored locally on the host rather than synchronized via a server (native sync requires a subscription).
However, I decided to give Obsidian a try since it is regularly cited as the gold standard. I quickly adopted it. The combination of a synchronization solution (like Syncthing, or Obsidian-livesync), a reactive interface, and a massive plugin library convinced me to make Obsidian my favorite note-taking tool. It also increased my willingness to convert my documentation workflow to Obsidian as well.
The Secret Weapon: The Astro Modular Theme
After choosing Astro, I browsed the different themes available here.
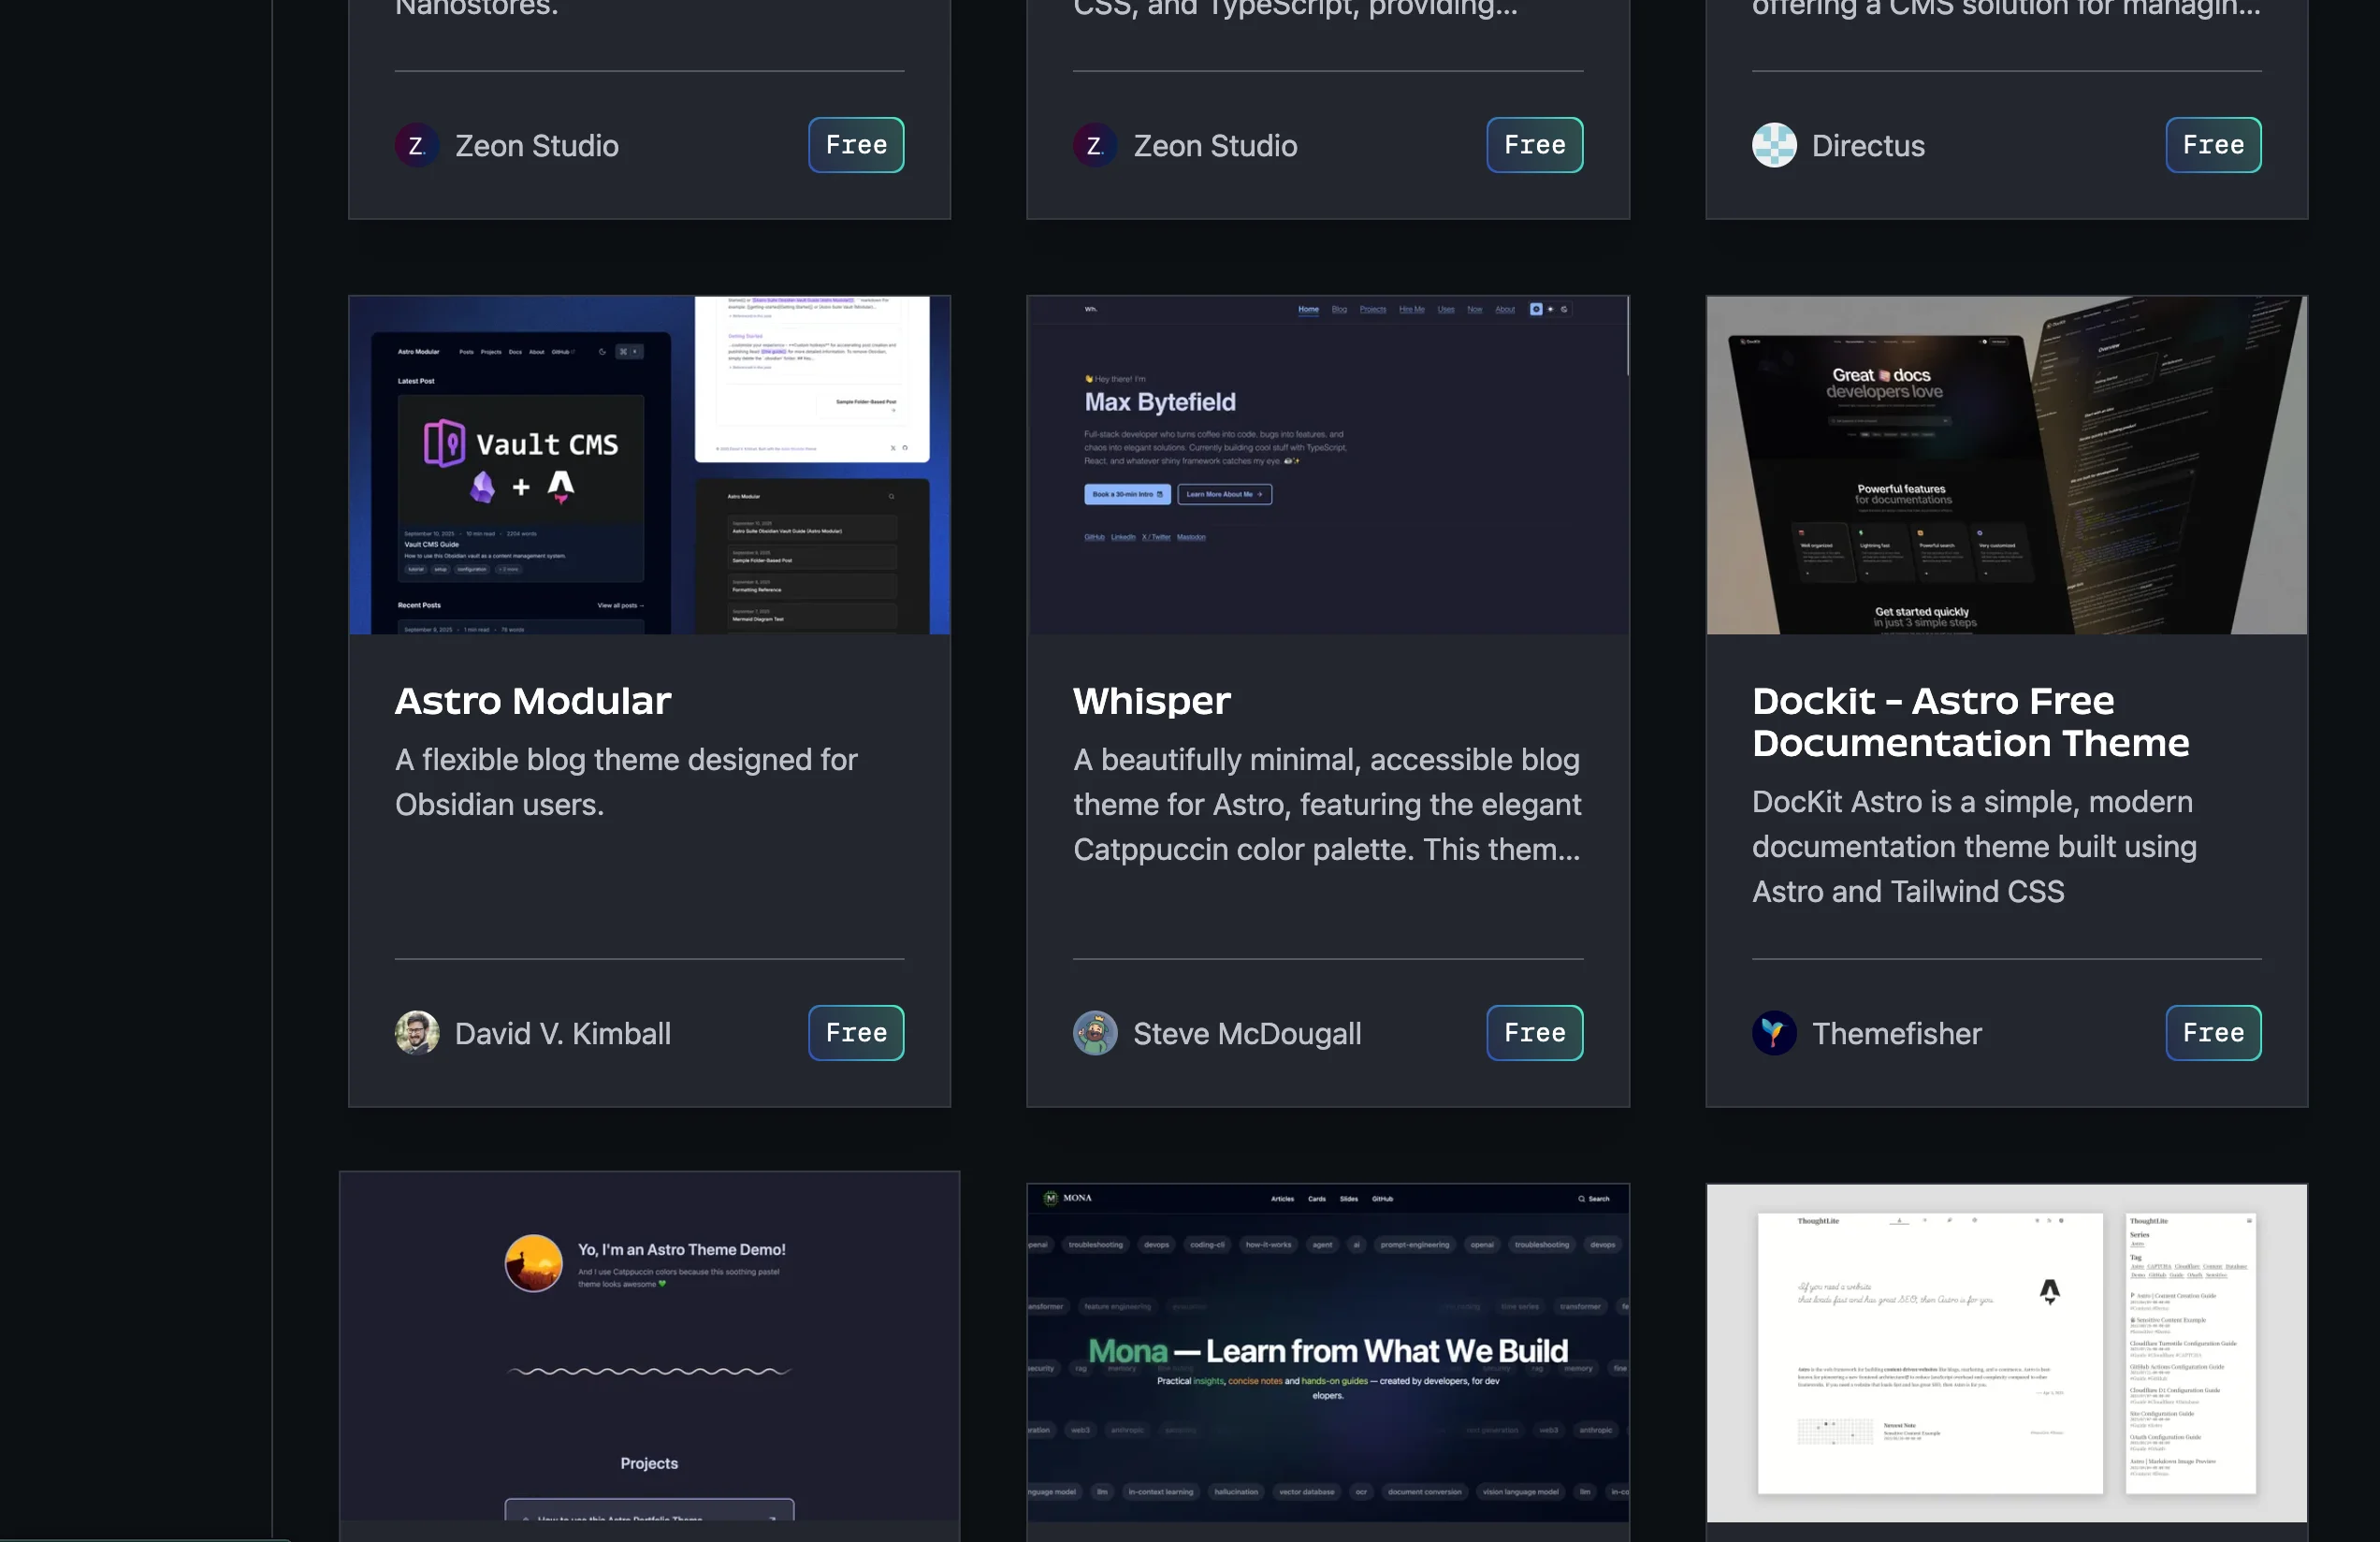
Themes listed on Astro website
I landed on Astro Modular, a theme “designed for Obsidian users” (“Hey, that’s me!” I told myself). It had the sleek, modern look I was hunting for. Going a bit deeper, I noticed it goes beyond just “theming.” It provides tools and plugins to transform Obsidian into a fully-fledged CMS. It offers an experience close to Frontmatter CMS, but without the complexity and manual configuration.
It also provides excellent workflow features, such as a one-click commit and push to GitHub. Combined with Cloudflare’s automatic build-and-run upon pushing to the repository, the experience is seamless!
The theme comes with a Setup Wizard to configure the appearance, your chosen provider (Vercel, Netlify, Cloudflare), site identity, categories, and static pages. It covers the skeleton of the website perfectly.
Honestly, this theme significantly simplifies launching the website and streamlining the writing process. This is exactly what I wanted: a site that is easy to setup, fast, modern, but with a superior writing experience.
The procedure
In this section, I will detail the steps to create a live website using this stack.
Prerequisites:
- A GitHub account (with a computer configured to clone, commit, and push).
- A Cloudflare account.
- Obsidian installed on your computer.
Note: I did this on a MacBook, but it applies to Linux and Windows provided the prerequisites are met.
First, go to the theme’s GitHub repository here. Under the Quick Start section, you will see buttons to deploy to Netlify, Vercel, or Cloudflare. Since we chose Cloudflare, click Deploy to Cloudflare.

Deployment buttons in the theme’s GitHub repository
This leads you to a Cloudflare application creation page. Connect your GitHub account (GitLab is also an option), choose public or private for the repo, and name your project.
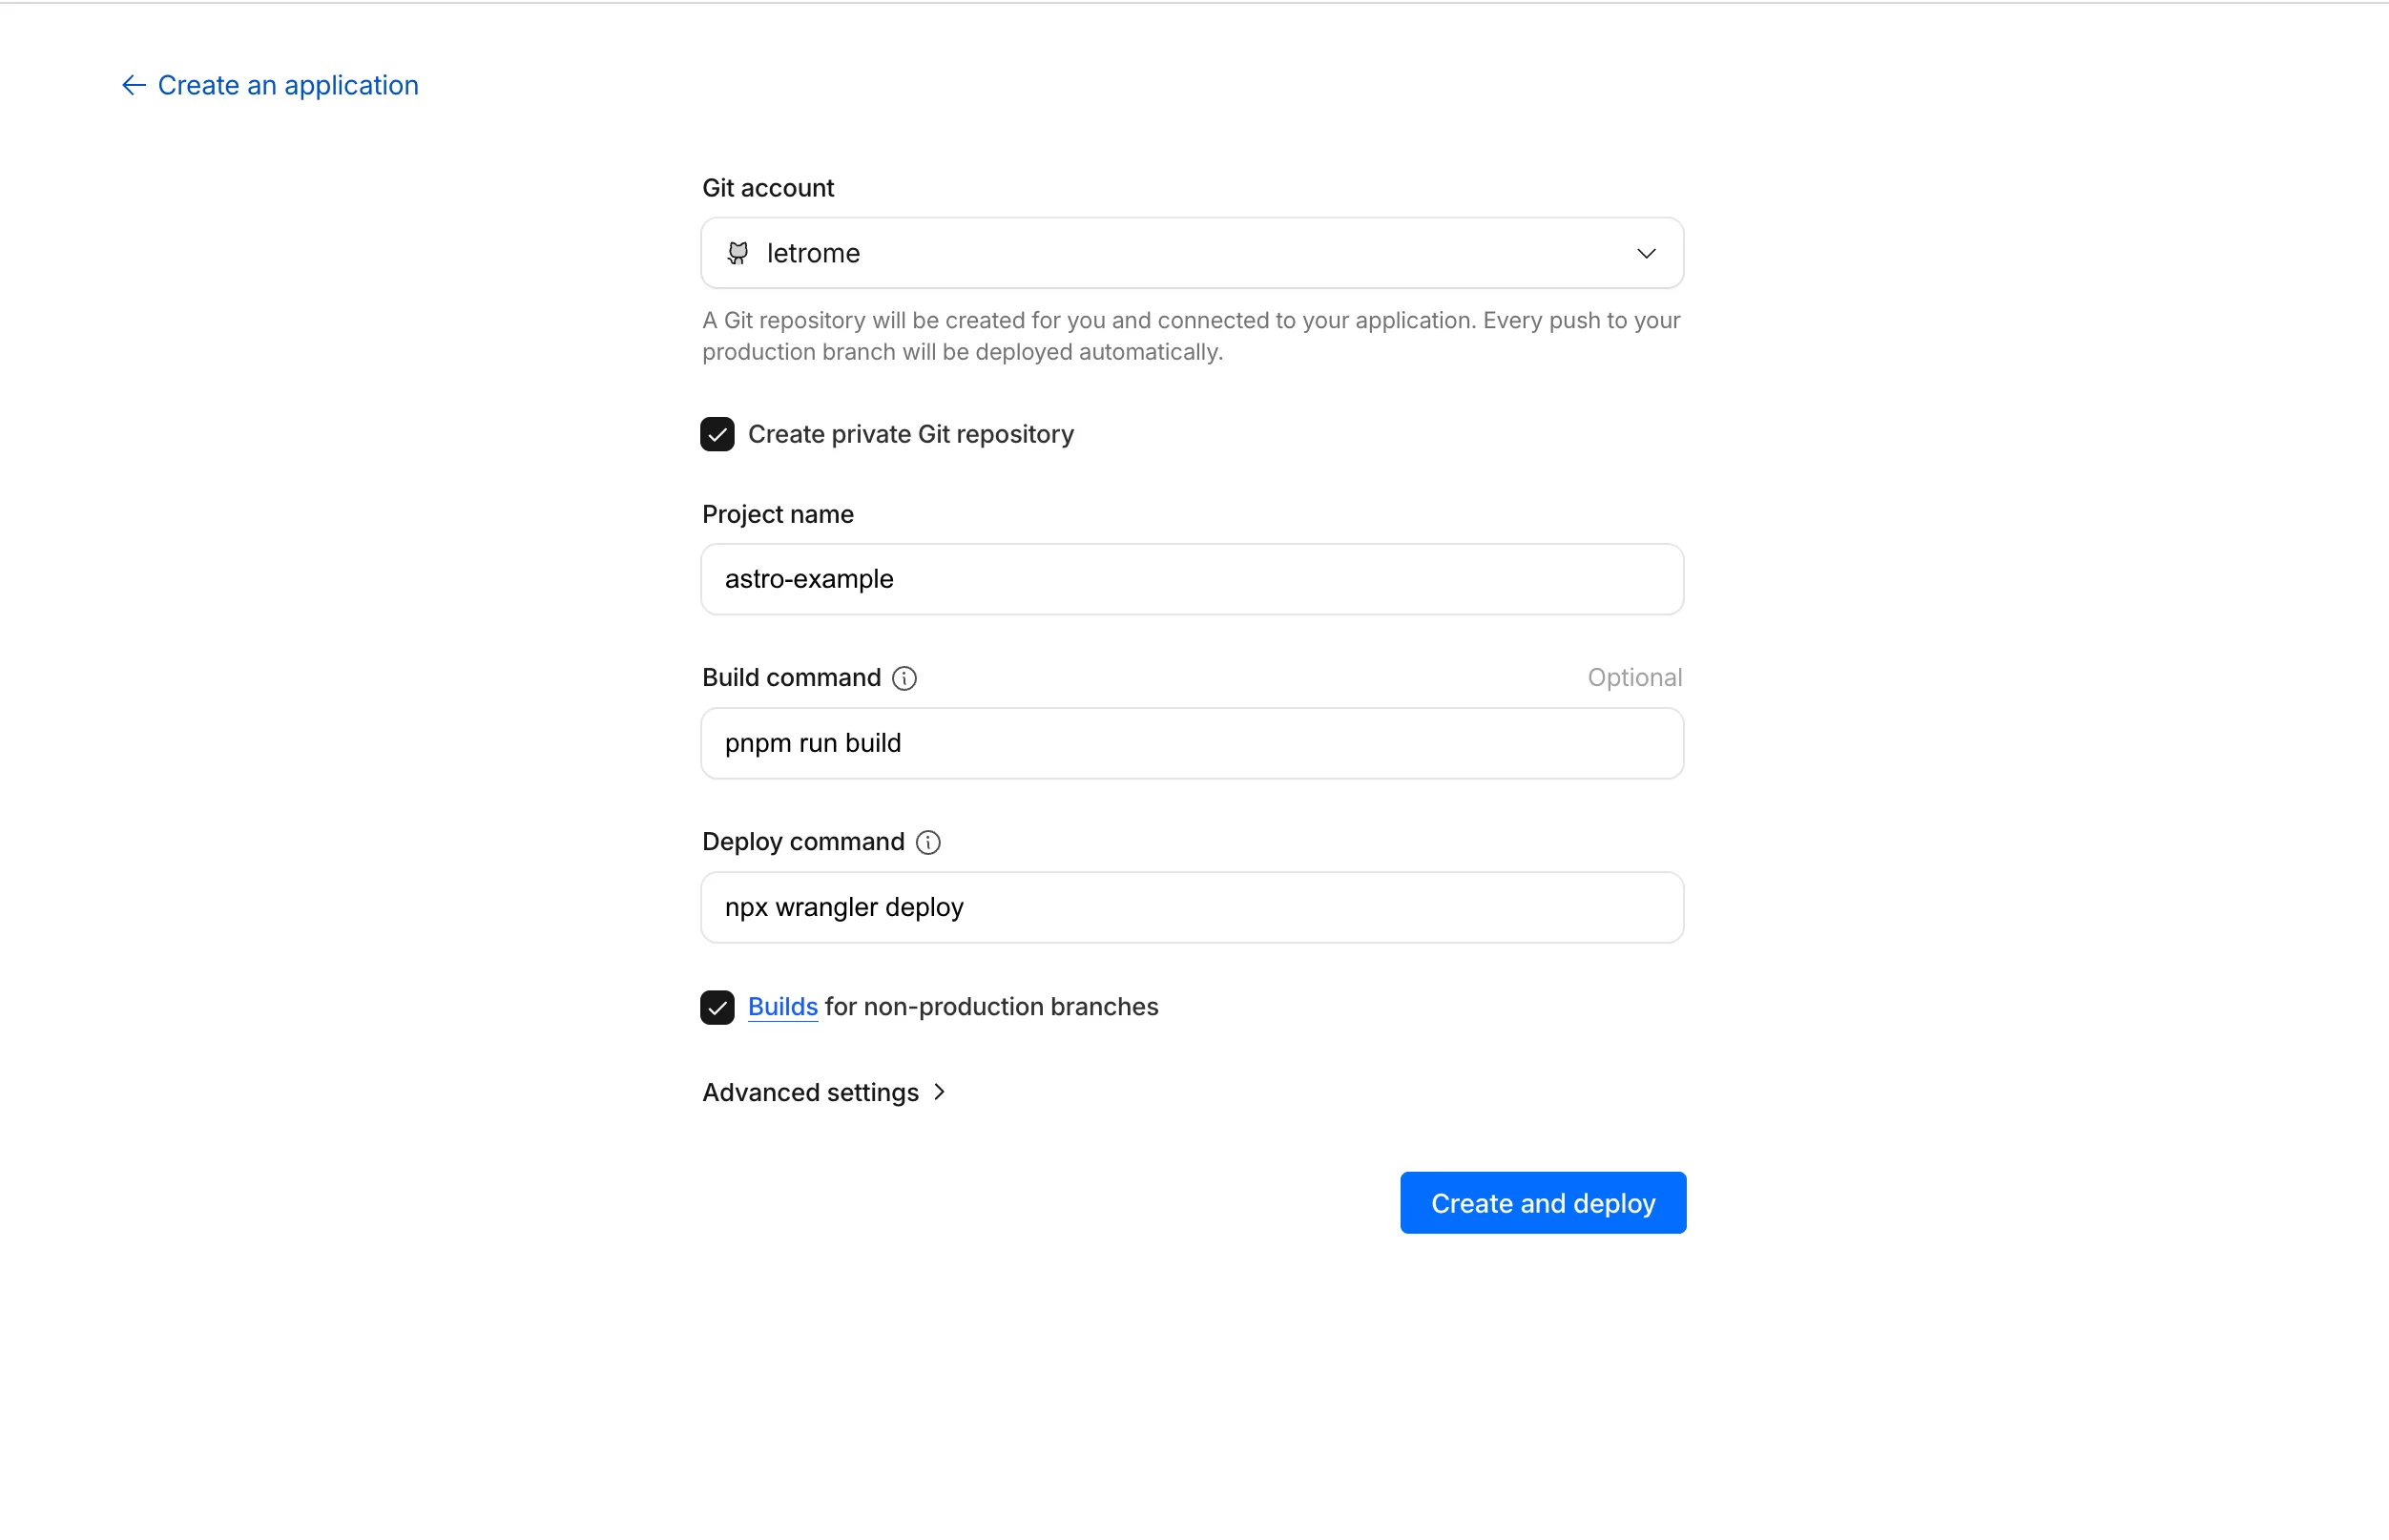
The application creation screen on Cloudflare
Leave the other prefilled elements as they are and click Create and Deploy. This will:
- Create the Git repository.
- Deploy the website corresponding to this repository.
After a moment, you will land on the Overview page. Click the link at the top to see that your website is live! 🚀
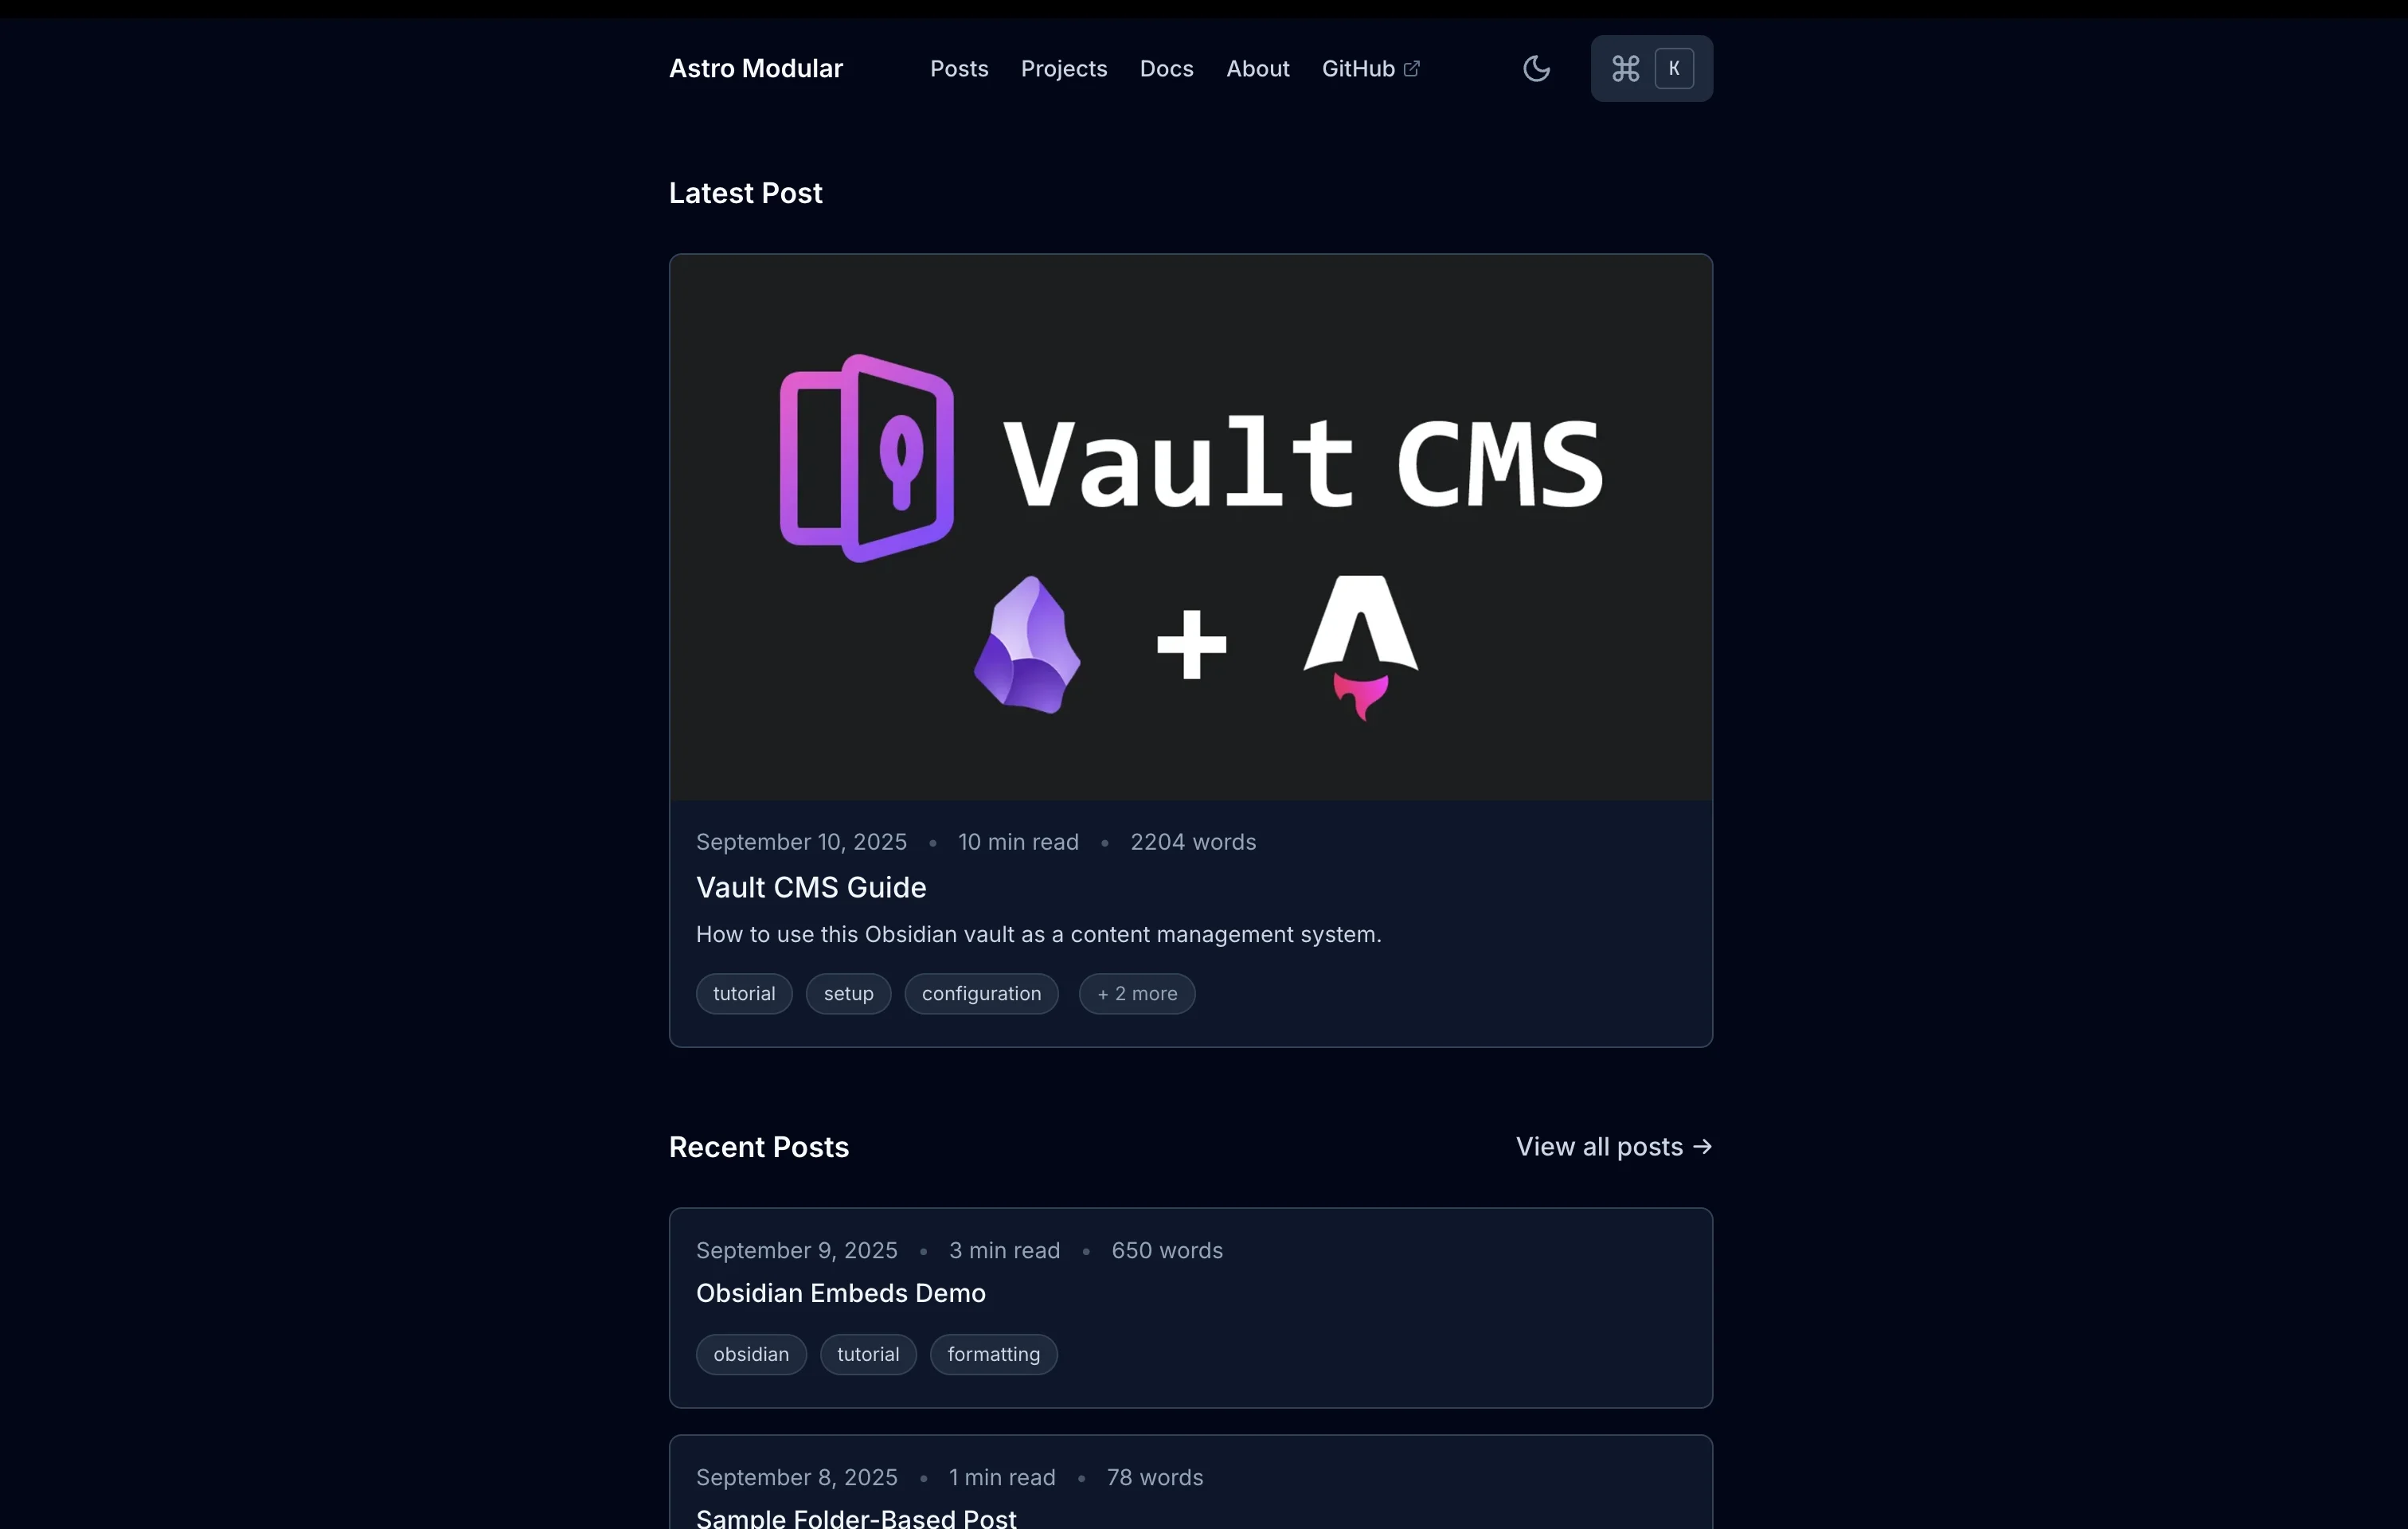
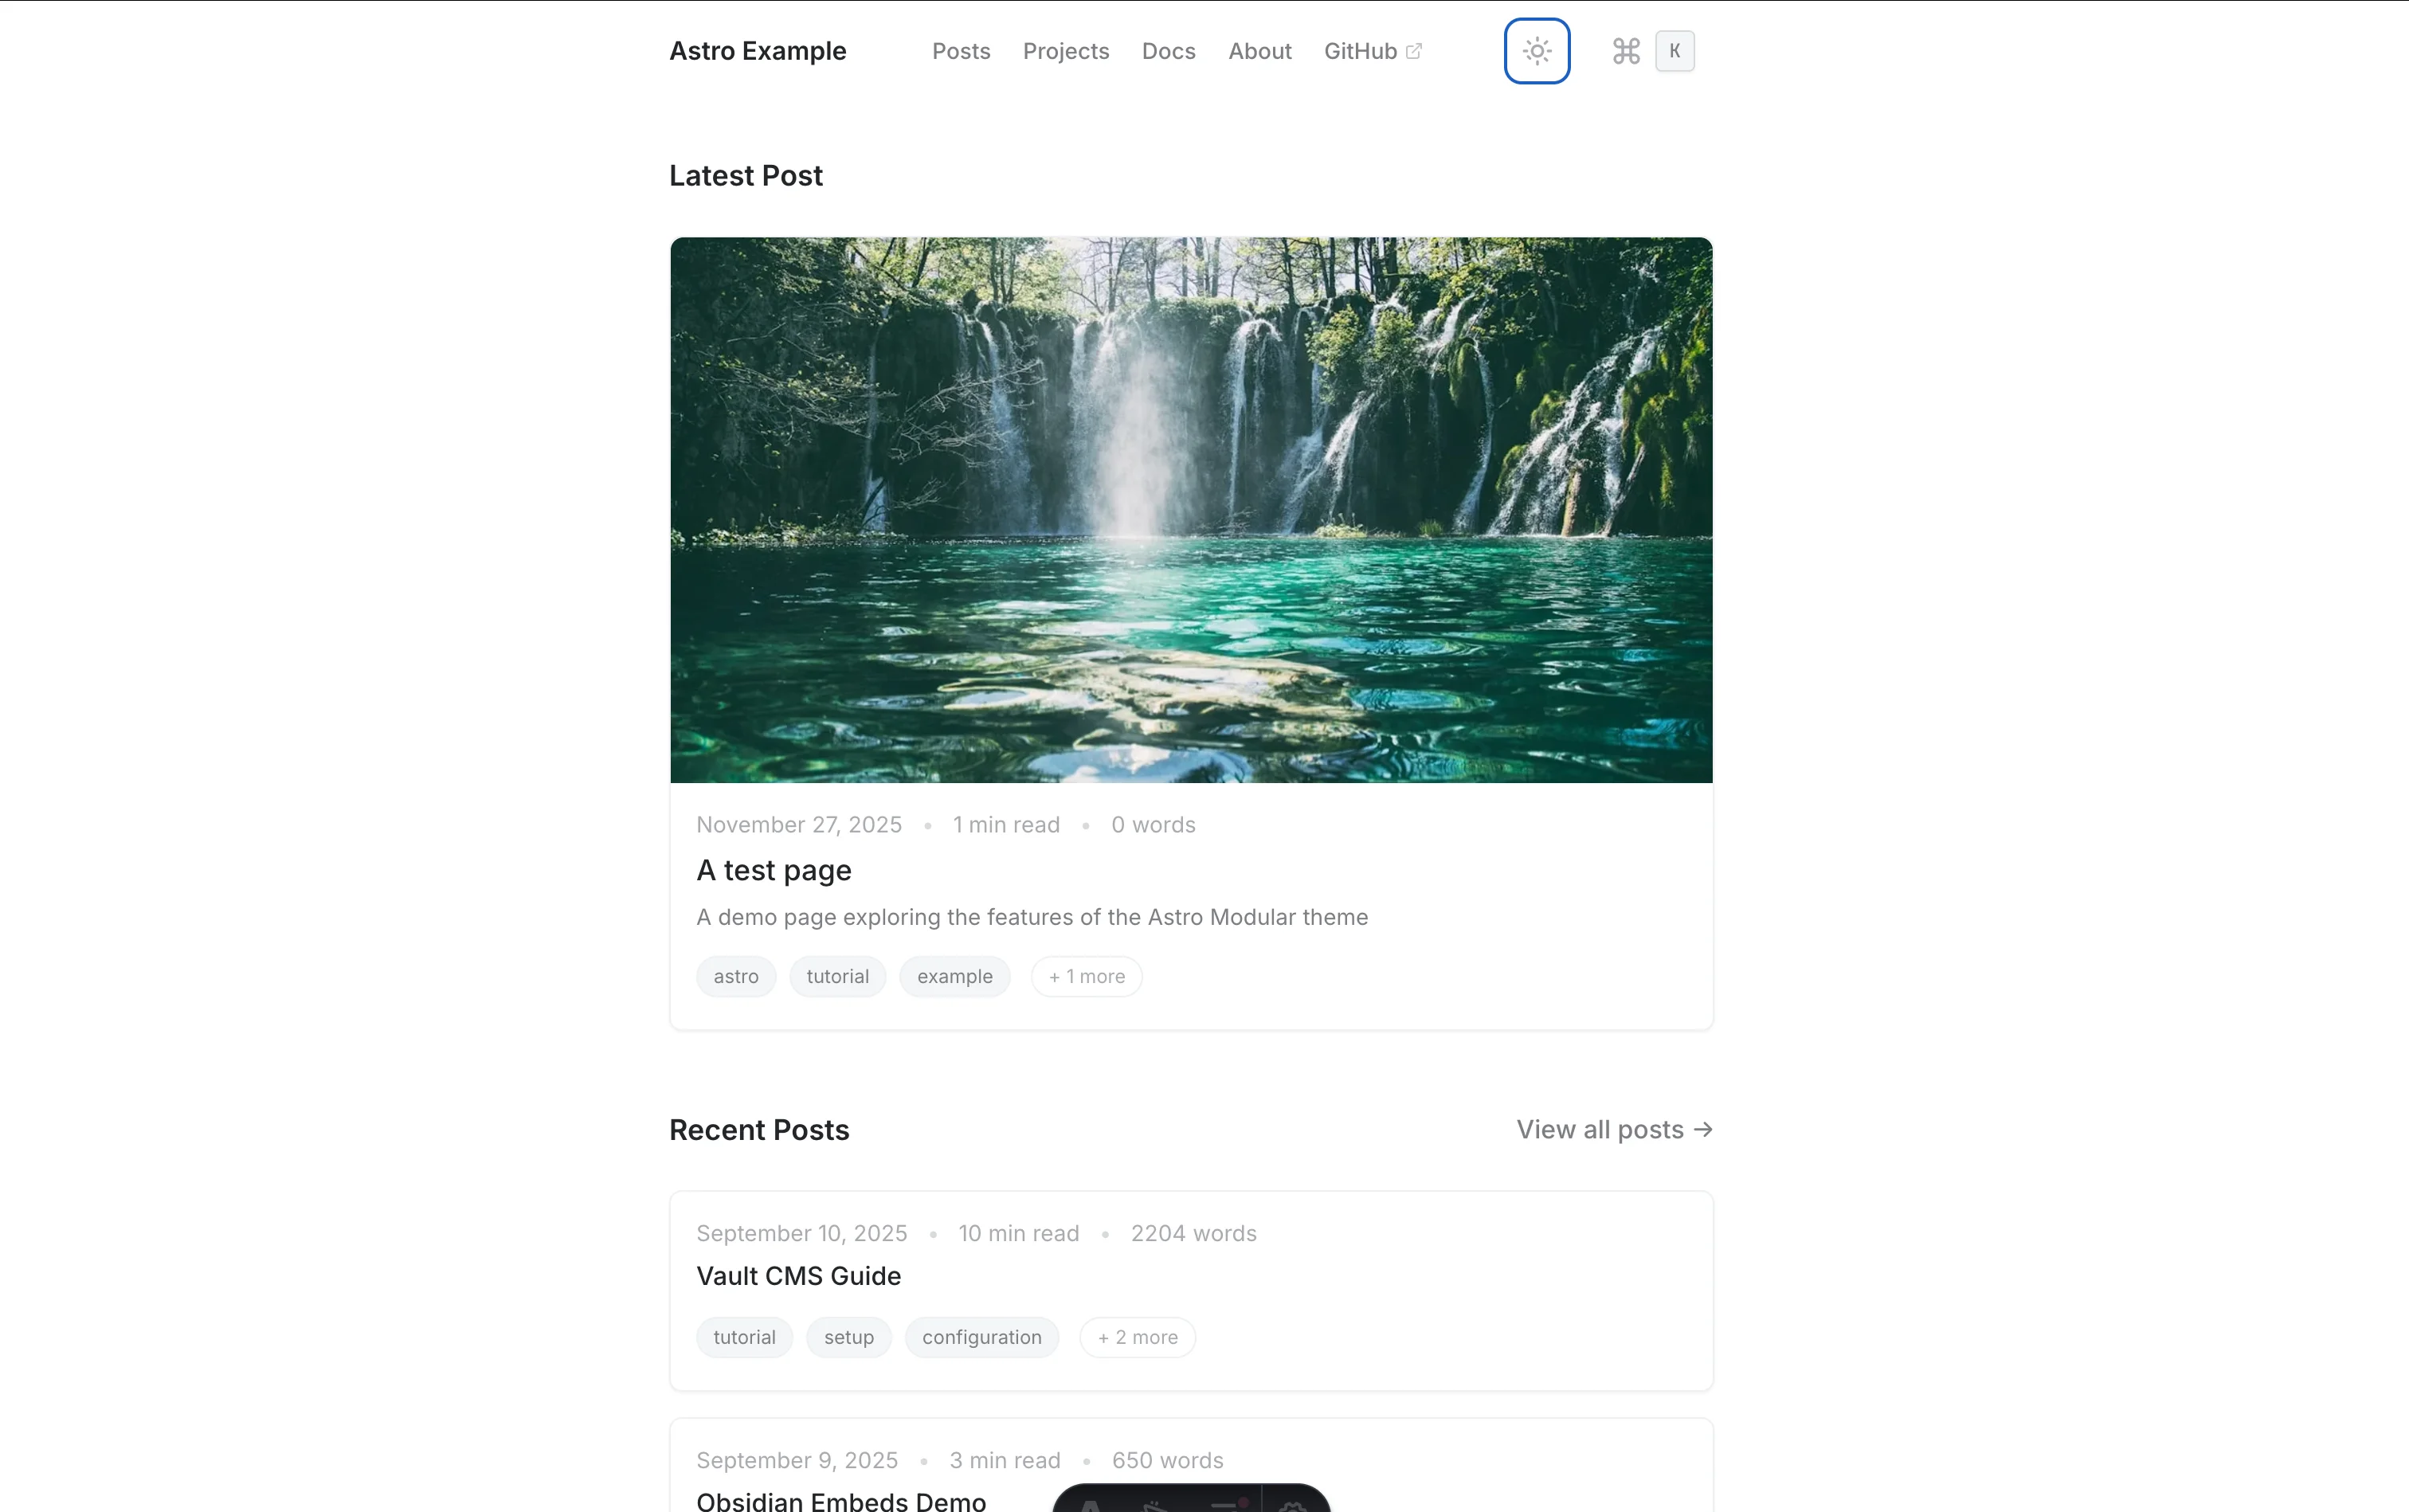
The website that you obtain right after the first deployment
The site contains example content to help you understand the structure. Now, let’s make it your own.
Go to your GitHub account and find the new repository created by Cloudflare.
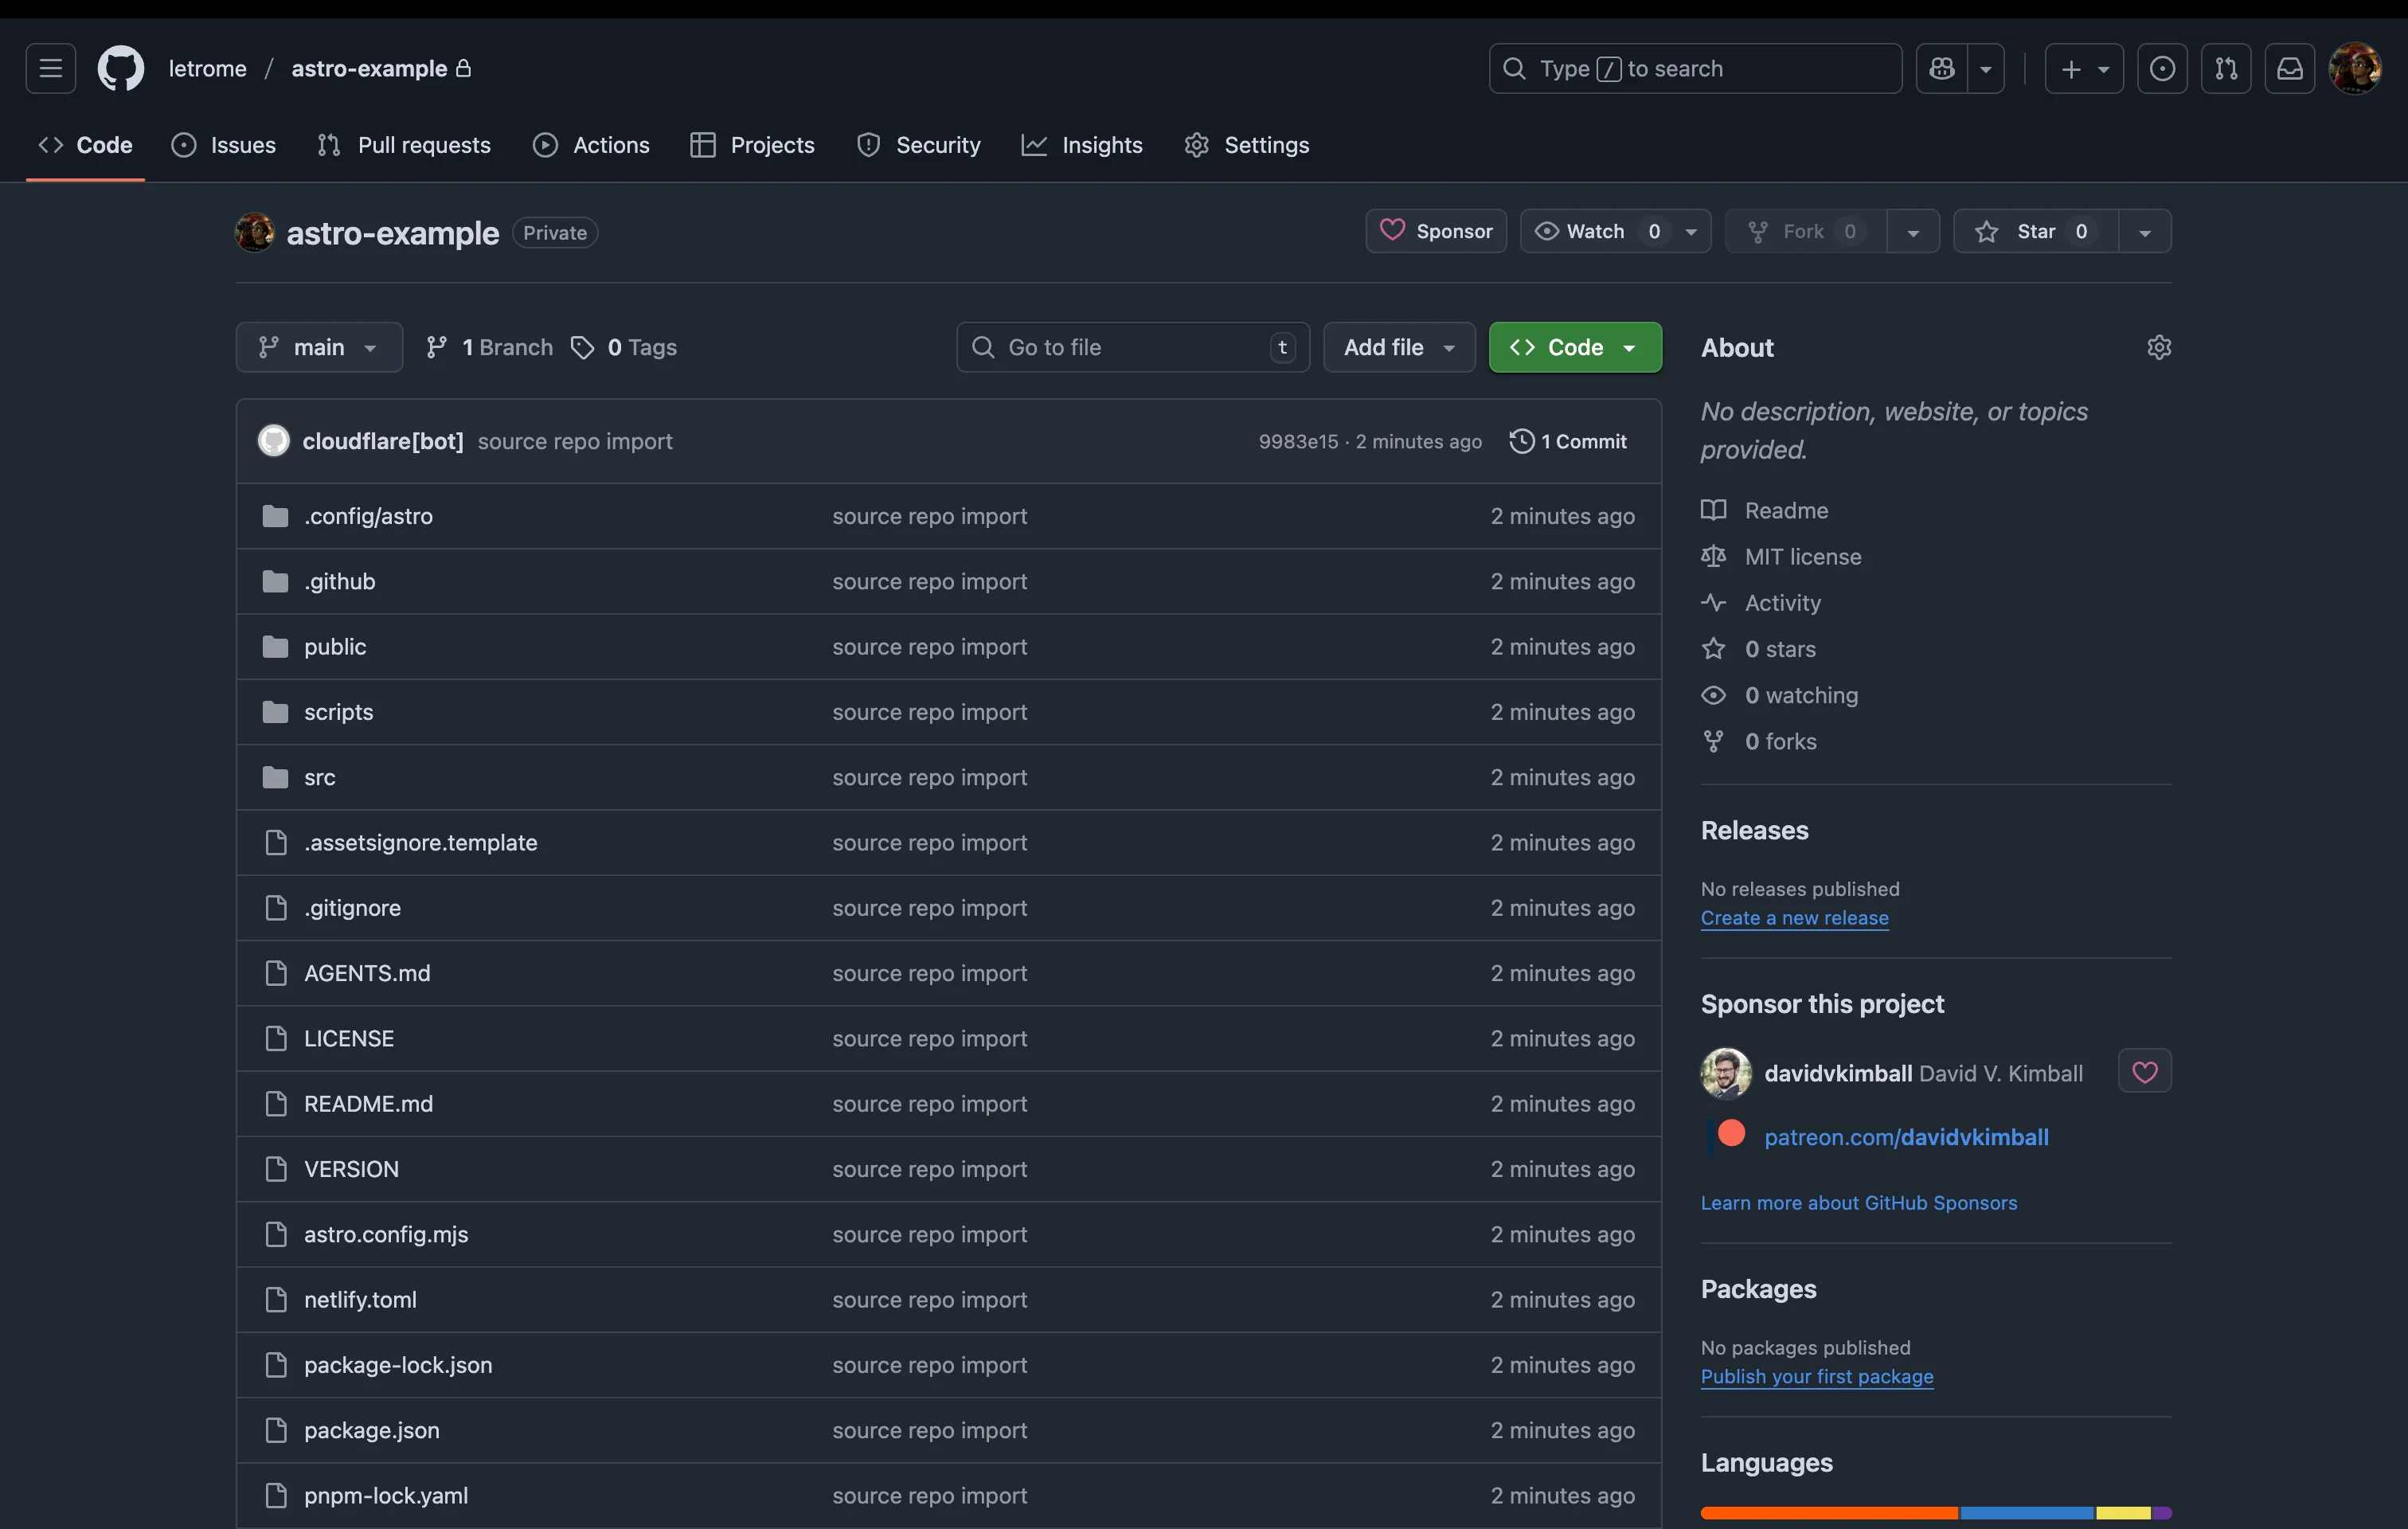
The repository created by Cloudflare
Clone the repository locally. Once done, open the folder src/content as a Vault in Obsidian. Confirm that you trust the author. This will load the theme’s plugins and launch the Setup Wizard. Follow the guide: fill in your site info, choose presets, fonts, content organization, and navigation. The wizard will verify your plugins and summarize your choices.
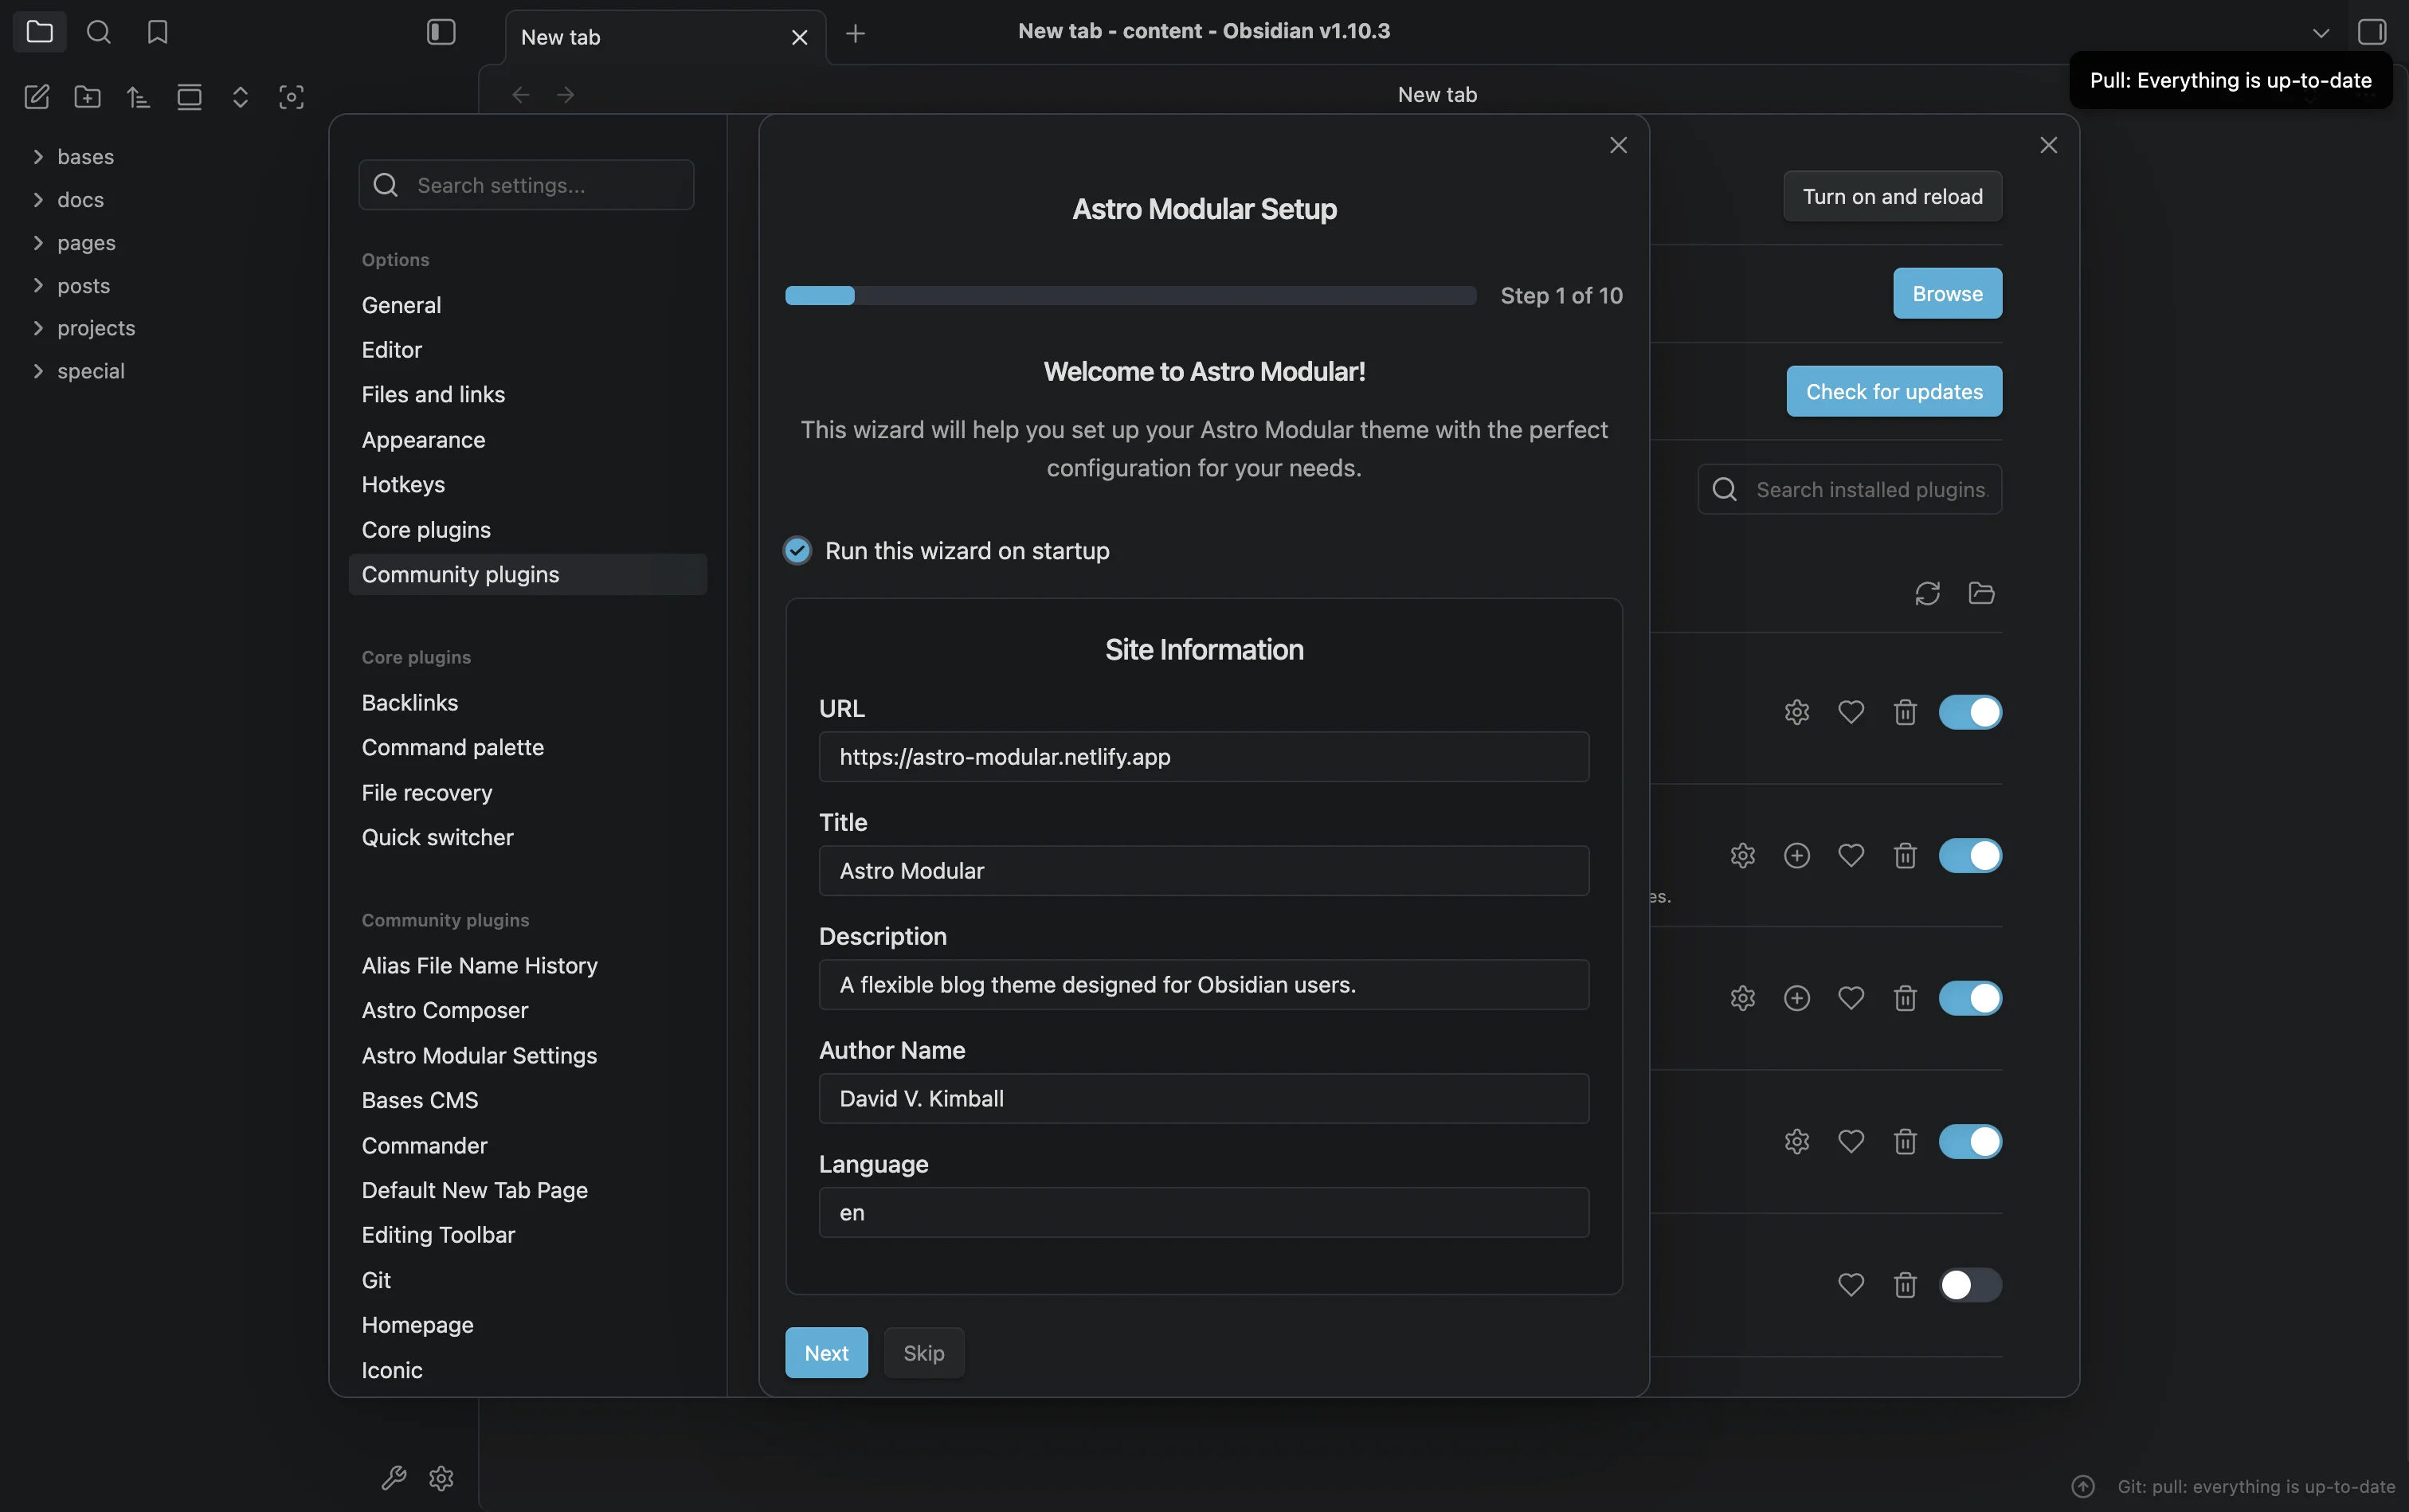
The setup wizard at the first launch of Obsidian with your Astro project
Note: I strongly encourage you to read the getting started guide to ensure you don’t miss any steps.
Now, open “Home” under the “Bases” section in Obsidian’s left-side navigation. This is your CMS dashboard.
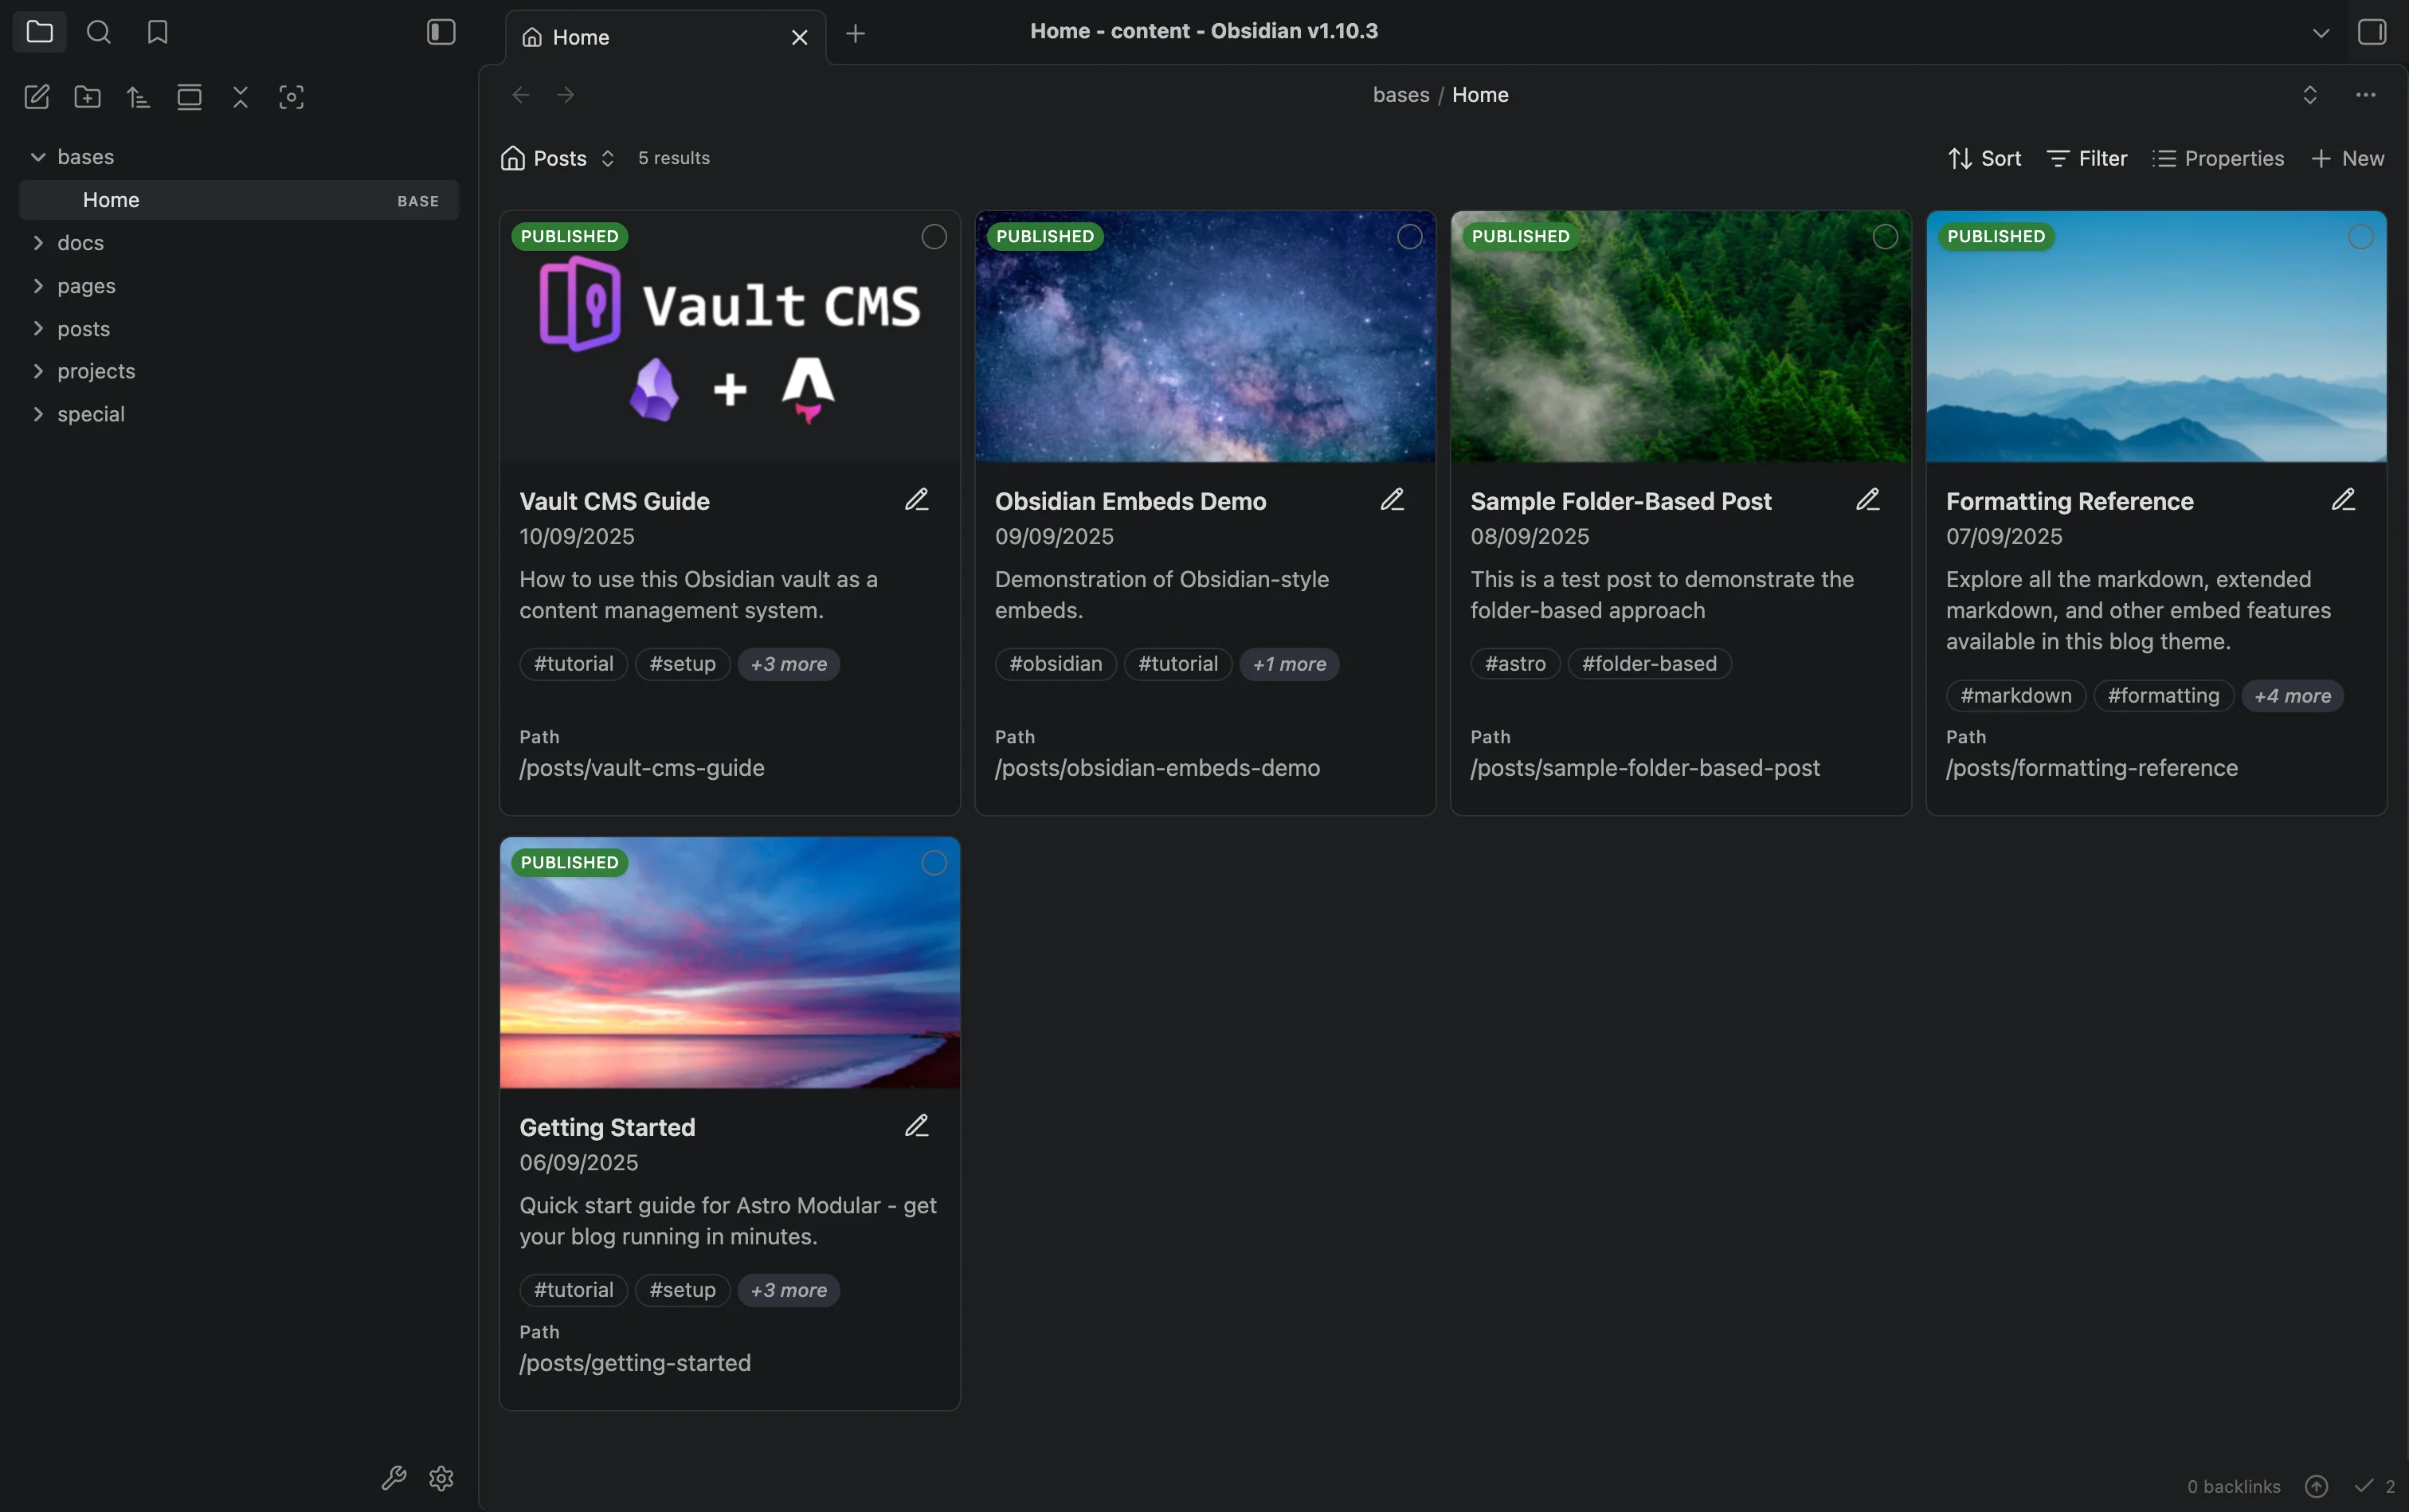
The CMS home page
Here, you can switch between Posts, Pages, Projects, etc. At the • Top Right:** : you have a ”+ New” button to create content. At the Bottom Right:, you have a sync icon showing modified files. Clicking the arrow creates a commit and pushes changes to GitHub (triggering a Cloudflare deploy).
Now, click the + New button.
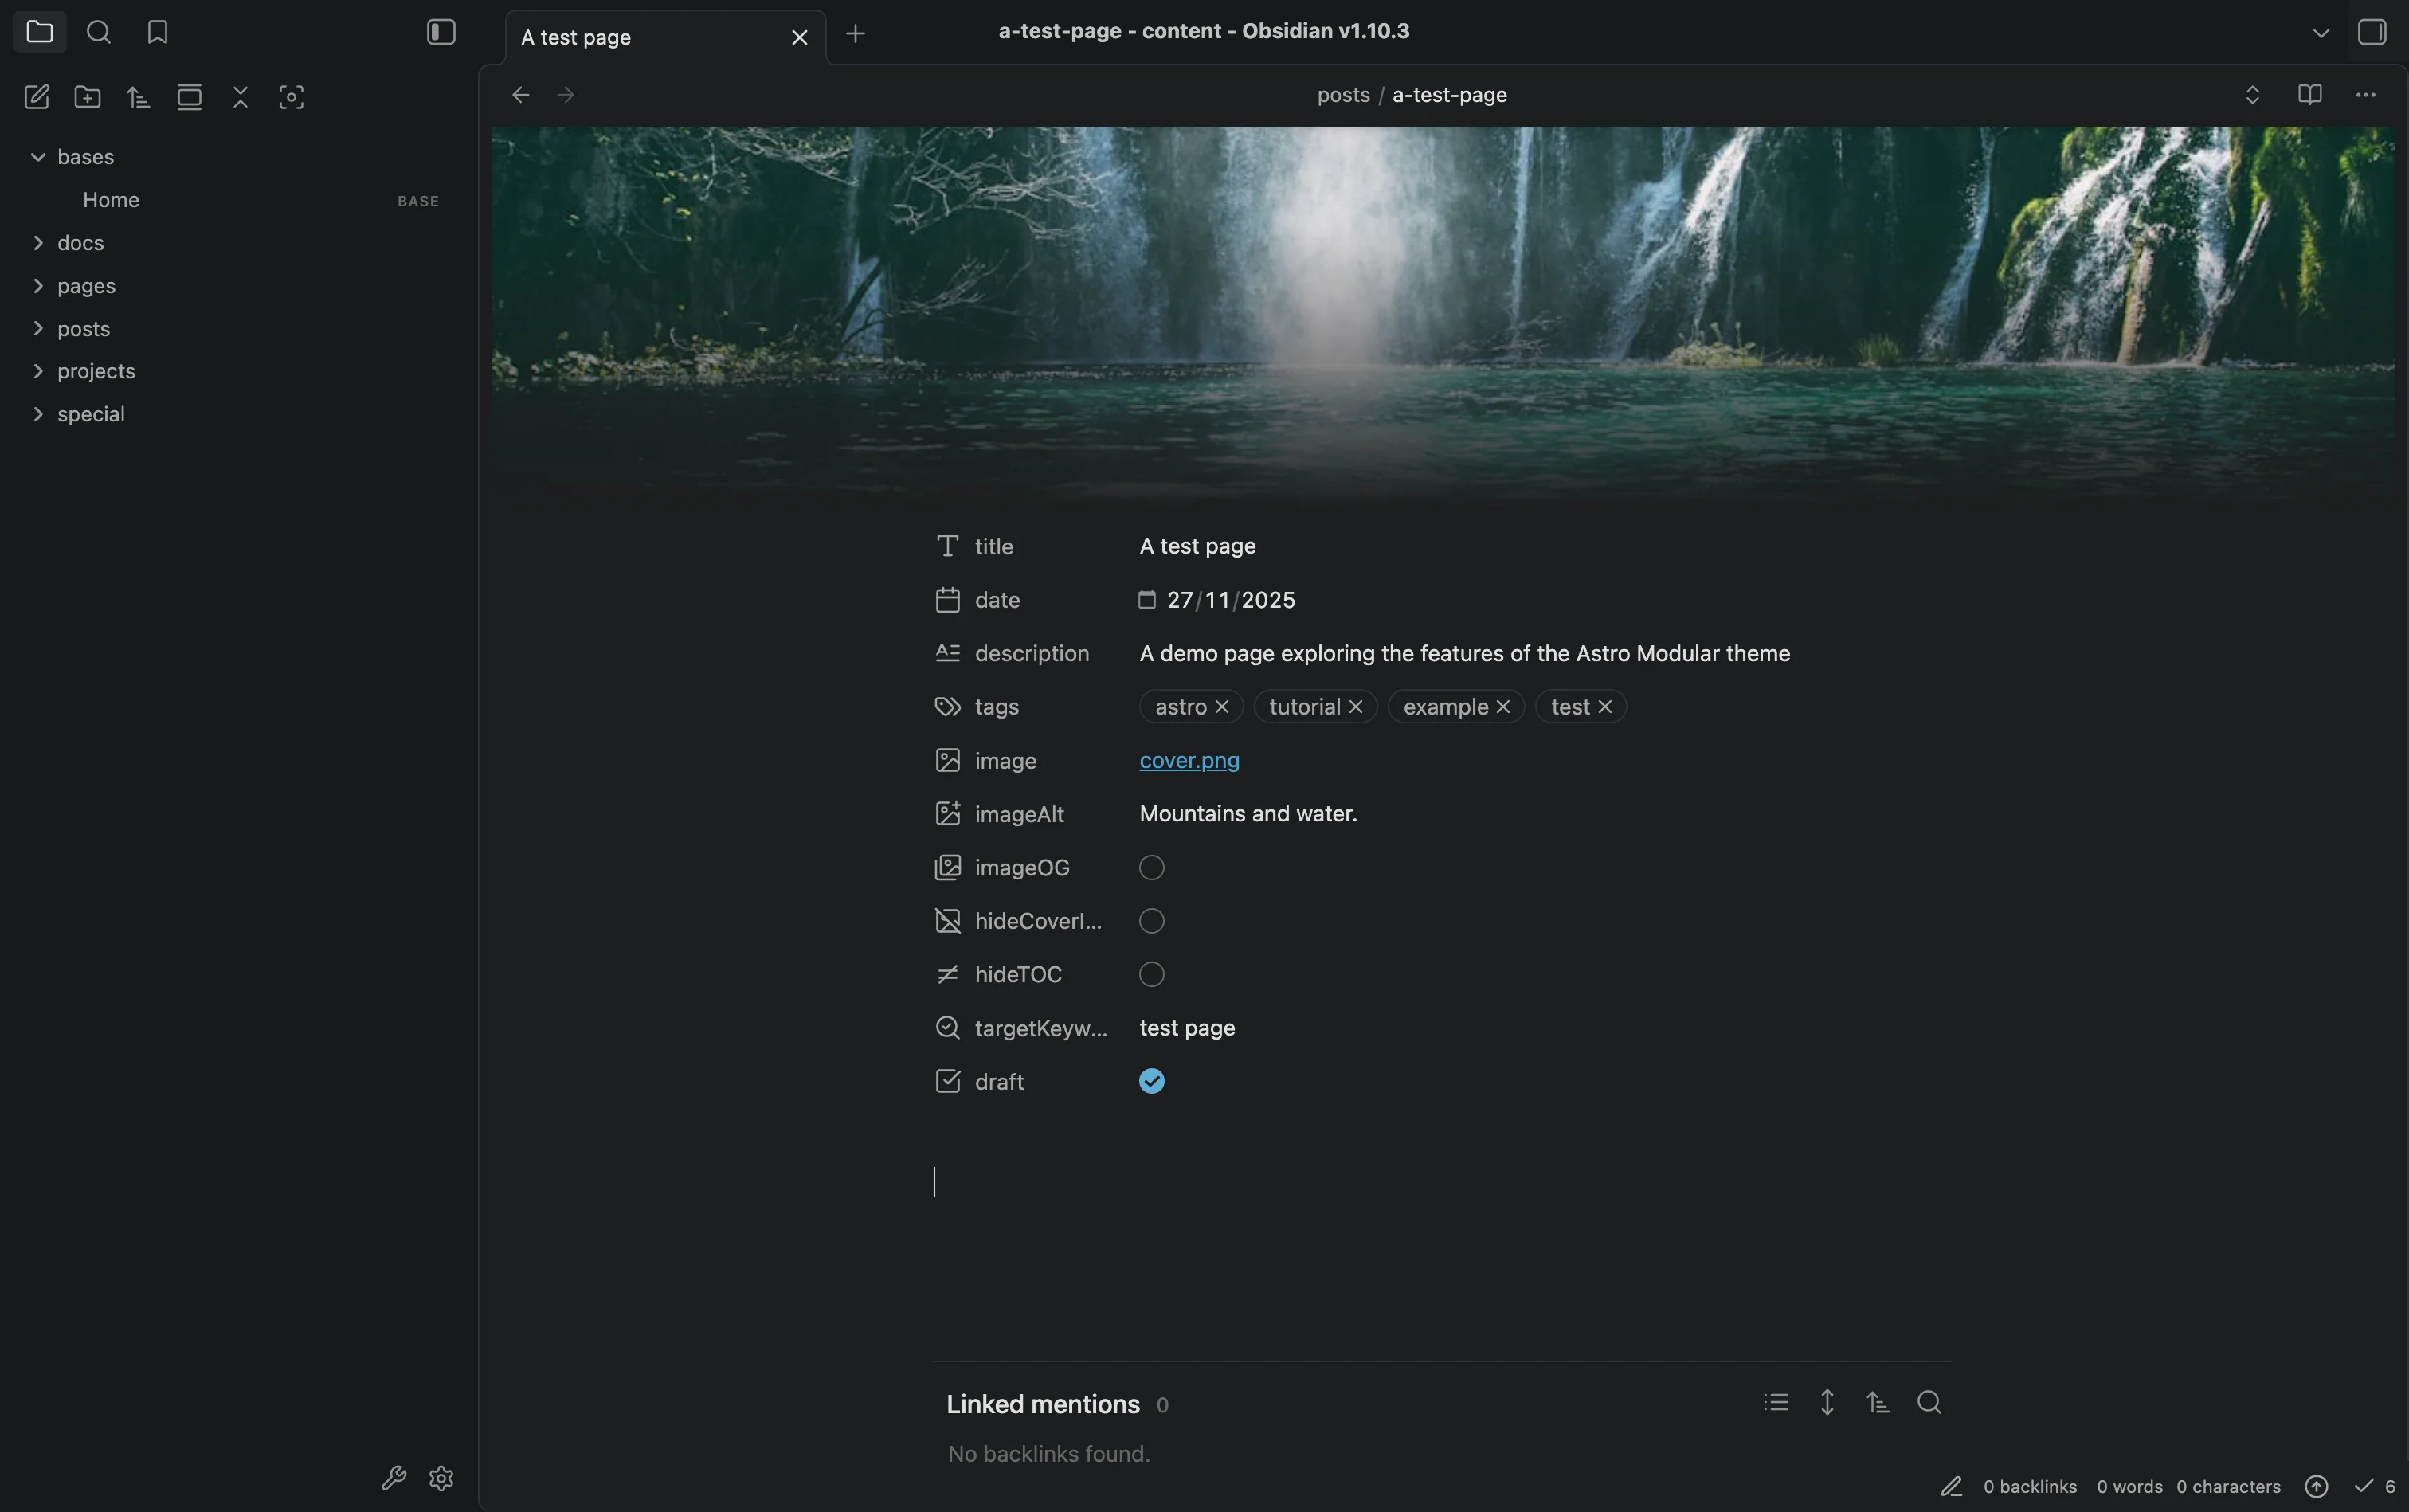
A new post created via the + New button
This opens a page similar to Notion or other documentation tools, with properties (frontmatter) at the top. Below that is where you write your article using Markdown syntax. You can focus on writing first and format as you go without complex menus. If you aren’t familiar with Markdown, check out this cheat sheet.
Once finished, click the up arrow icon at the bottom right to apply changes. Voilà, you have published your first post!
Anything else?
I rushed through this tutorial to get you to production quickly, but a few steps remain for a truly “production-ready” blog:
- Cleanup: Remove testing and example pages.
- Custom Domain: Add a DNS entry to access the website via your own domain (instead of the
.worker.devaddress). - Analytics: I encourage you to look at Plausible, a lightweight, open-source, GDPR-compliant alternative to Google Analytics that doesn’t require a cookie banner. See my article on Plausible and Matomo here.
- Comments: The theme supports Giscus (powered by GitHub Discussions). Alternatively, consider Remark42, which I covered in this article.
- Basic Pages: Add Privacy Policy, About, and Contact pages.
Note that you can also host this on GitHub Pages, Vercel, or Netlify with a similar level of ease thanks to the theme’s automation.