Dynamic Emojis: Customizing Hugo Stack Theme for Dark & Light Modes
In the Hugo Stack theme, a color scheme picker allows visitors to toggle between dark and light modes. The theme also features a customizable emoji overlaid on the sidebar avatar. In this tutorial, I will show you how to update the theme configuration to automatically switch this emoji based on the active color scheme.
Foreword
This guide applies to websites built with Hugo using the Stack theme. I assume you have installed the theme using Git submodules. If you are using Hugo Modules, the file paths may differ slightly.
To follow along, you need the ability to modify the theme files. This implies you should have forked the theme. If you haven’t done so yet, I recommend reading about that process first.
How it works
The Emoji
The Stack theme allows you to define an emoji that appears in the bottom-right corner of your avatar:
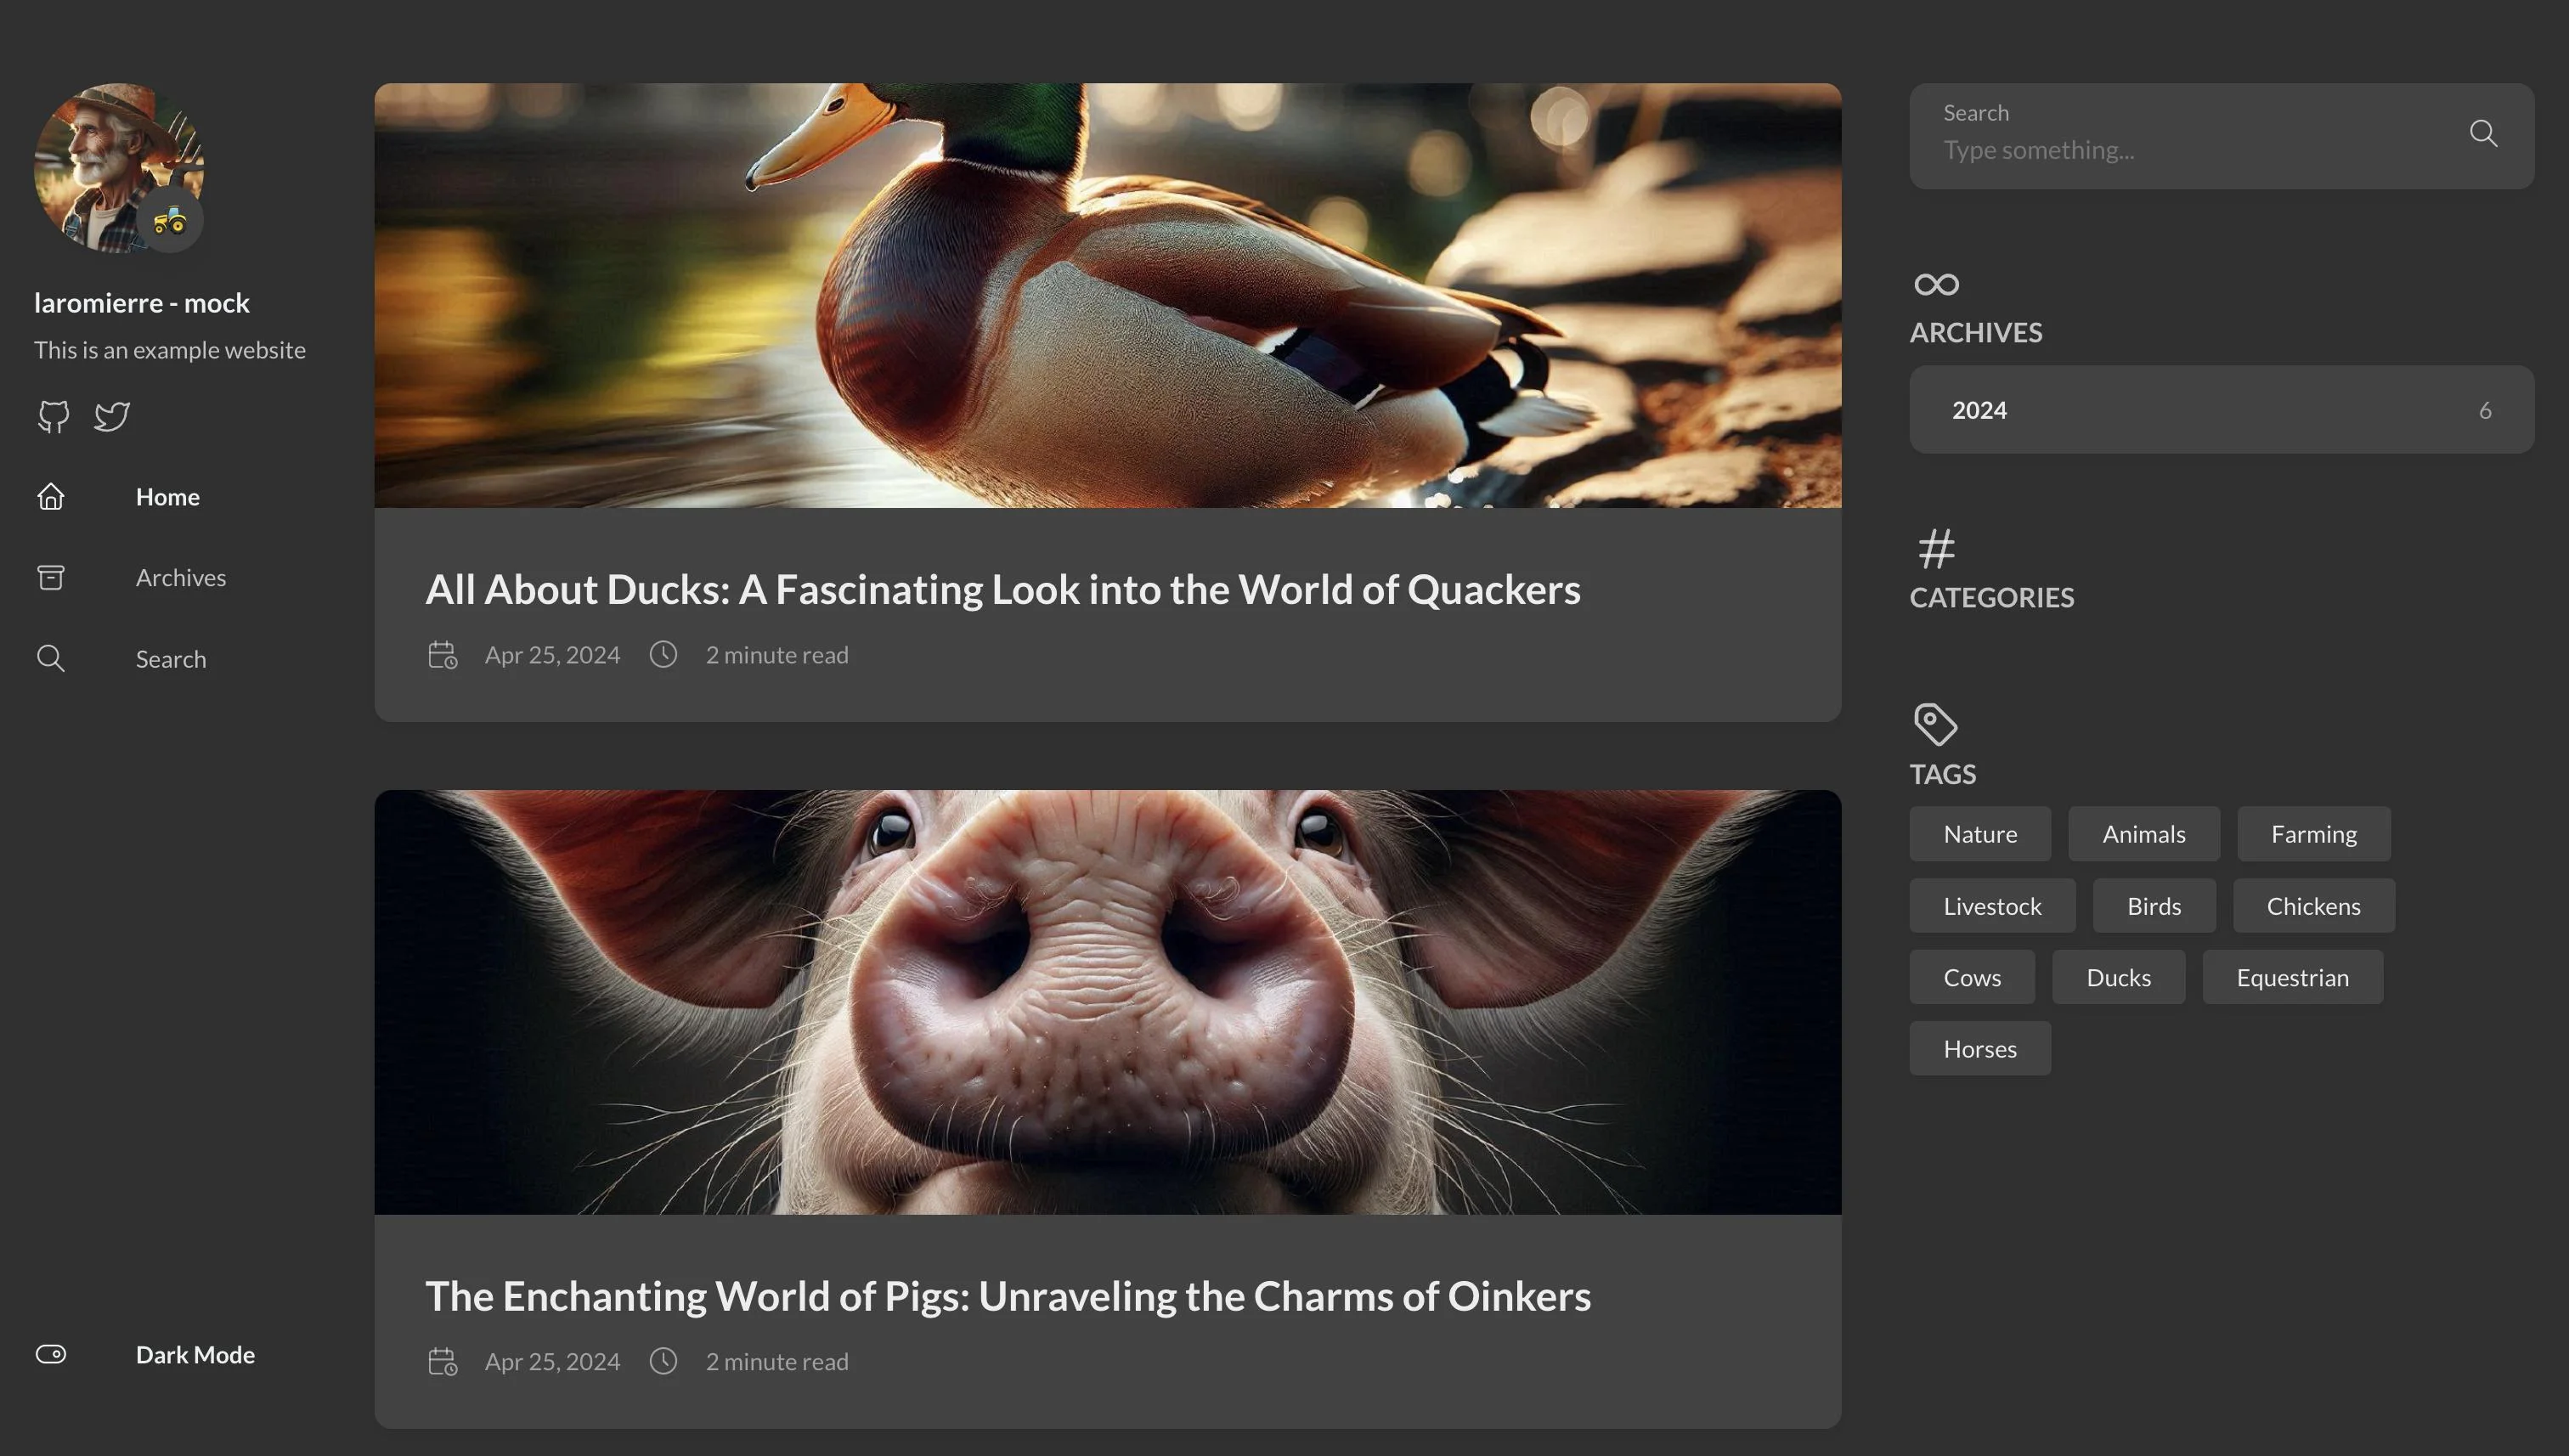
The emoji displayed in the bottom-right corner of the website’s logo on desktop
Currently, you set this in your site configuration (e.g., hugo.toml or config.toml):
[params.sidebar]
    emoji = "🚜"
If this configuration is missing, no emoji is displayed.
The Color Scheme Mechanism
The theme includes a switch (in the sidebar on desktop, or the hamburger menu on mobile) to toggle between dark and light modes.

The color scheme switch on desktop
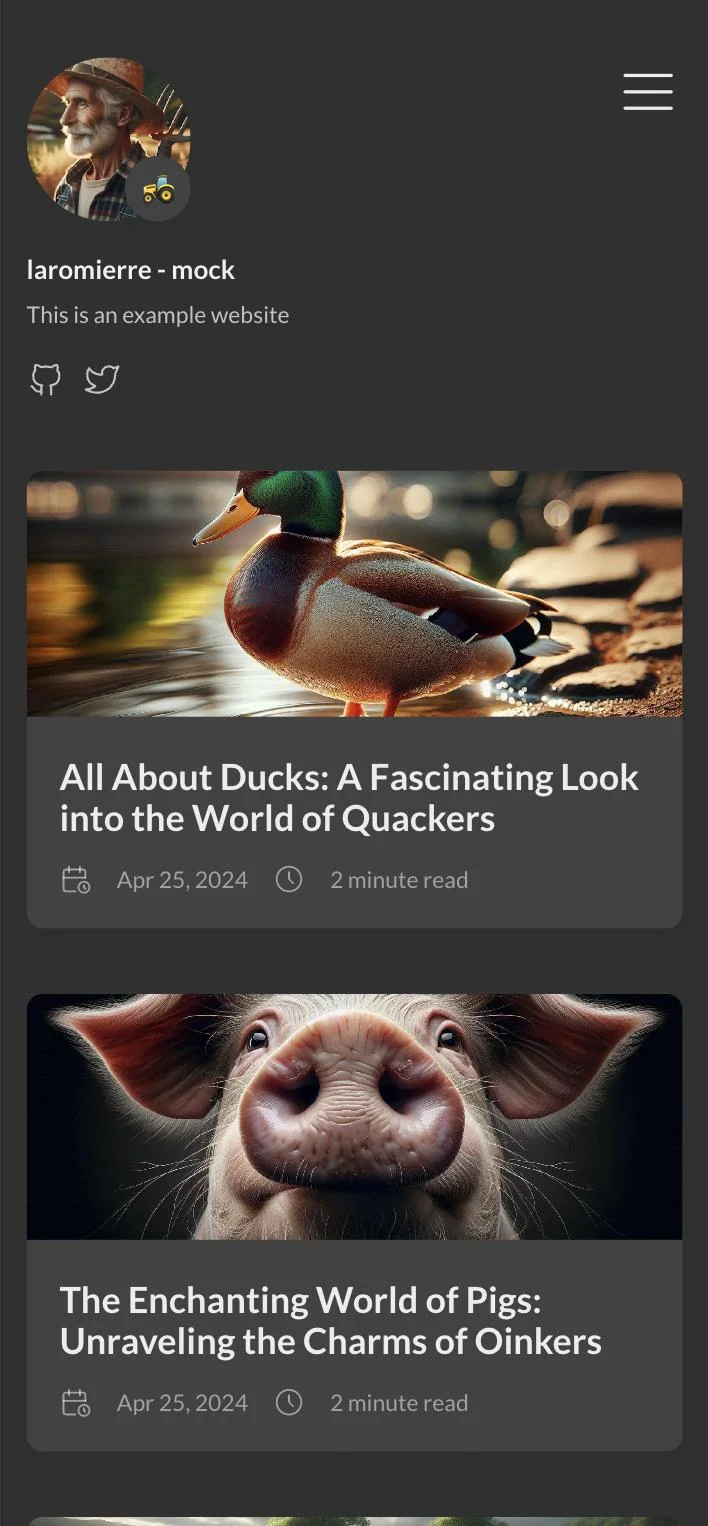
The color scheme switch on mobile
This logic is handled in assets/ts/colorScheme.ts. When a user clicks the switch, a custom event named onColorSchemeChange is dispatched:
    private dispatchEvent(colorScheme: colorScheme) {
        const event = new CustomEvent('onColorSchemeChange', {
            detail: colorScheme
        });
        window.dispatchEvent(event);
    }
We will listen for this event to trigger our emoji update.
Applying the Update
1. Modifying the Theme
The left sidebar logic is located in partials/sidebar/left.html. This file handles the avatar, social icons, menu, and our emoji.
We need to add two new configuration keys: emojiLight (for light mode) and emojiDark (for dark mode). To ensure backward compatibility, we will fall back to the standard emoji key if one of the specific keys is missing.
First, we need to assign an ID to the avatar container so our JavaScript can find it easily. In partials/sidebar/left.html, locate the avatar figure and add id="site-avatar":
    {{ if (default true .enabled) }}
        <figure id="site-avatar" class="site-avatar">
        <a href="{{ .Site.BaseURL | relLangURL }}">
Next, replace the existing emoji block with the following logic. Place this script right before the closing </header> tag in partials/sidebar/left.html:
<script>
    window.addEventListener('onColorSchemeChange', function (event) {
        // Determine which emoji to use based on the event detail (light/dark)
        let emoji = event.detail === 'light'
            ? "{{ $.Site.Params.sidebar.emojiLight }}"
            : "{{ $.Site.Params.sidebar.emojiDark }}";

        // Fallback to default emoji if specific one isn't set
        if (emoji.length === 0) {
            emoji = "{{ $.Site.Params.sidebar.emoji }}";
        }

        const emojiElt = document.getElementById("emoji-elt");
        const avatarElt = document.getElementById("site-avatar");

        // Logic to update, insert, or remove the emoji element
        if (emoji.length > 0 && emojiElt) {
            emojiElt.innerHTML = emoji;
        } else if (emoji.length > 0 && !emojiElt && avatarElt) {
            avatarElt.insertAdjacentHTML('beforeend', `<span id="emoji-elt" class="emoji">${emoji}</span>`);
        } else if (emoji.length === 0 && emojiElt) {
            emojiElt.remove();
        }
    });
</script>
What is this code doing?
-
Event Listener: We listen for
onColorSchemeChange. Note that this event is also emitted when the page first loads, allowing us to set the correct initial state. -
Selection Logic: We check the event detail (
lightordark) and pick the corresponding emoji from your config. If empty, it falls back to the defaultemoji. -
DOM Manipulation:
-
If an emoji exists and the span exists: Update the content.
-
If an emoji exists but the span is missing: Create the span and append it to
site-avatar. -
If no emoji is needed but the span exists: Remove it.
-
2. Updating the Configuration
Once the theme is updated, update your site’s configuration file (e.g., config.toml). Add the emojiLight and emojiDark keys. You should keep the original emoji key as a fallback.
[params.sidebar]
    emoji = "🚜"       # Fallback
    emojiLight = "🌾"  # Displayed in Light Mode
    emojiDark = "🦉"   # Displayed in Dark Mode
Restart your Hugo server, and the emoji should now react to the color scheme!
Video showing the emoji updating when changing color scheme